I was warned. I was warned that few things throw off a timeline more than rust repair. But, I was optimistic and admittedly a little naive when I muttered every weekend warrior’s famous last words; ‘how bad could it be?’
After all my truck is a western truck and they don’t use salt in the west. I can hear some of you chuckling at my lack of experience already.
Curious how I made out? Read on. But before you do, please note that significant rust, amateur welds and copious grinding exist herein.
Fabricators discretion is advised.
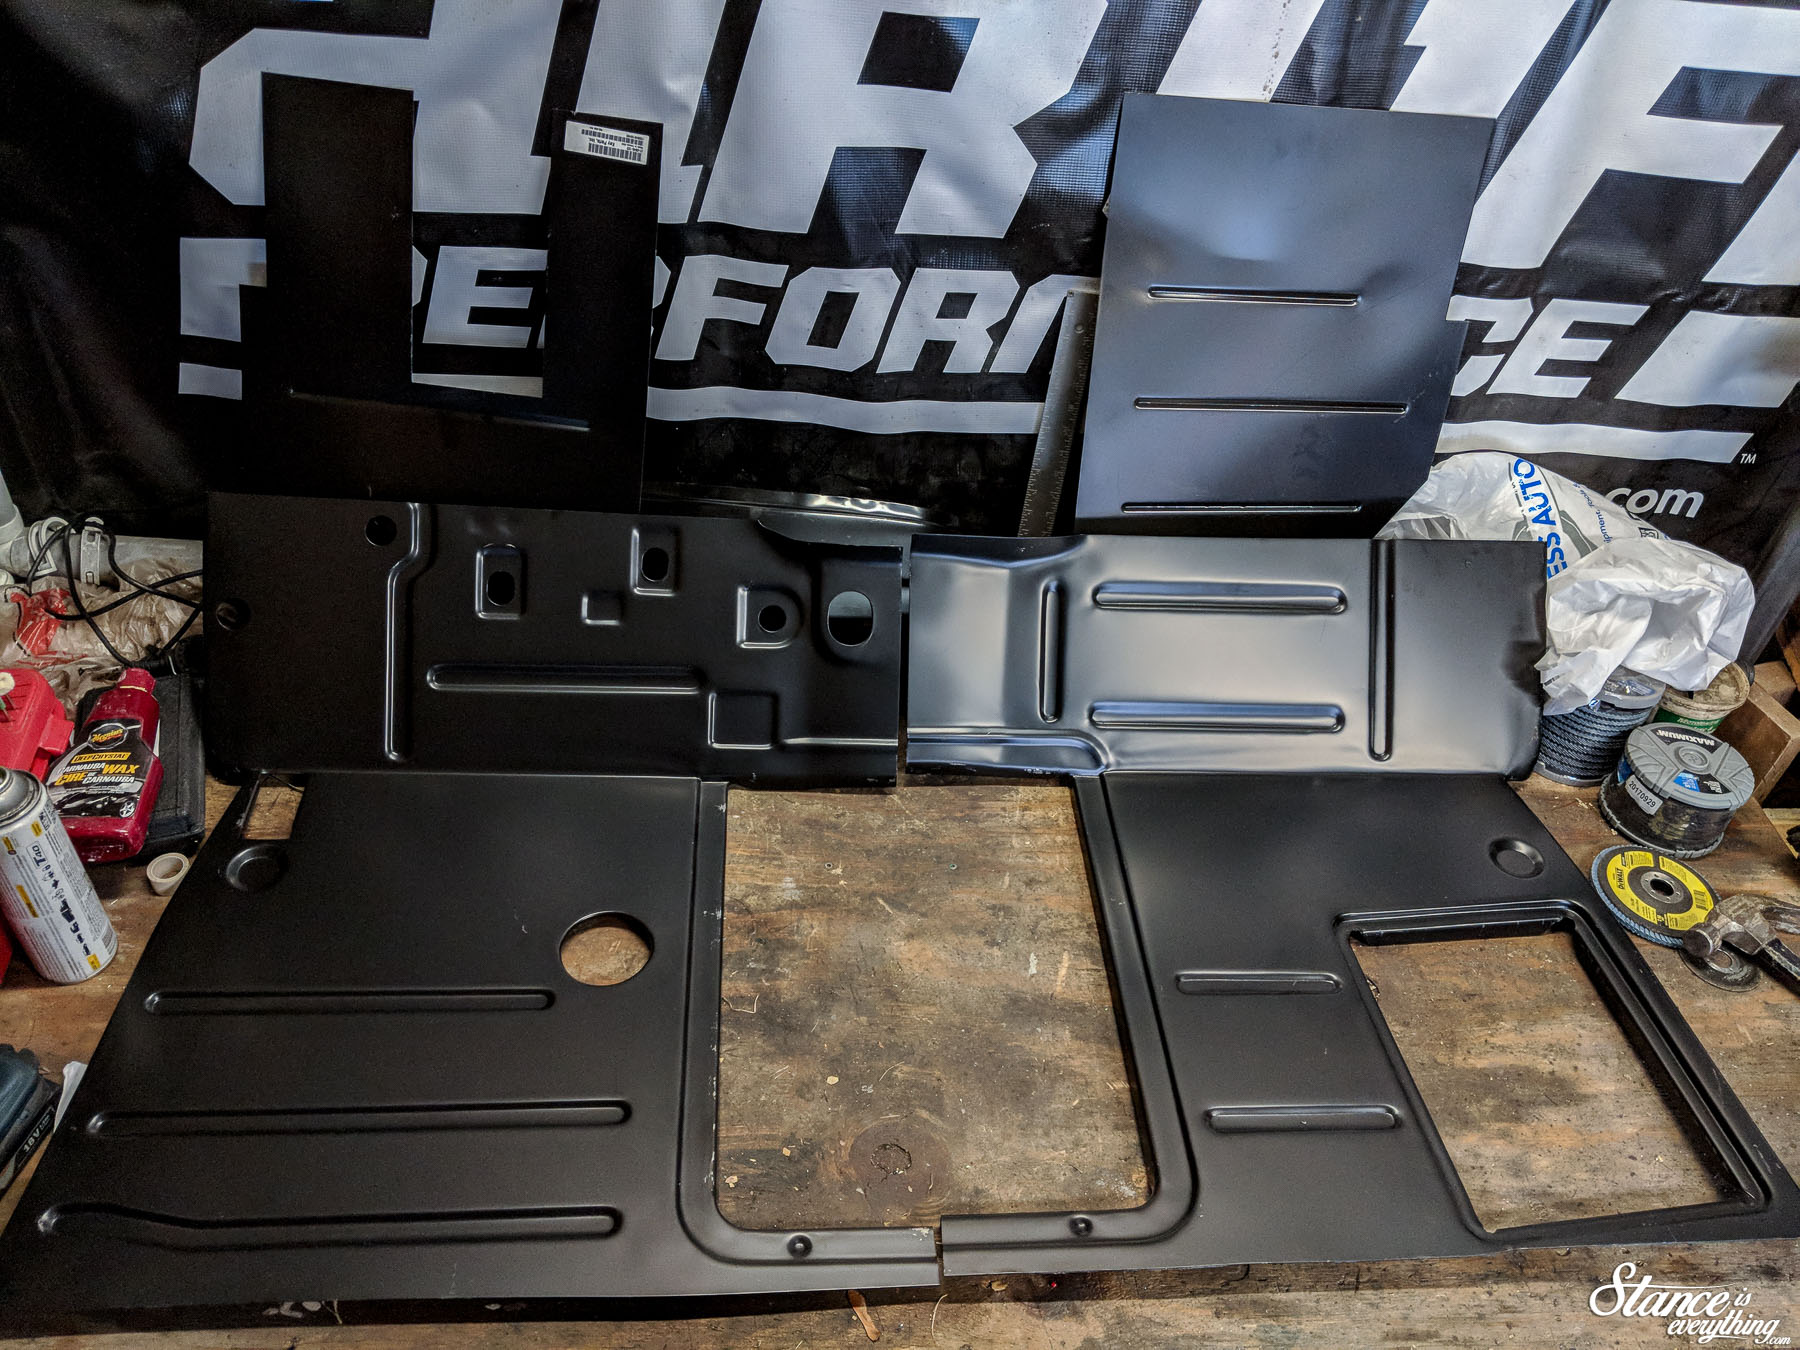
Before getting out the cutting discs, I took a trip to Bill’s Truck Shop in Courtice Ontario. Bill is two exits up the highway from my house and trips to the shop became quite frequent during the summer.
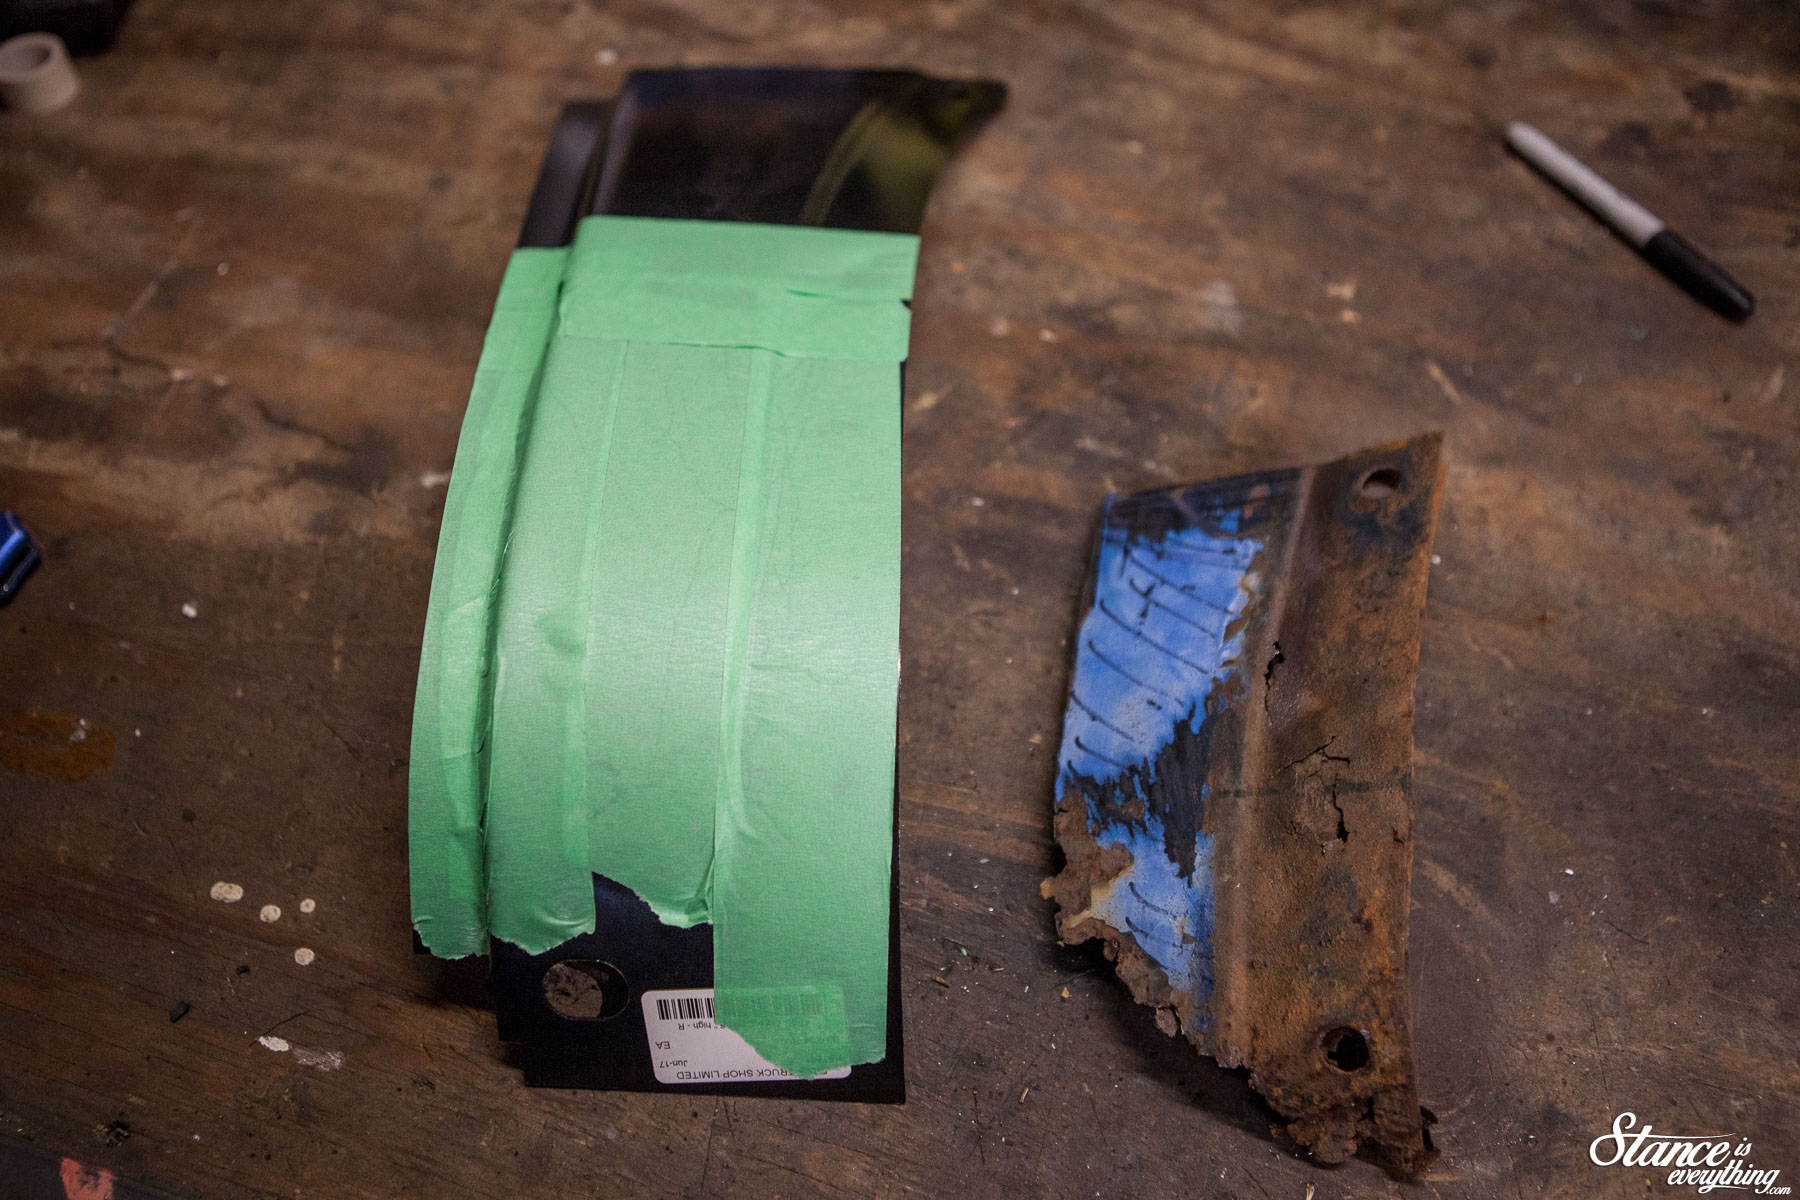
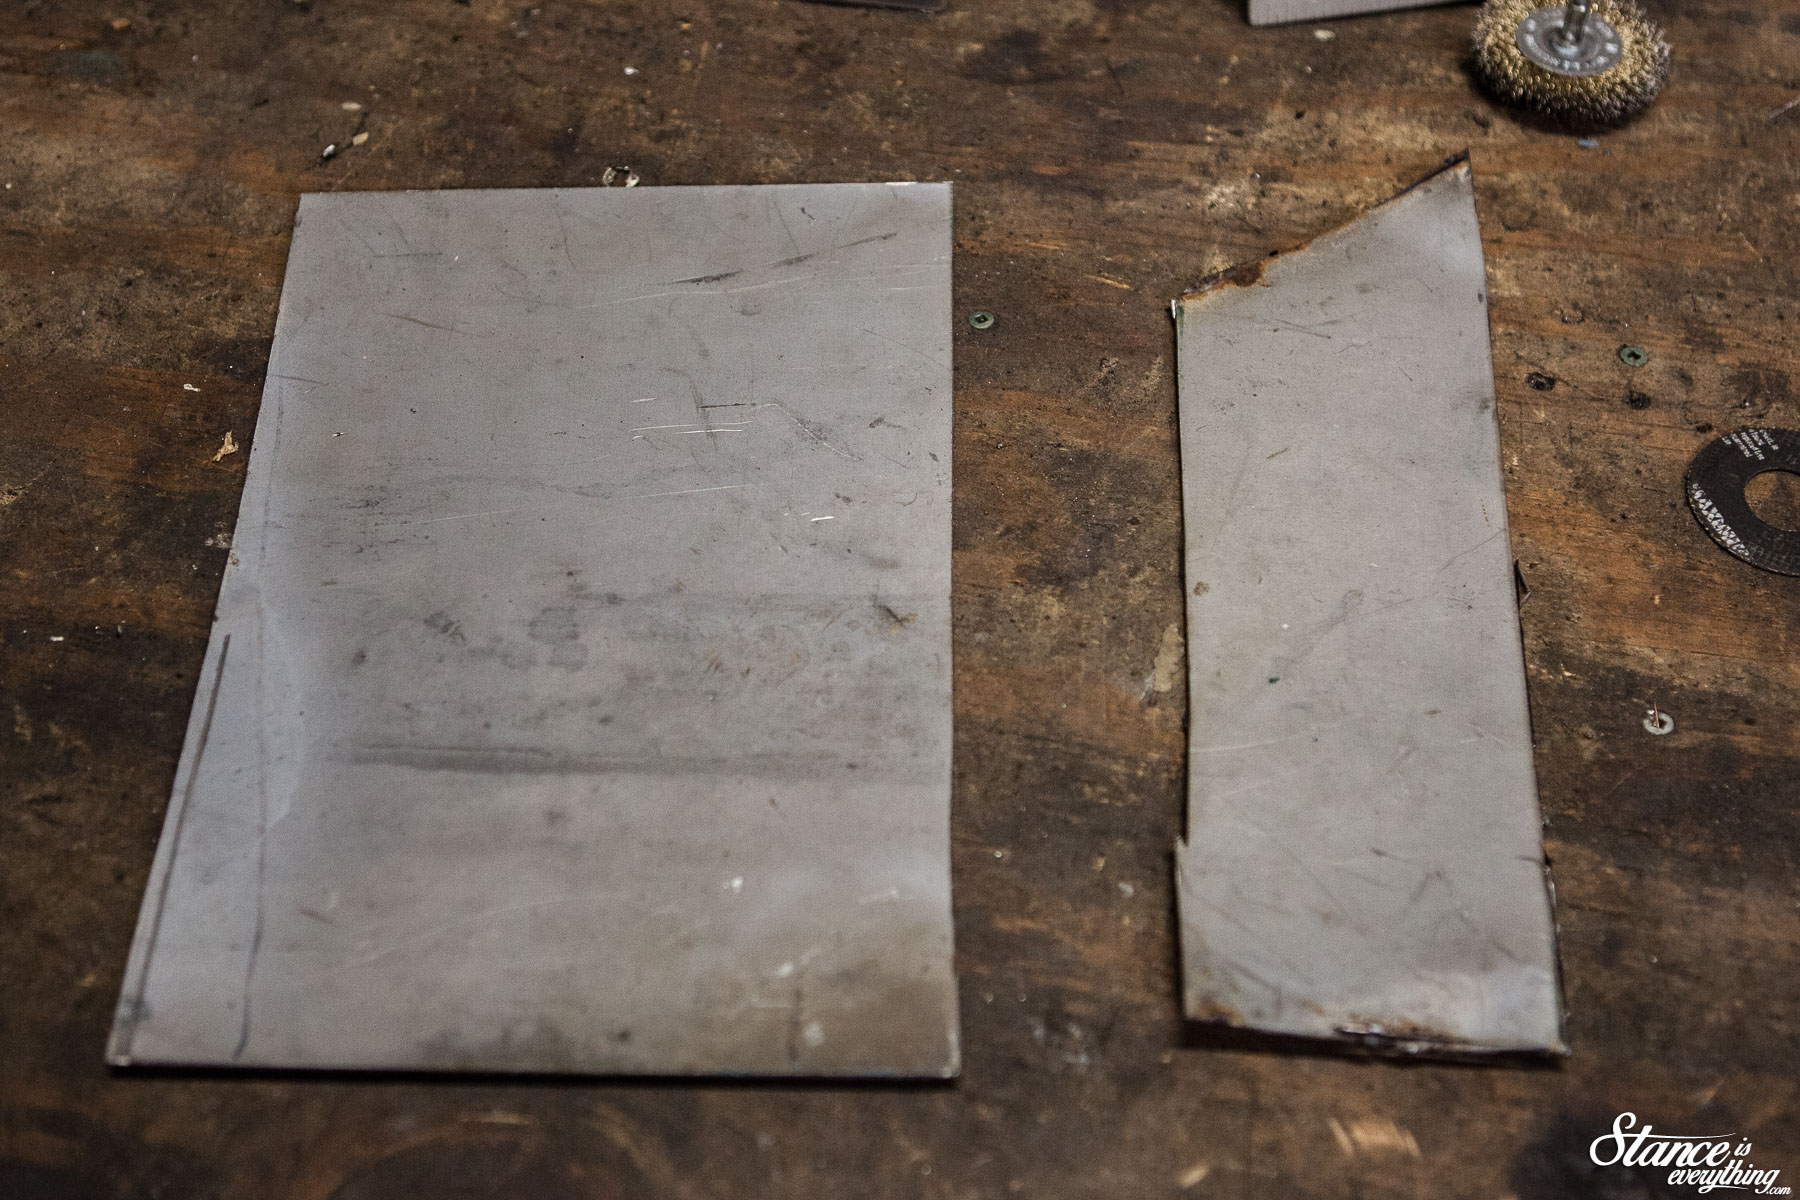
Pictured above are the panels I originally thought I needed. In reality I needed all of the above along with a cab support, lower hinge pocket, inner fender and outer cowl.
Thinking ahead I’ve bought the same for the driver’s side because there’s little worse than running out of material mid job.
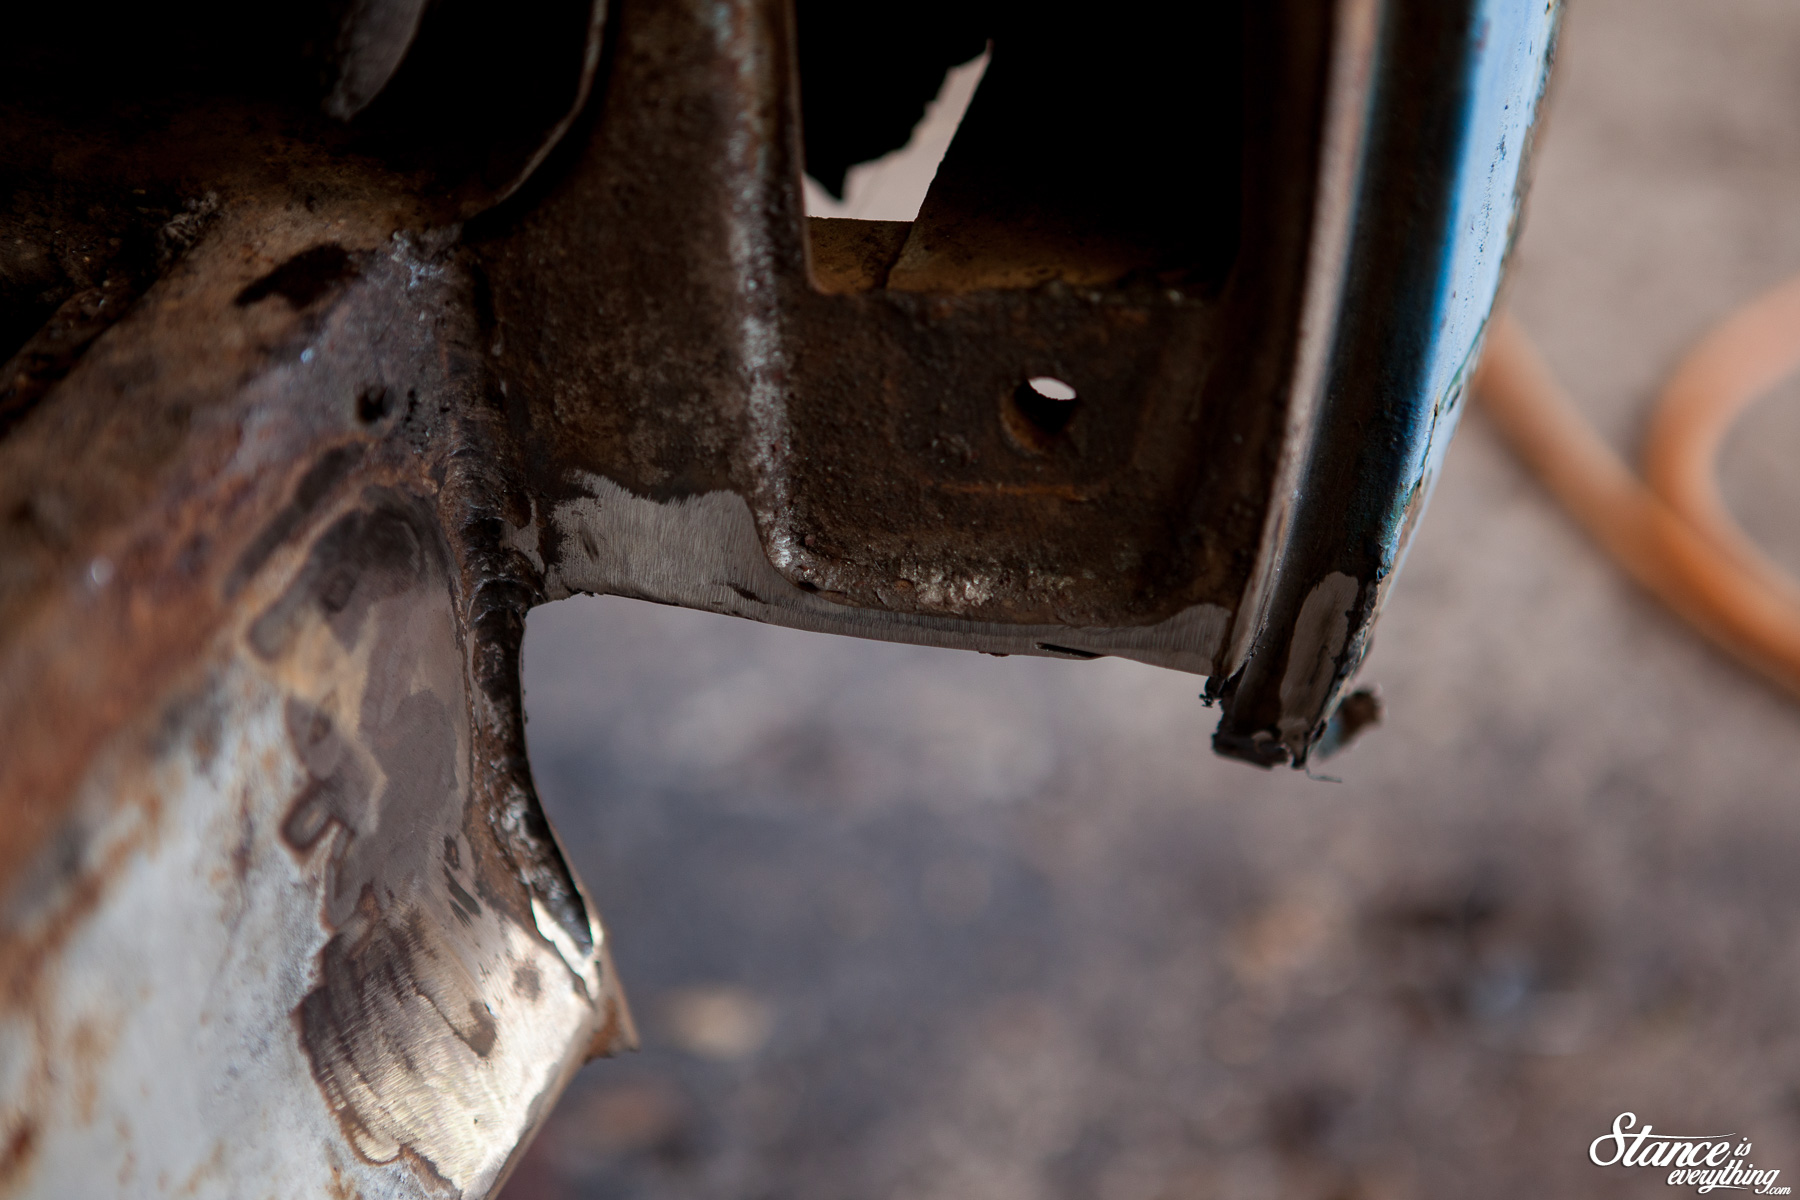
As a starting point I chose the bottom of the hinge pocket on the passenger side. The metal in that area was pretty thick which meant I’d have a hard time blowing through while I learned the intricisices of patching panels.
There were also plenty of body lines to aid in panel line up.
A grinding wheel made short work of the affected area, though the tight quarters made it a little hard to cut cleanly.
An air powered cut off wheel, with a small disc attached would have worked better. Unfortunately my current compressor is far to small to run air tools for any length of time.
This is an issue I hope to resolve in the near future, but for now a grinder does the trick. I even used my Dremel a few times, equipped with the quick cut, thicker, discs.
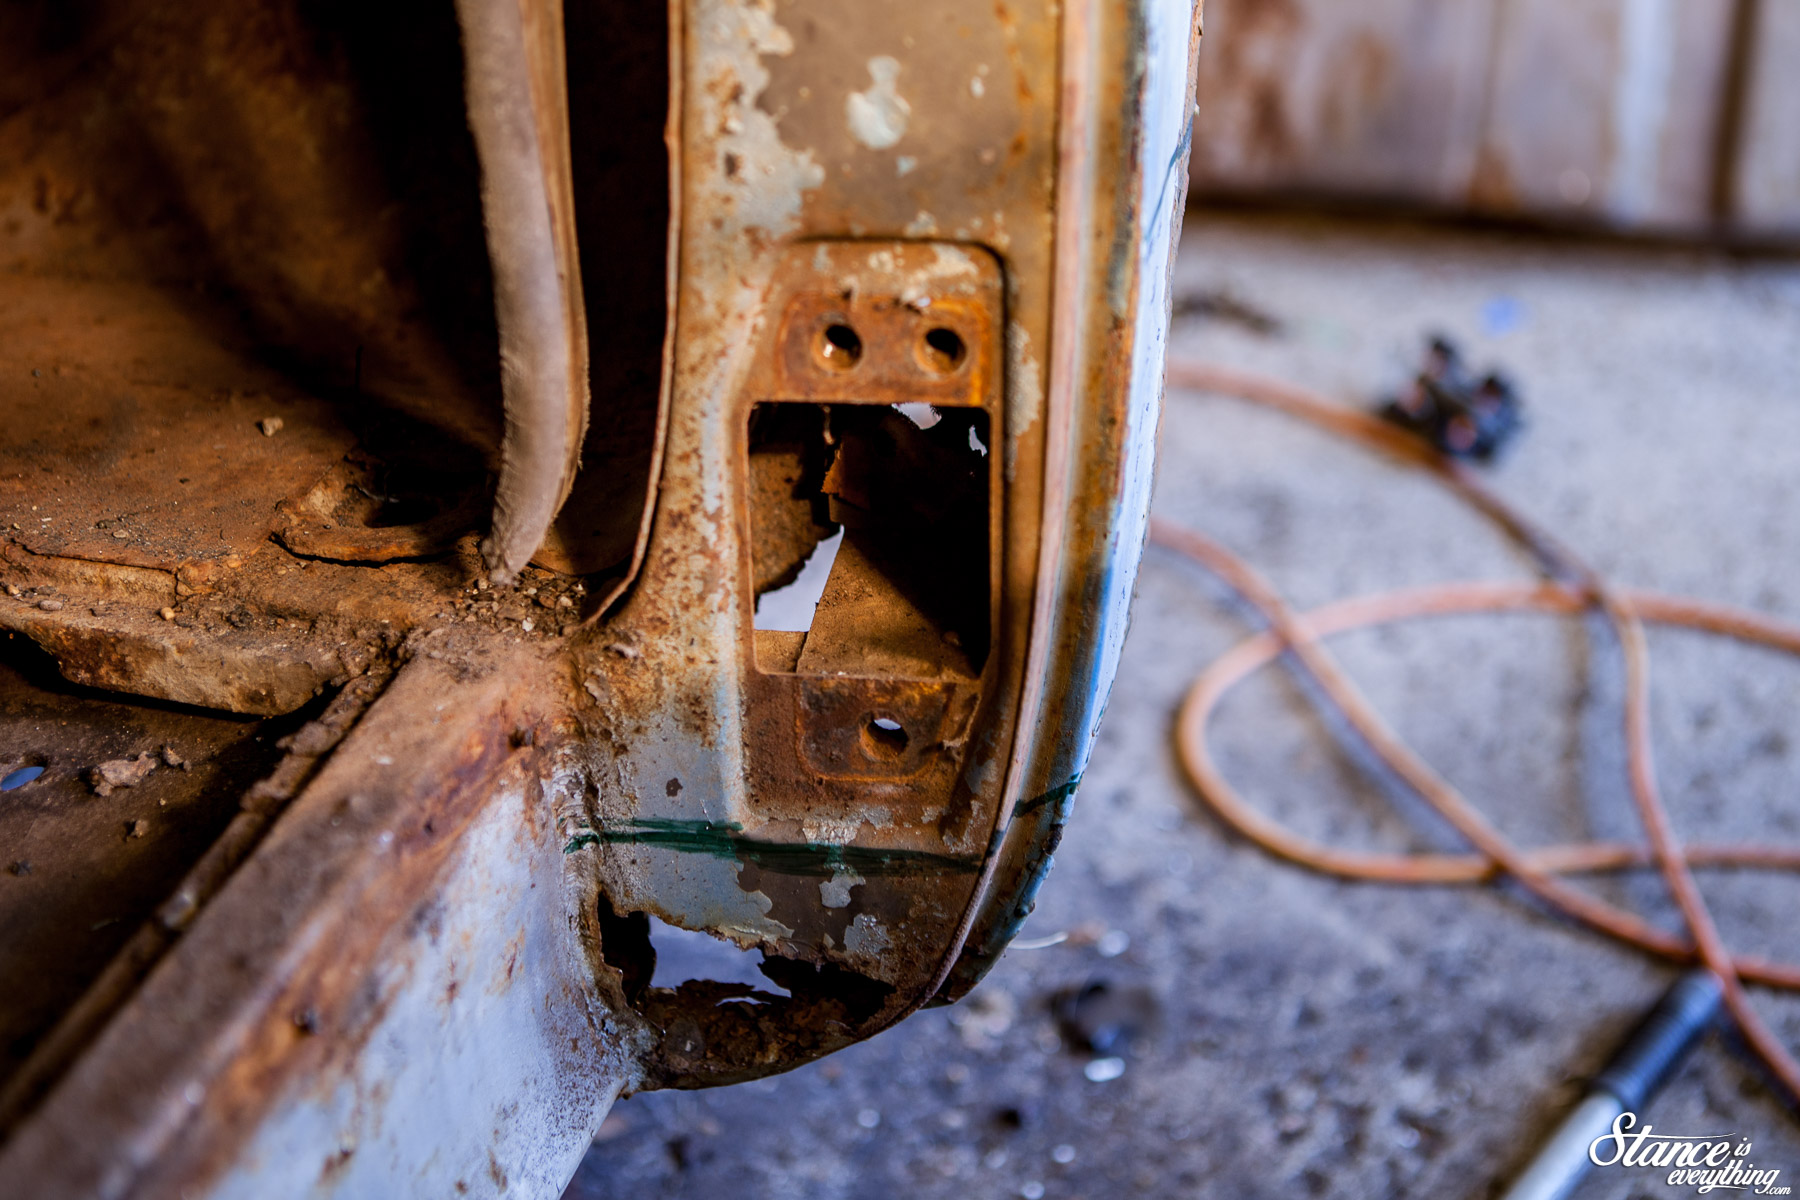
Lower hinge pocket tossed in the scrap pile I continued into the cowl. As I worked I made mental note of how bad the floor, kick panel and inner fender were and tried not to get discouraged.
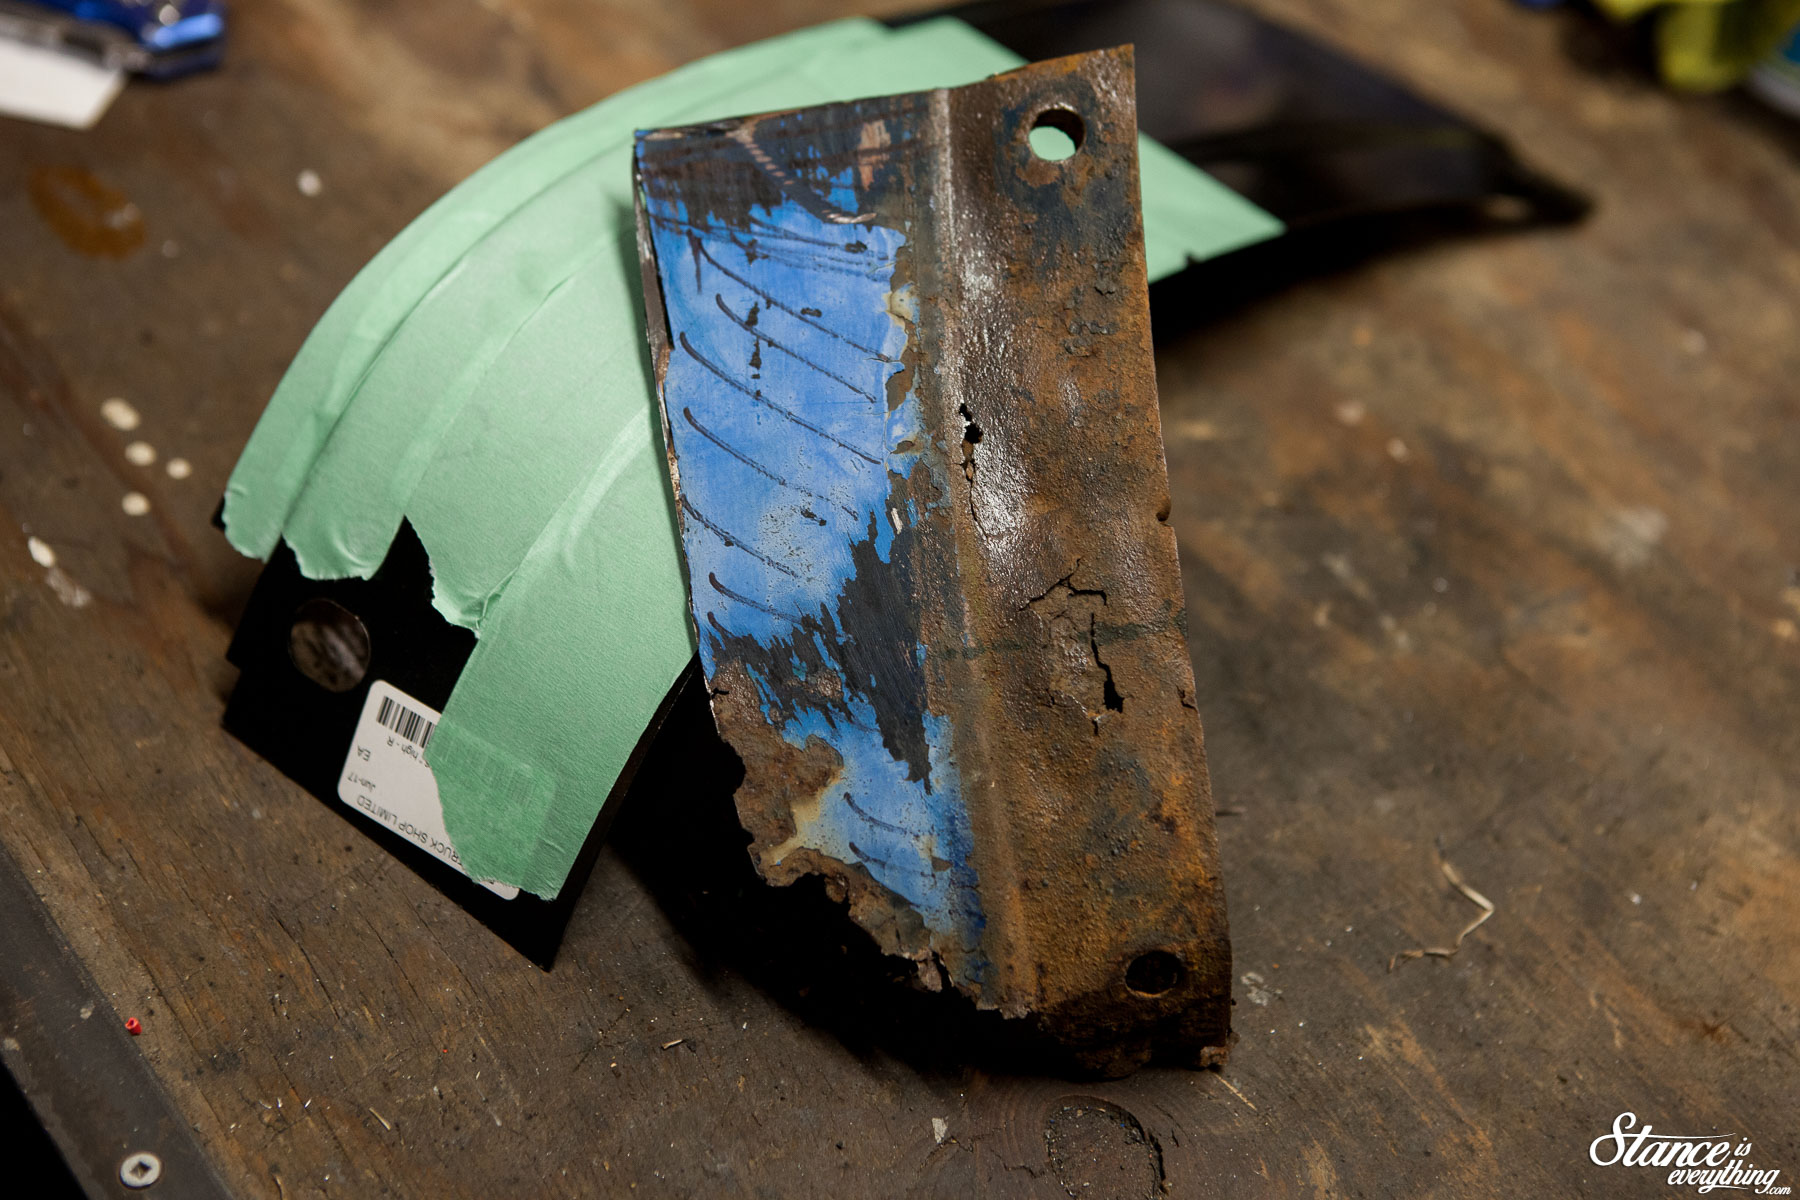
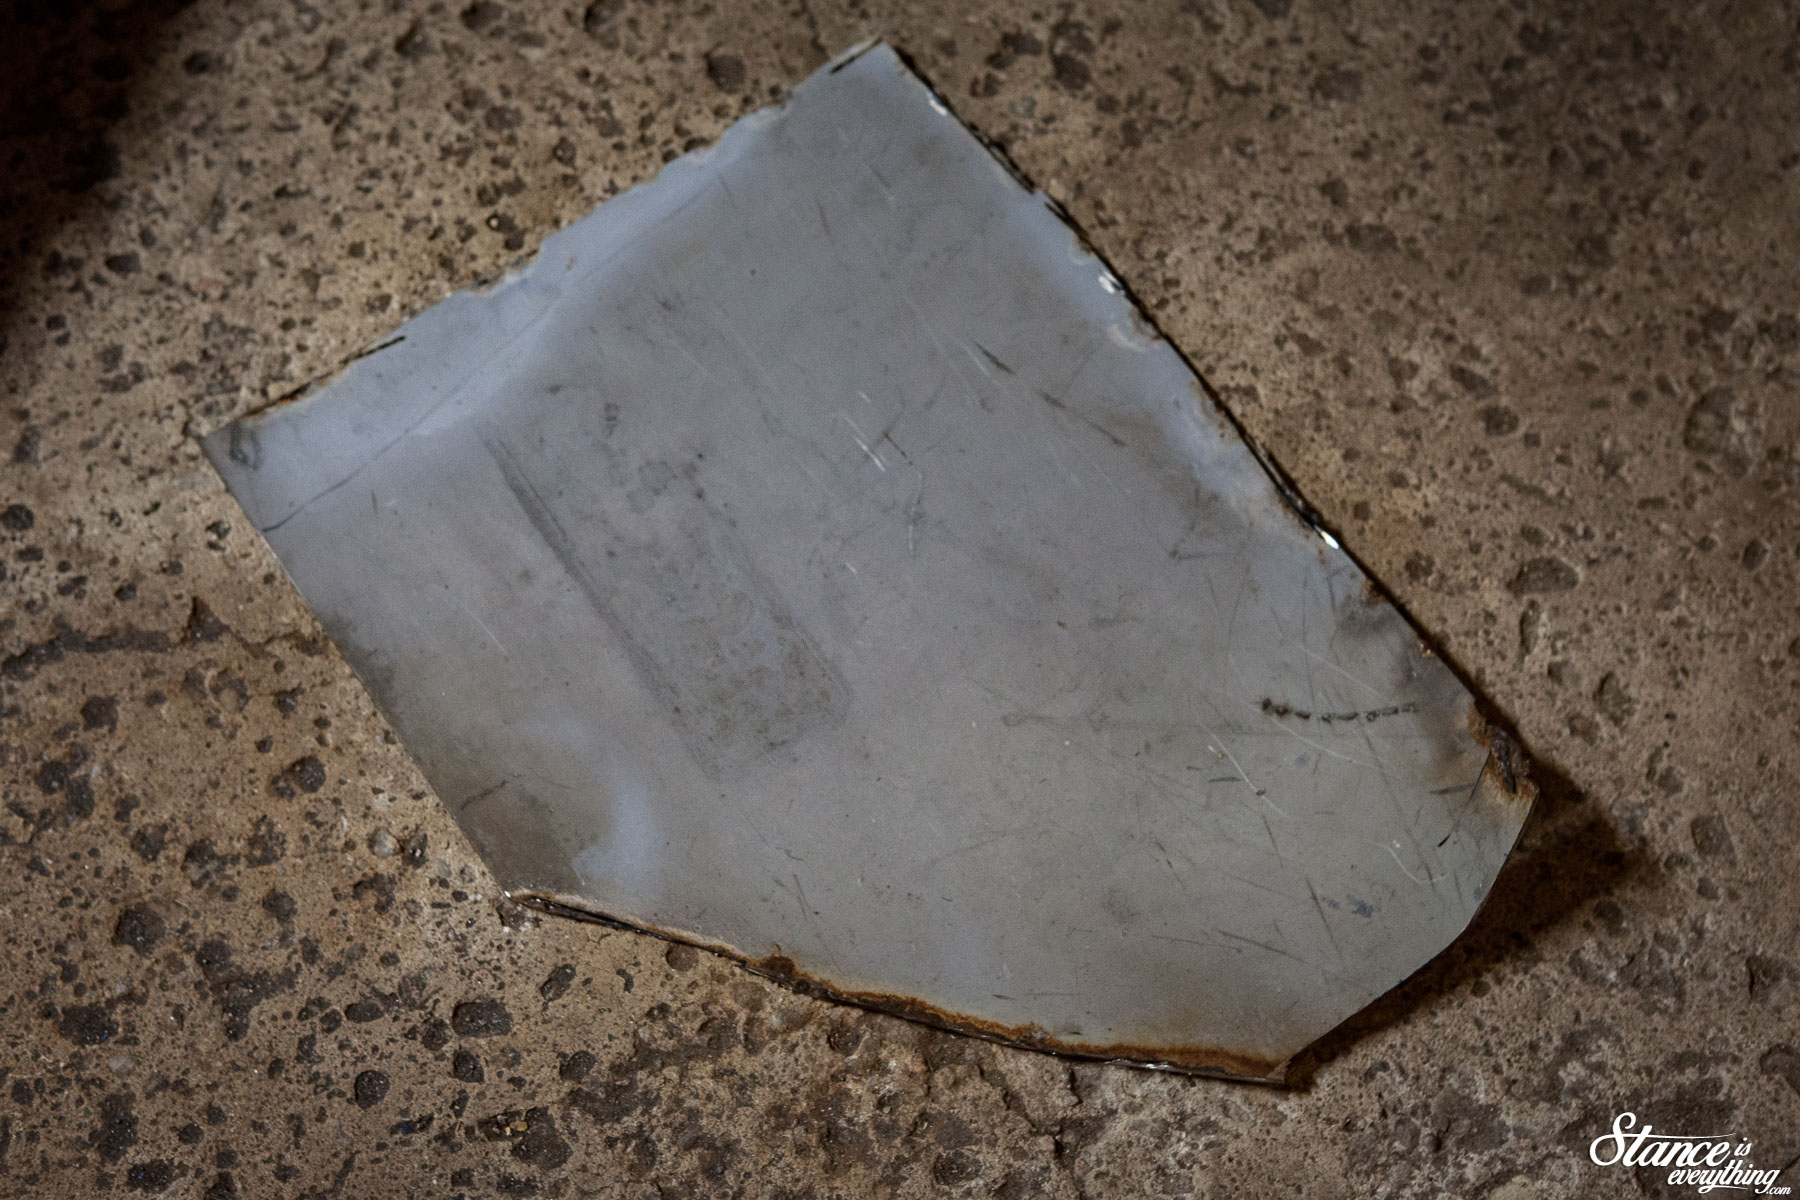
While I was in the area I cut out the lower outer cowl as well. Compared to the new panel you can see just how much was missing.
I’ve since learned this area is known for poor drainage and nearly all Advanced Design trucks are rotted out here. The driver’s side shows similar damage though not quite as significant.
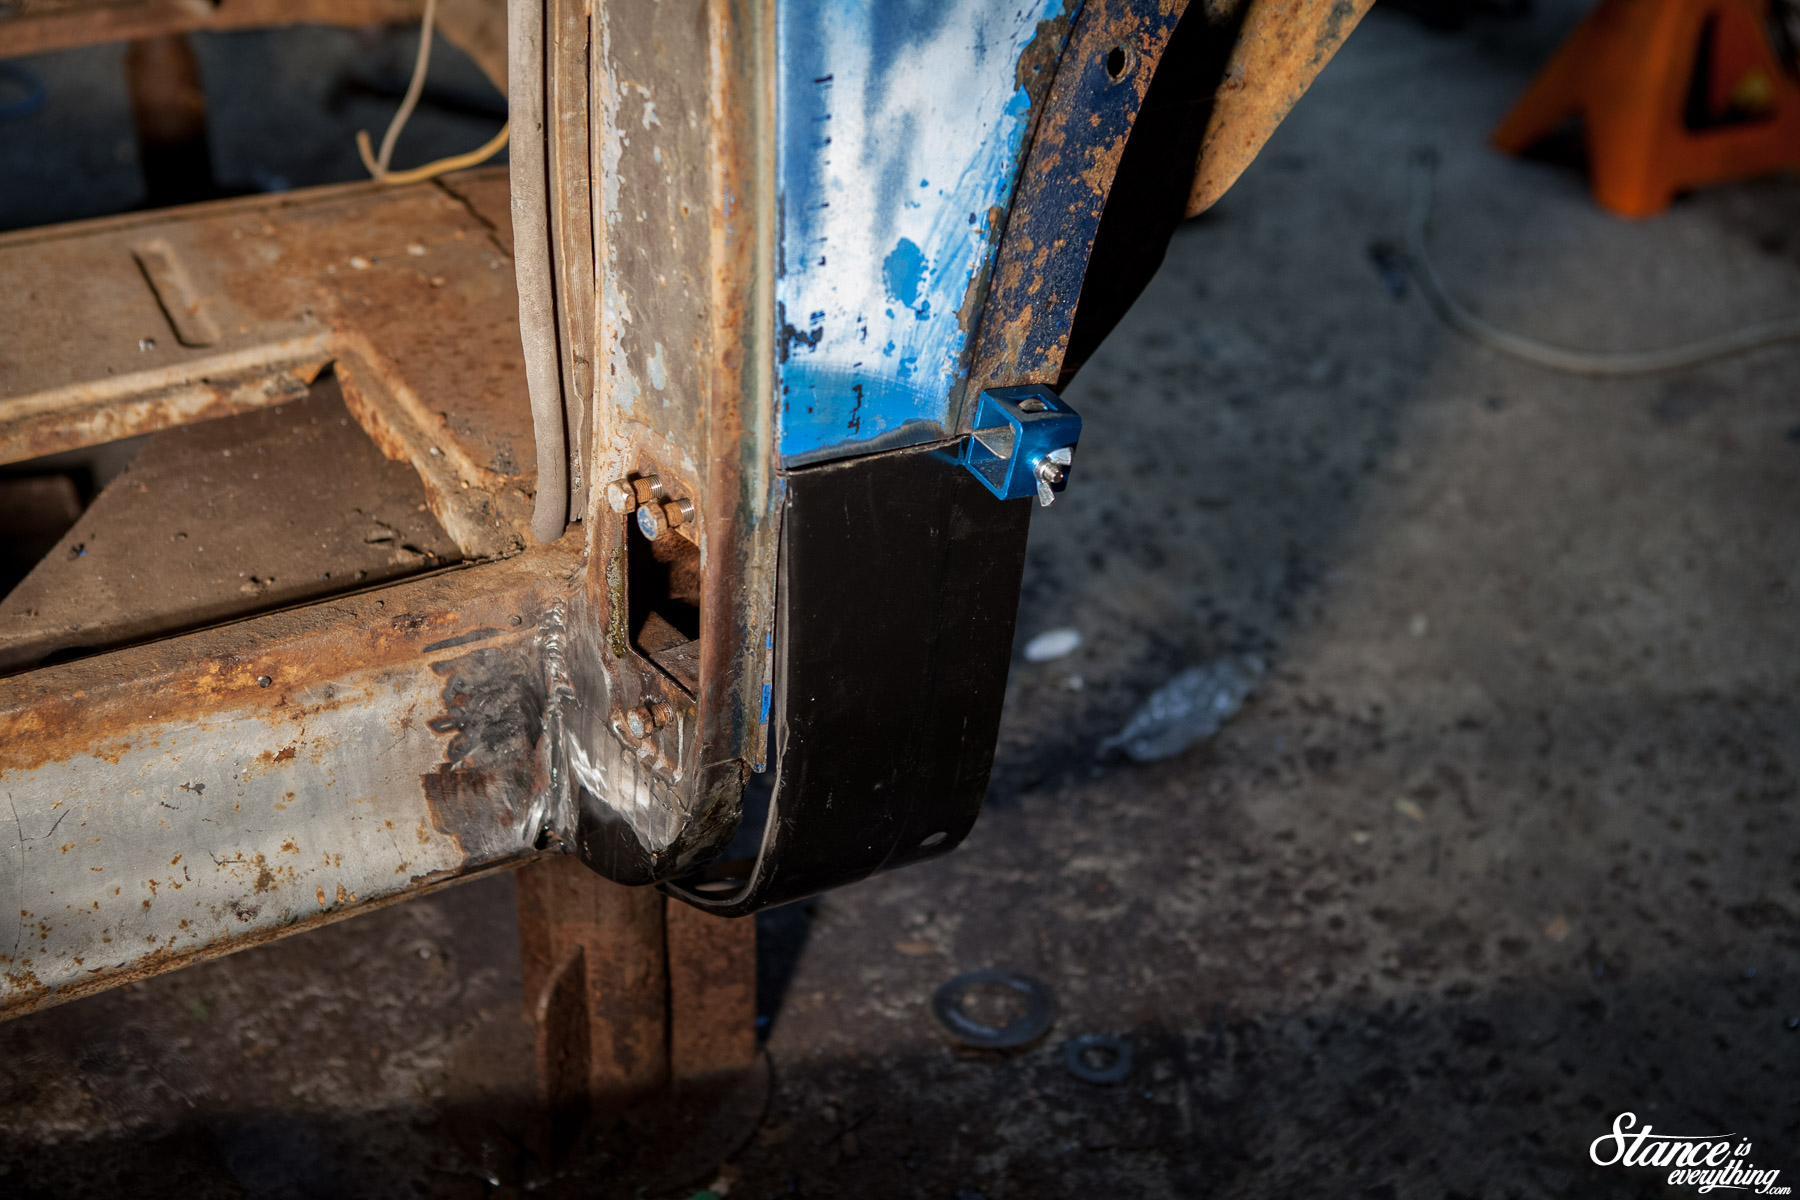
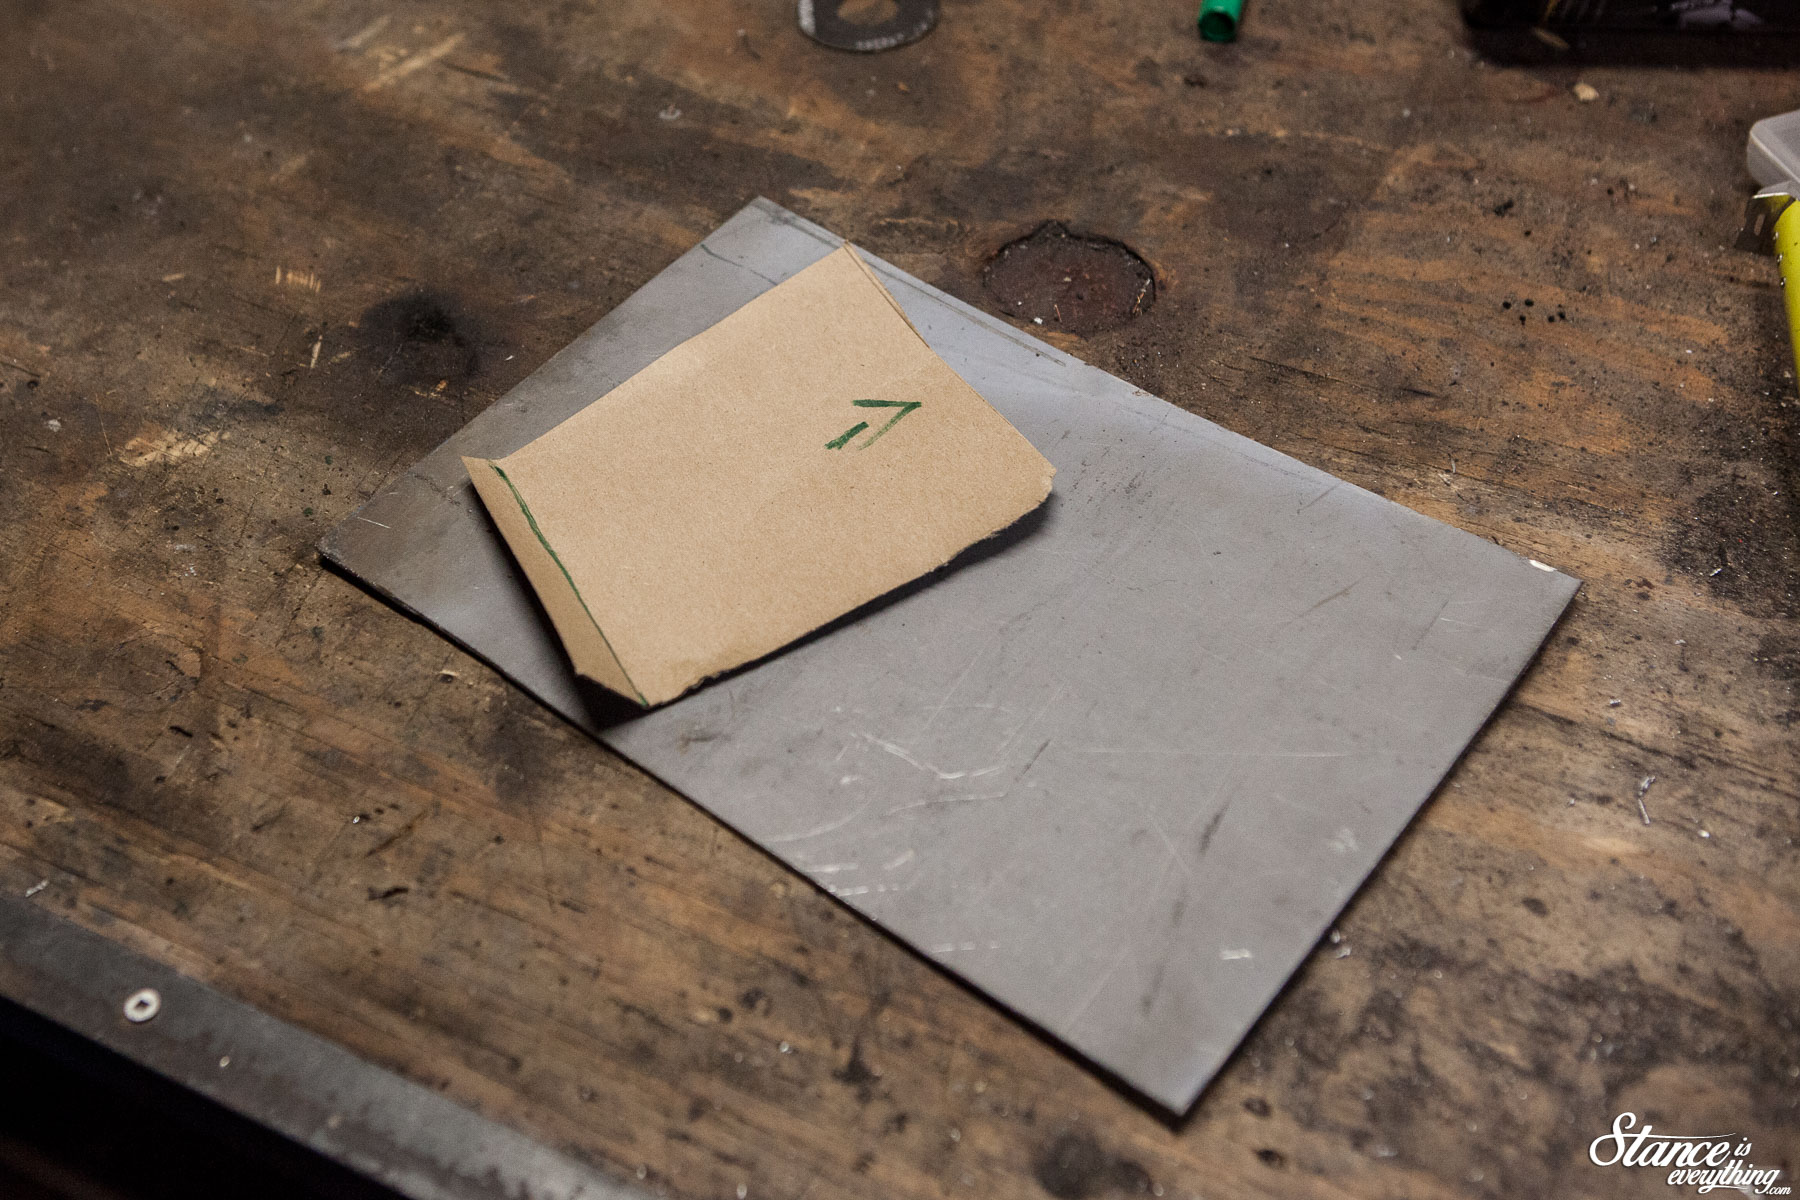
I masked up the new piece, traced what I could, and transferred it to the new panel. I did the same with the lower hinge pocket.
A bit finessing, and I manged to get both pieces in reasonably well.
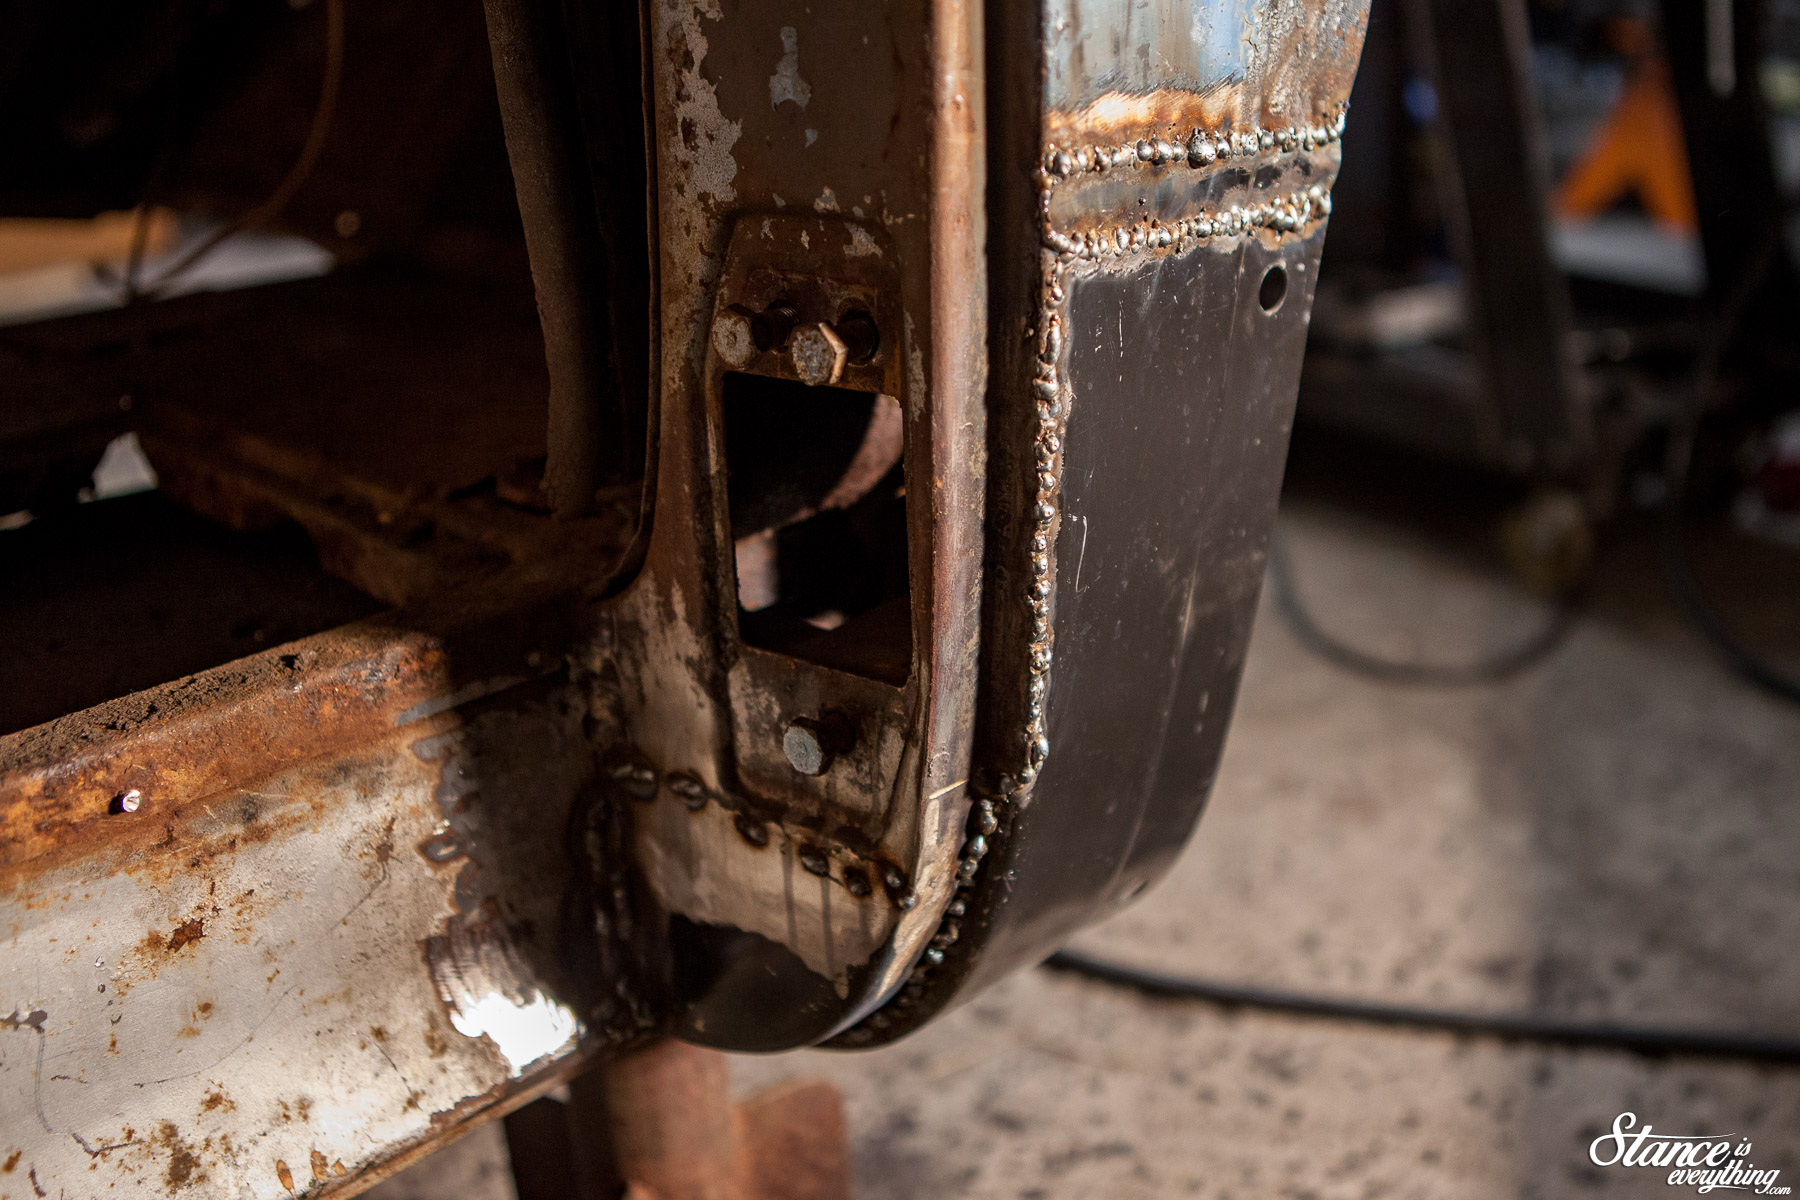
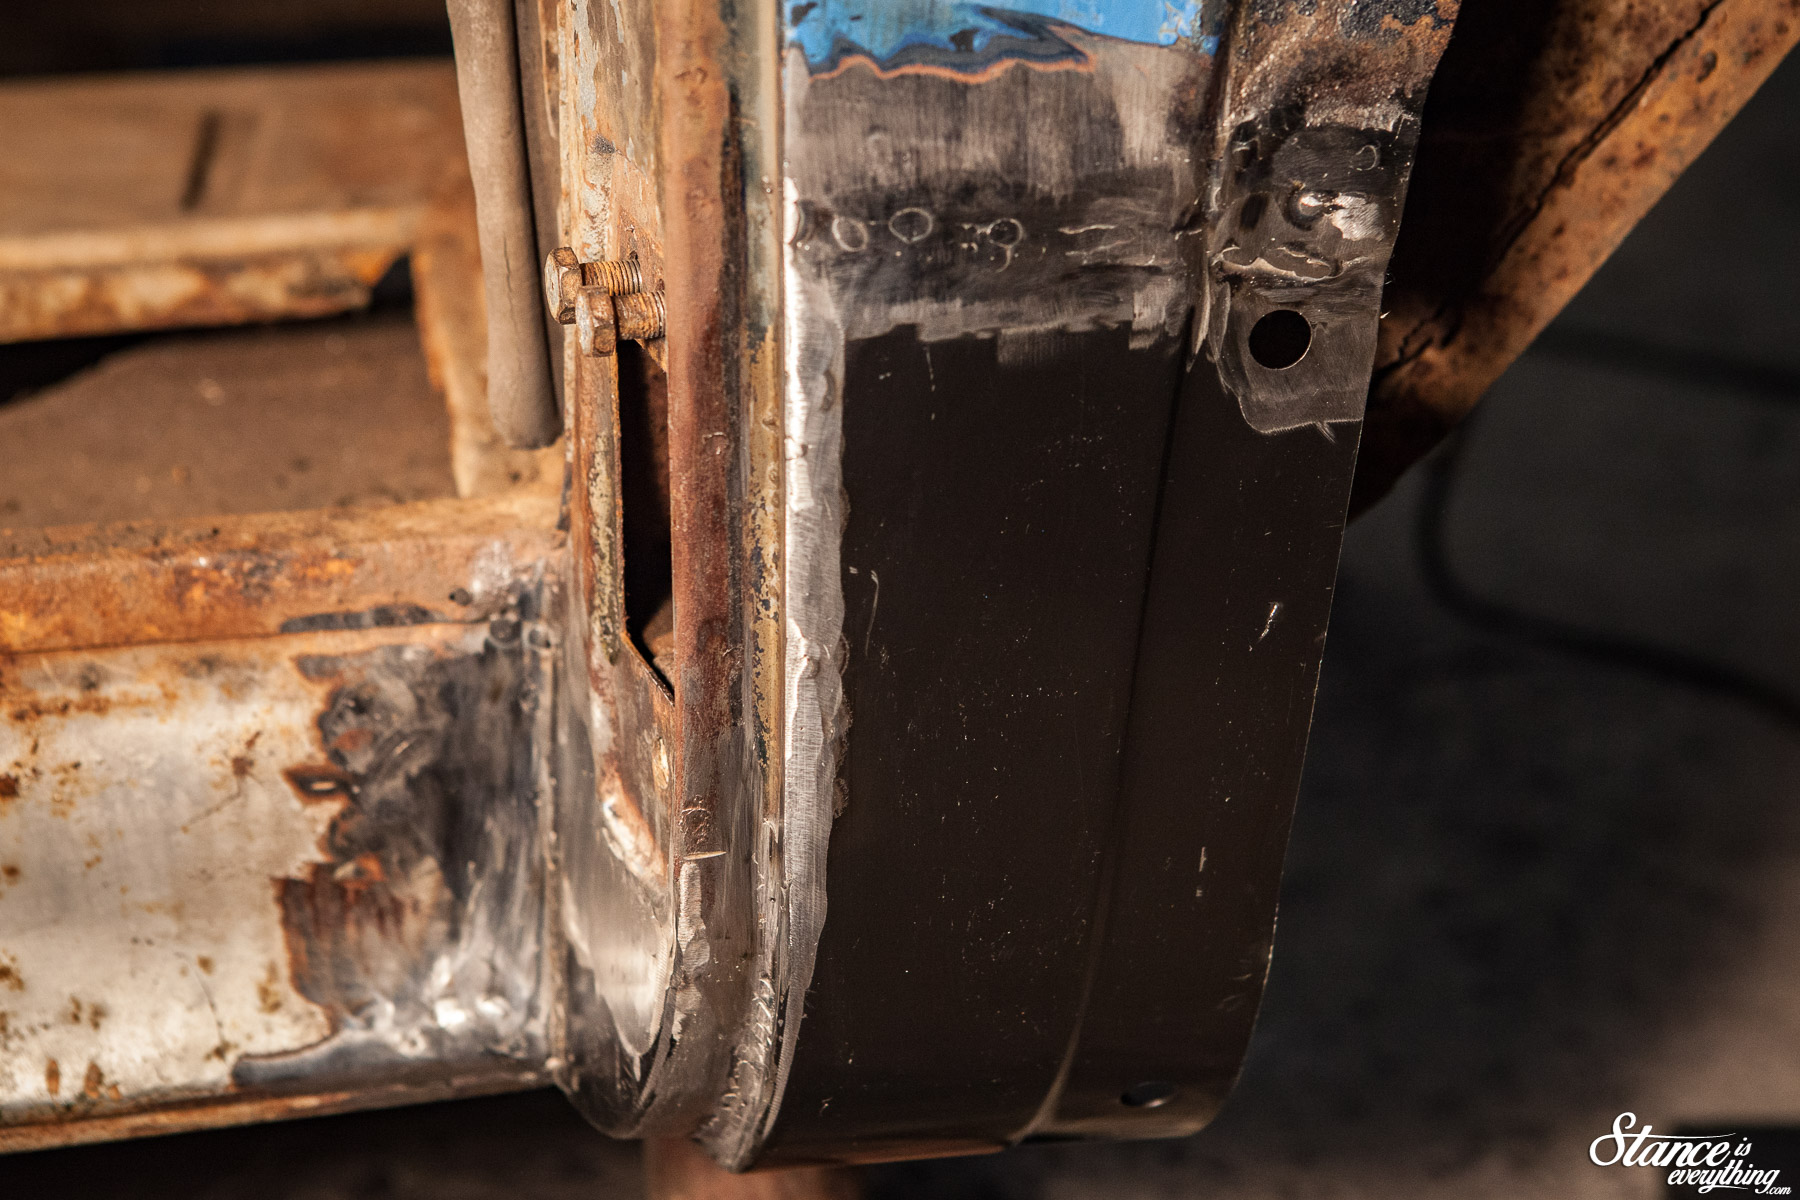
In the photo above you’ve probably noticed a multitude of sins but one stands out; the double weld line.
I made the mistake of being too conservative with my cuts resulting in not enough solid metal to weld to. I’d love to say that was the only time this happened.
For this panel I tried connecting small tacks instead of running beads. It looked horror show before the grinder came out, but cleaned up reasonably well.
Later I adopted a half-inch pass method alternating from spot to spot while using an air blower to cool the panel down.
I preferred the later method because it was easier to get into a groove.
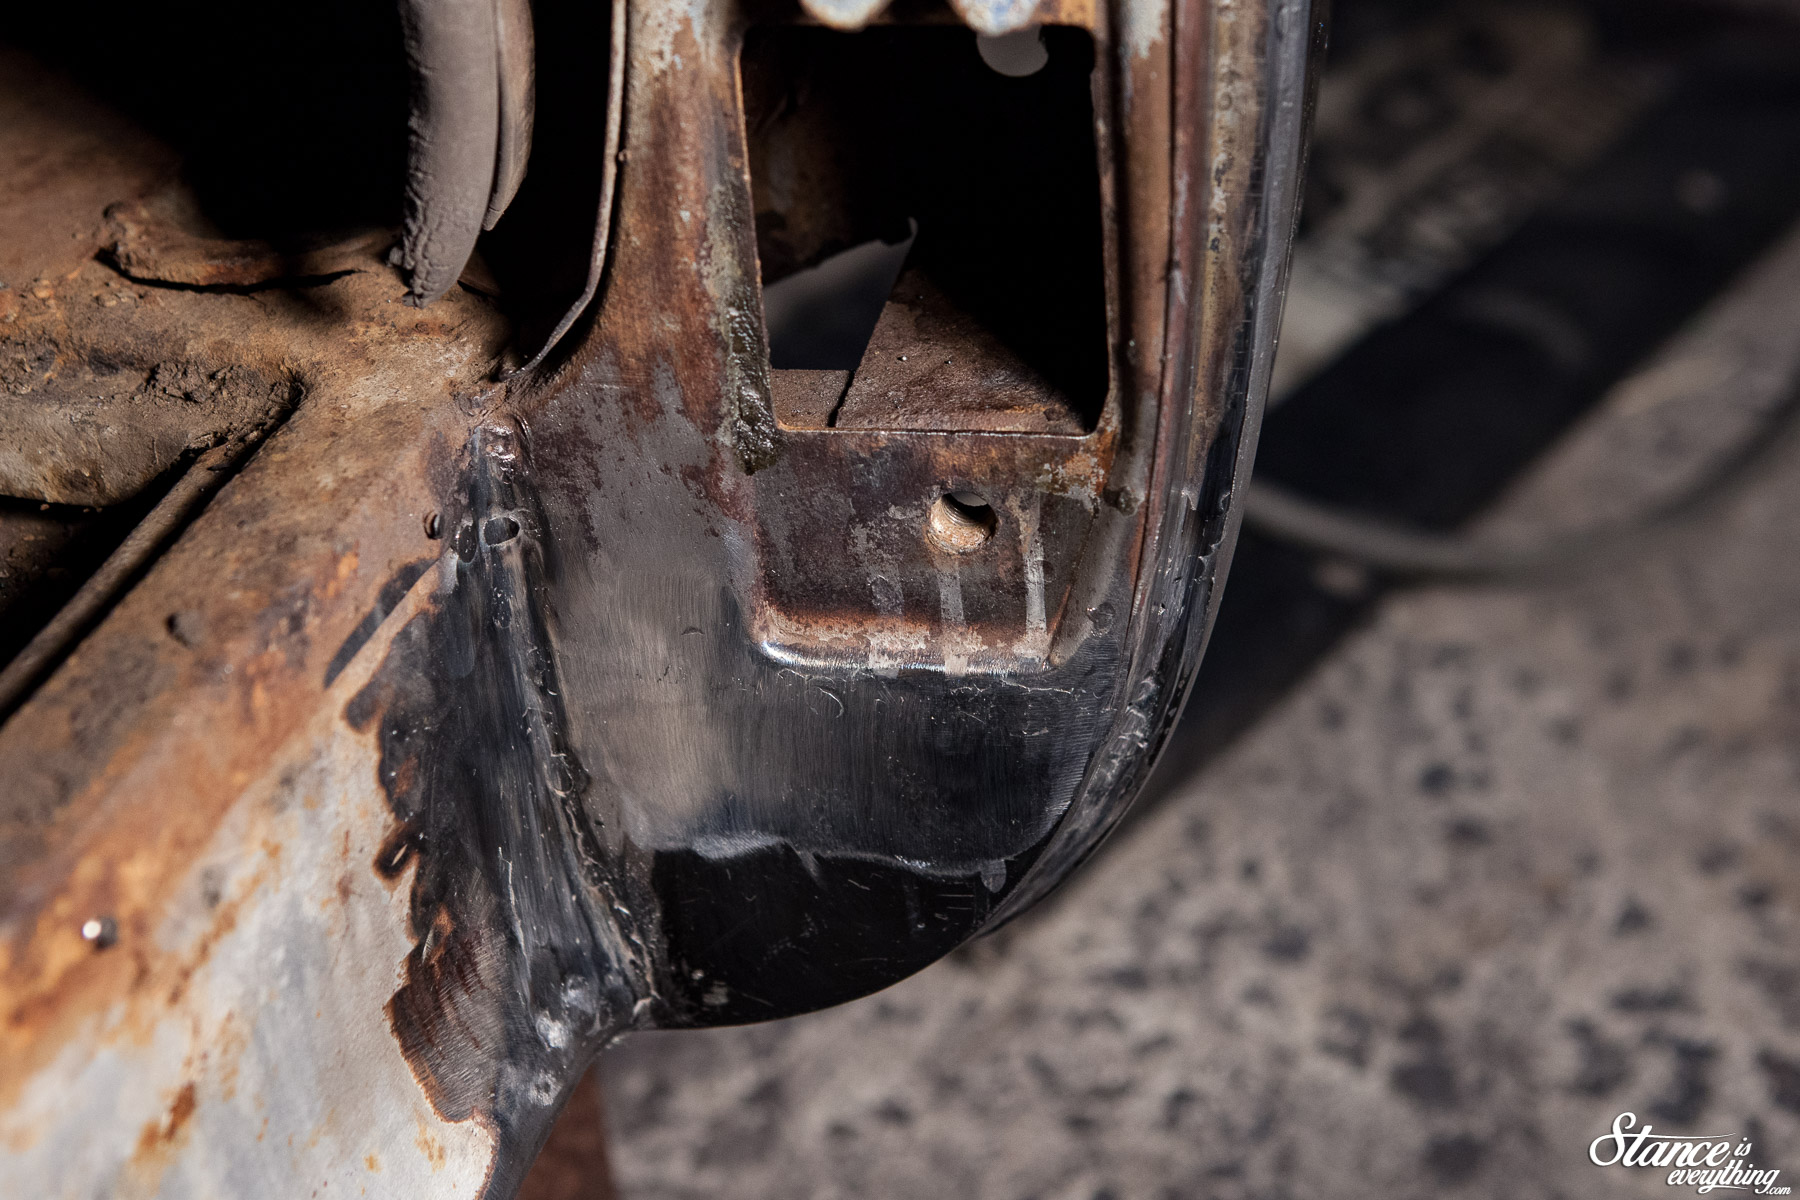 There’s plenty of mud work ahead but a grinder knocked down everything fairly well.
Gassed up on my success I turned my attention to the bulk of the metal repair for the passenger side. The toe board and floor area.
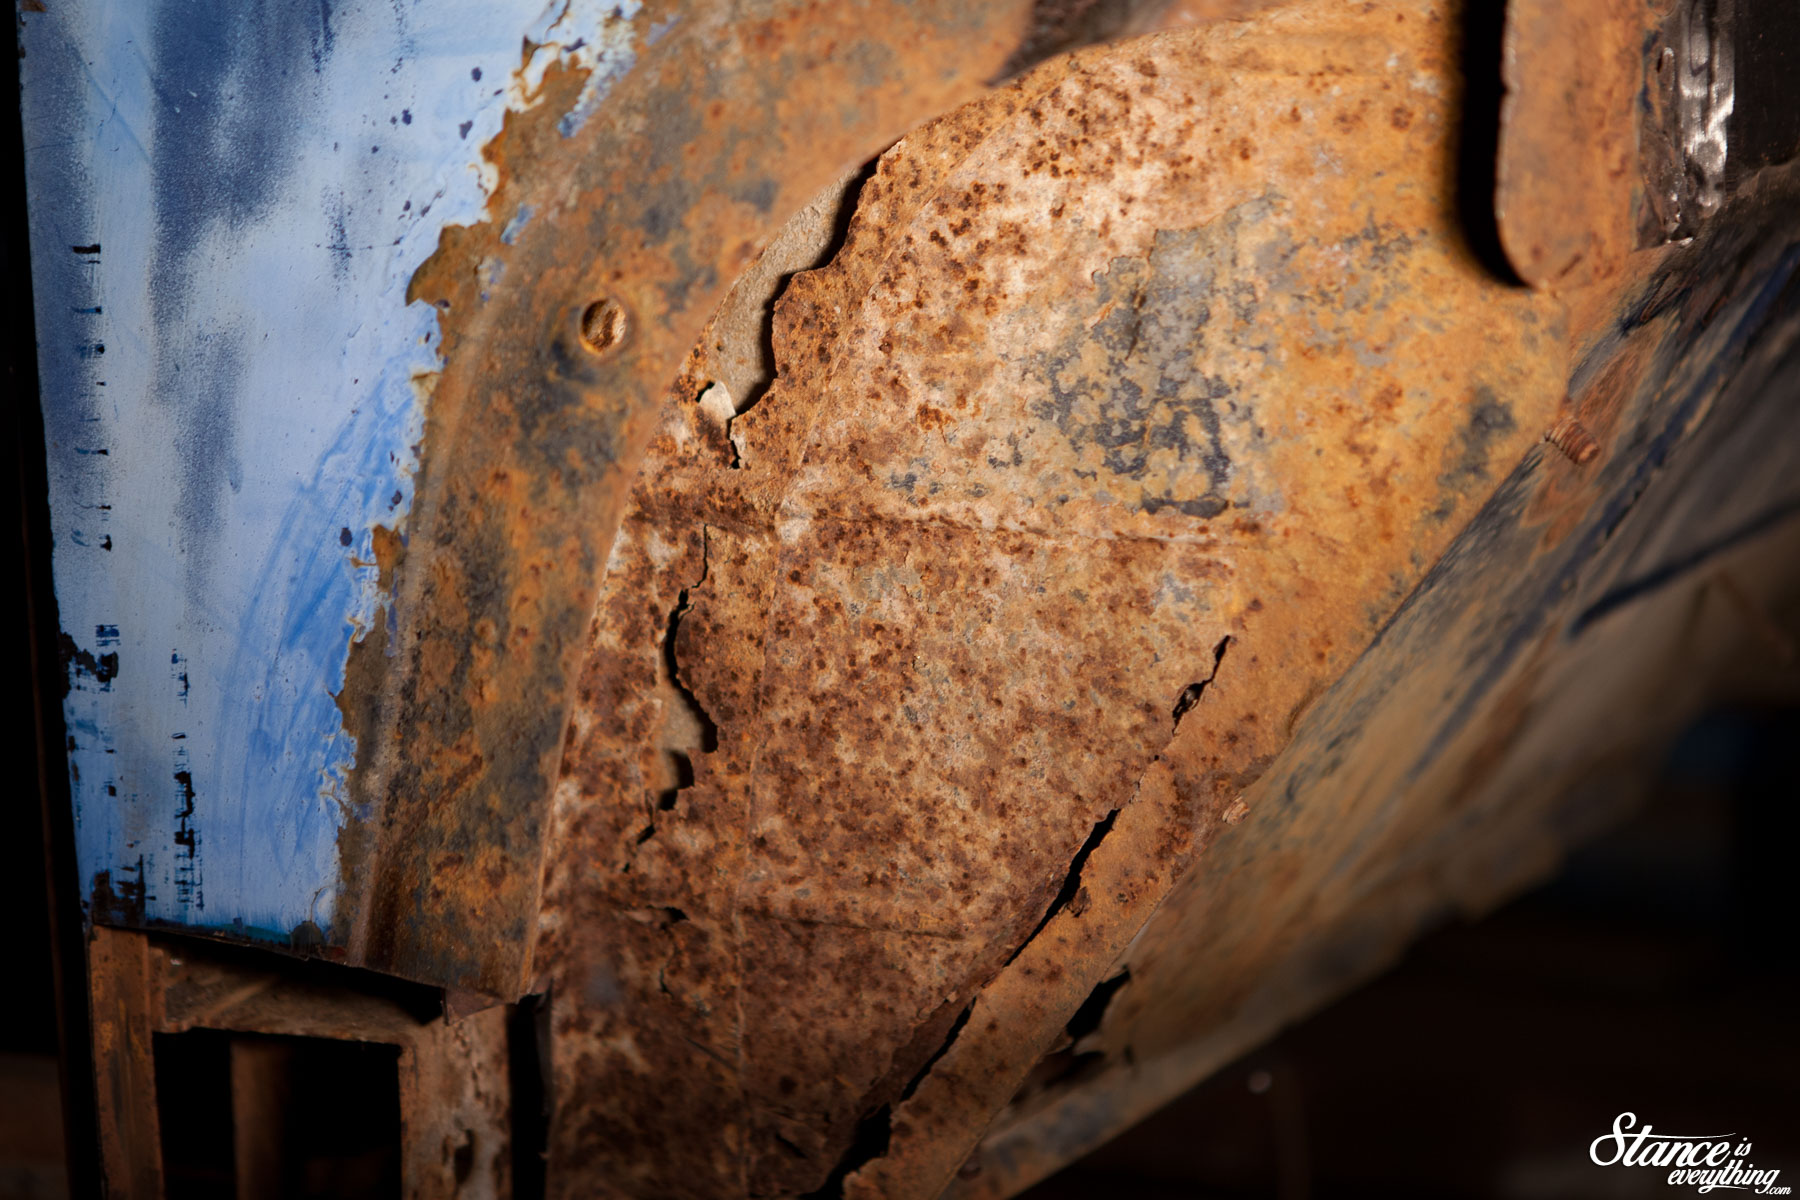
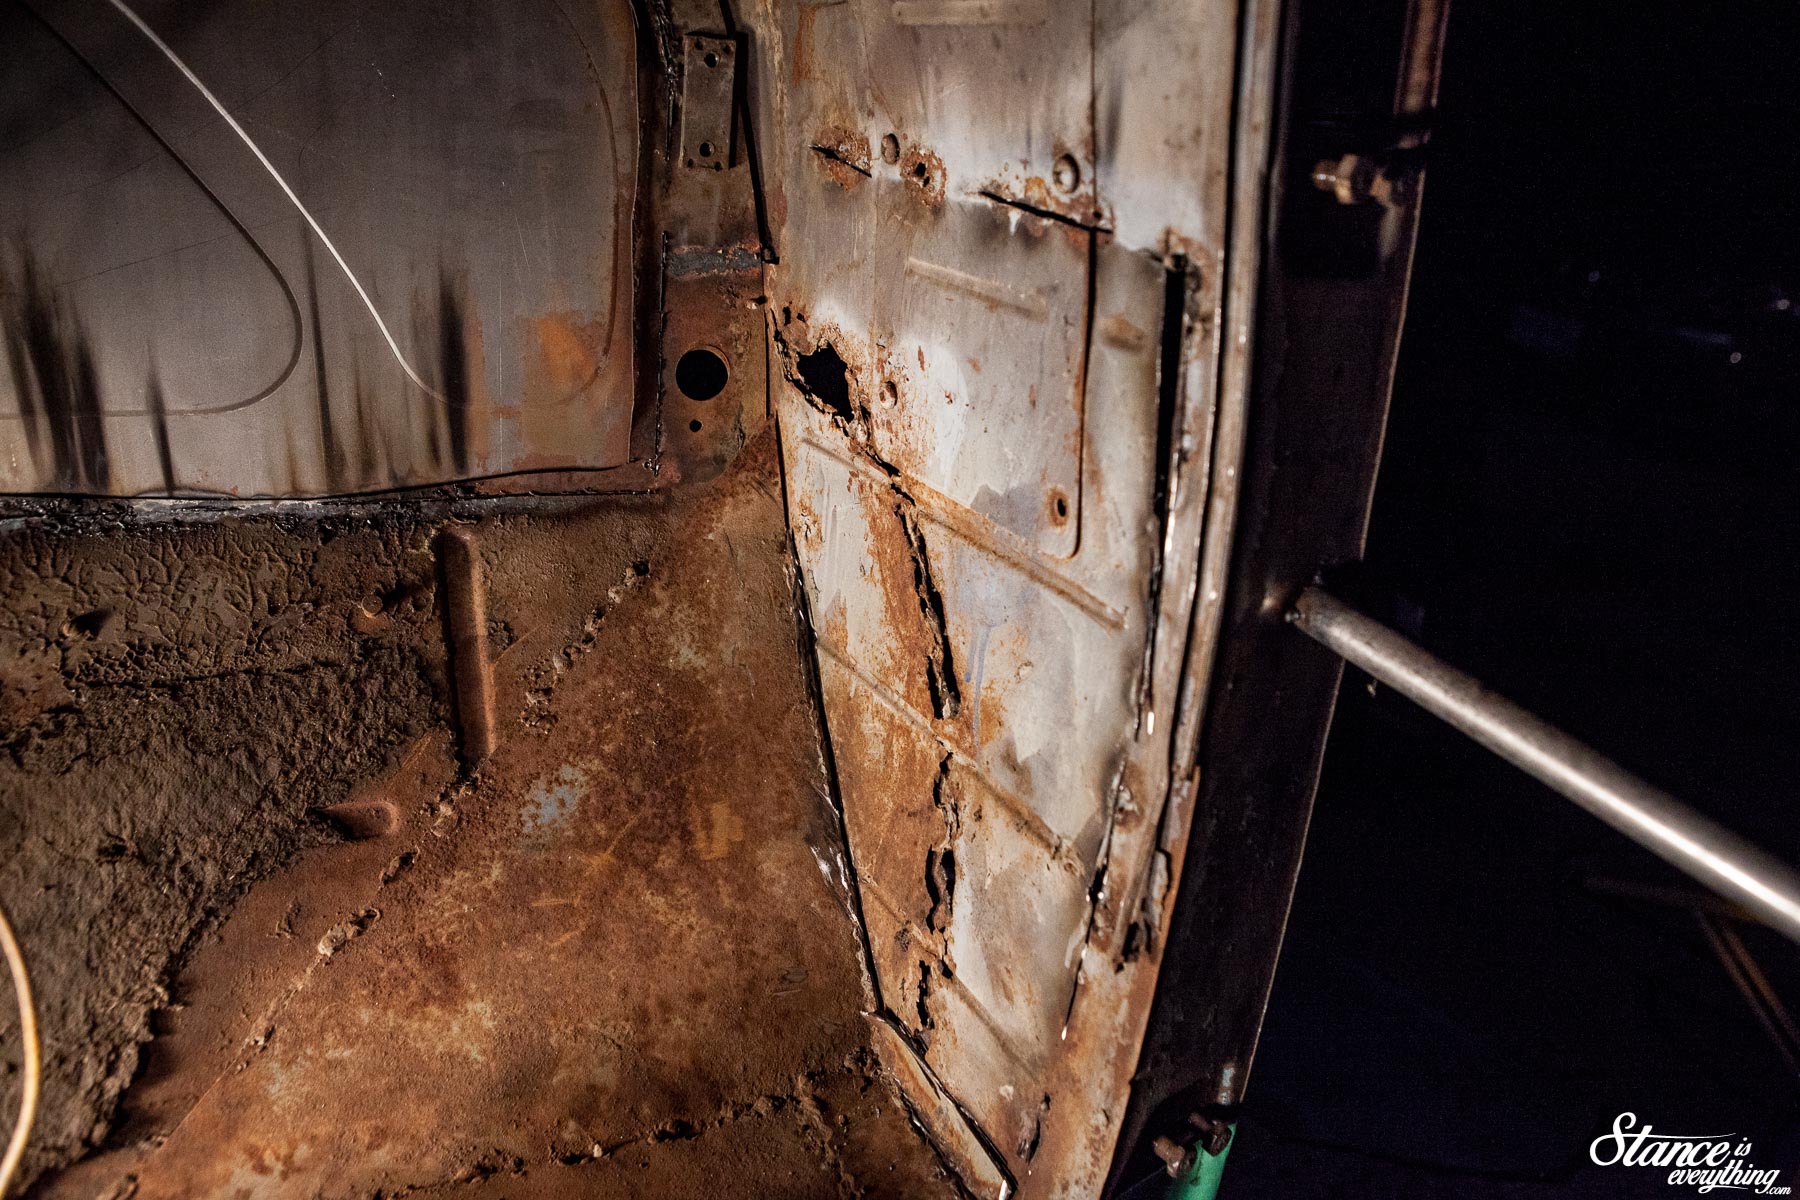
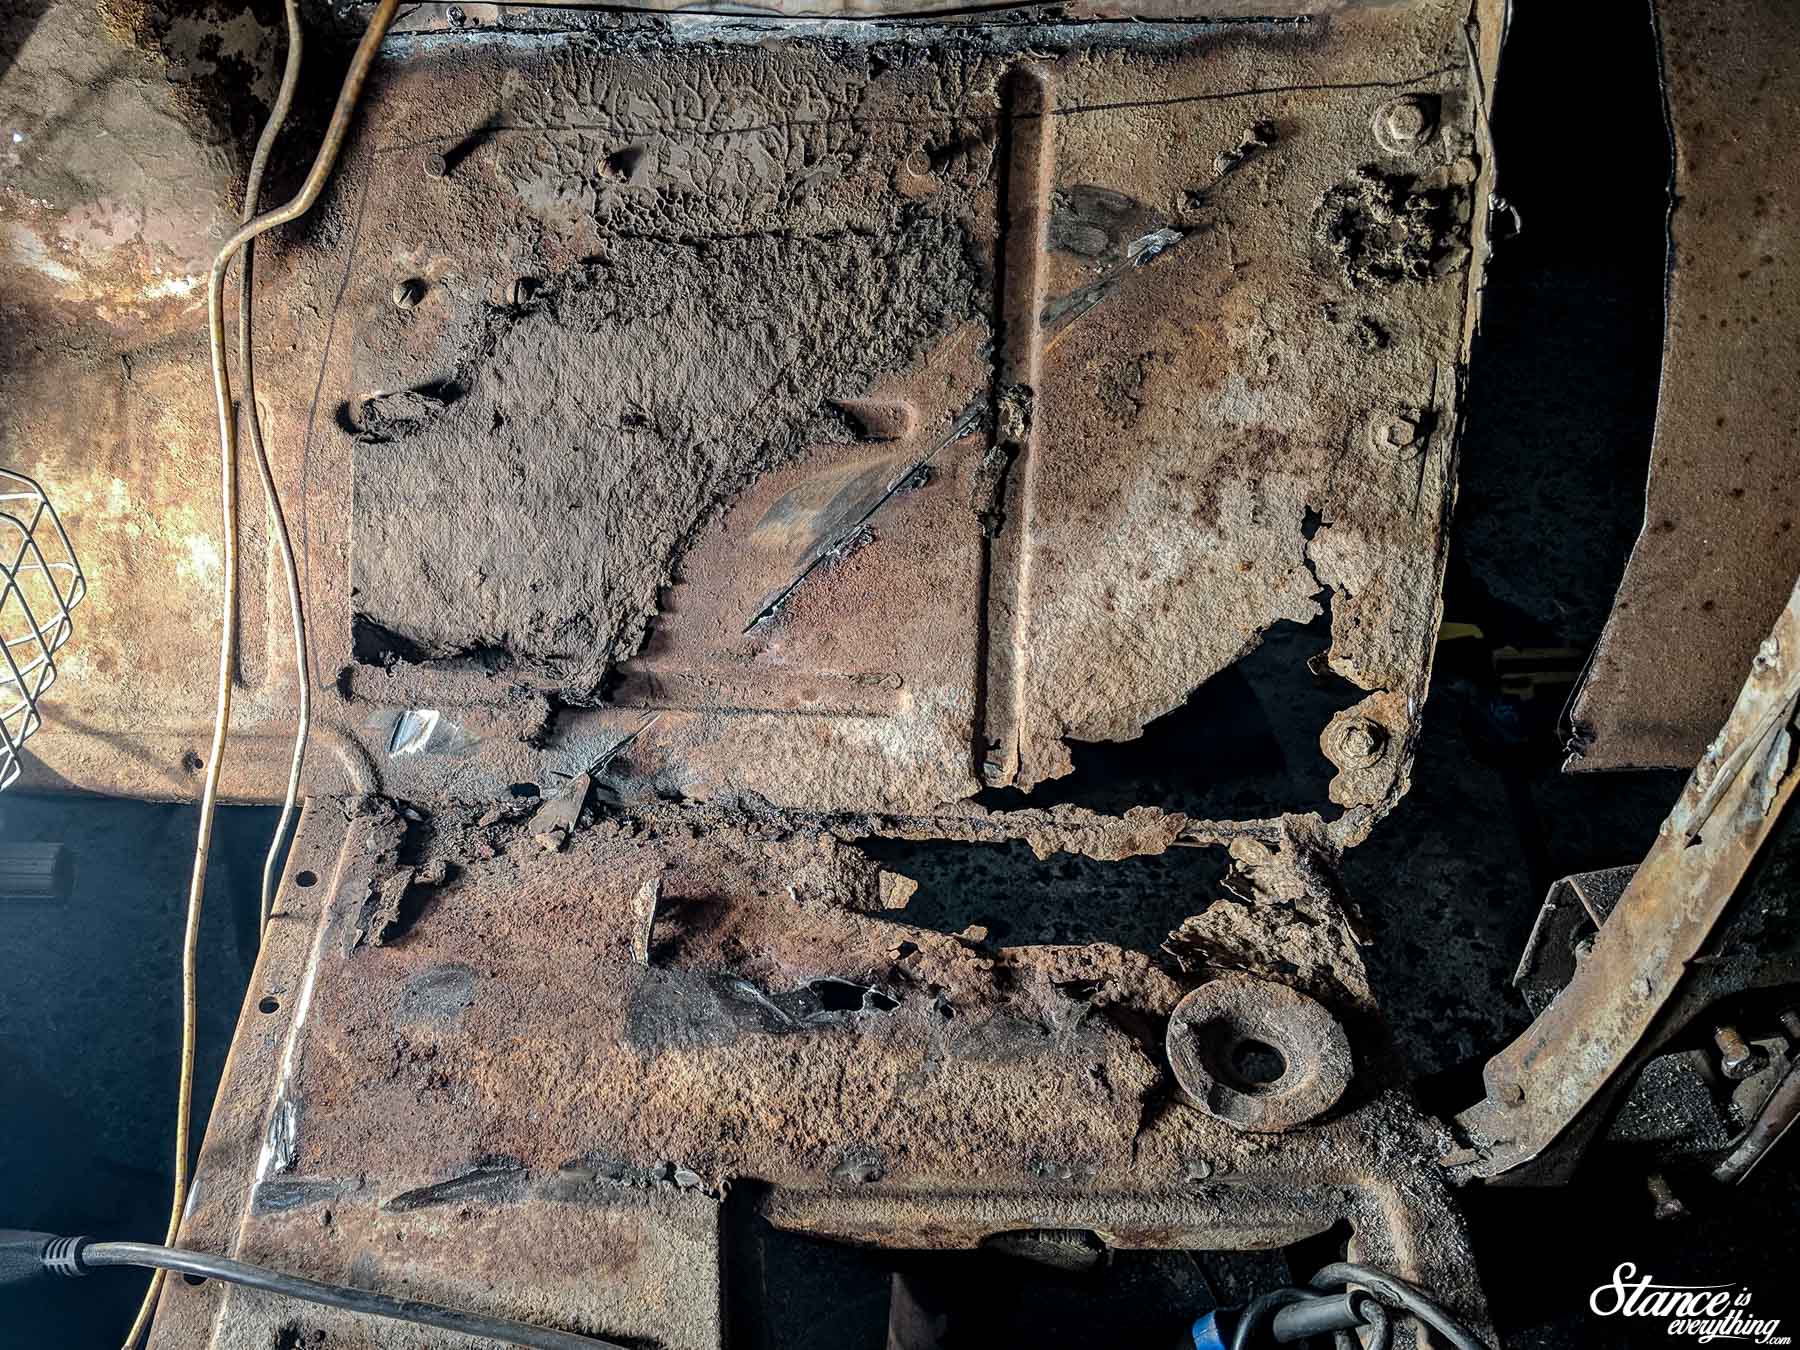
This area had been patched before and I knew some manner of tragedy lay beneath, but I was a little taken aback by just how bad things had become.
If you look at the work above (this photo is after I removed a kick patch) you can see that the patch panel was little more than scabbed into place.
Considering what was left underneath I’m surprised the cab didn’t collapse or buckle inter its own weight.
I cut all of it back leaving as much good metal as possible, even if it made the cuts a little unorthodox.
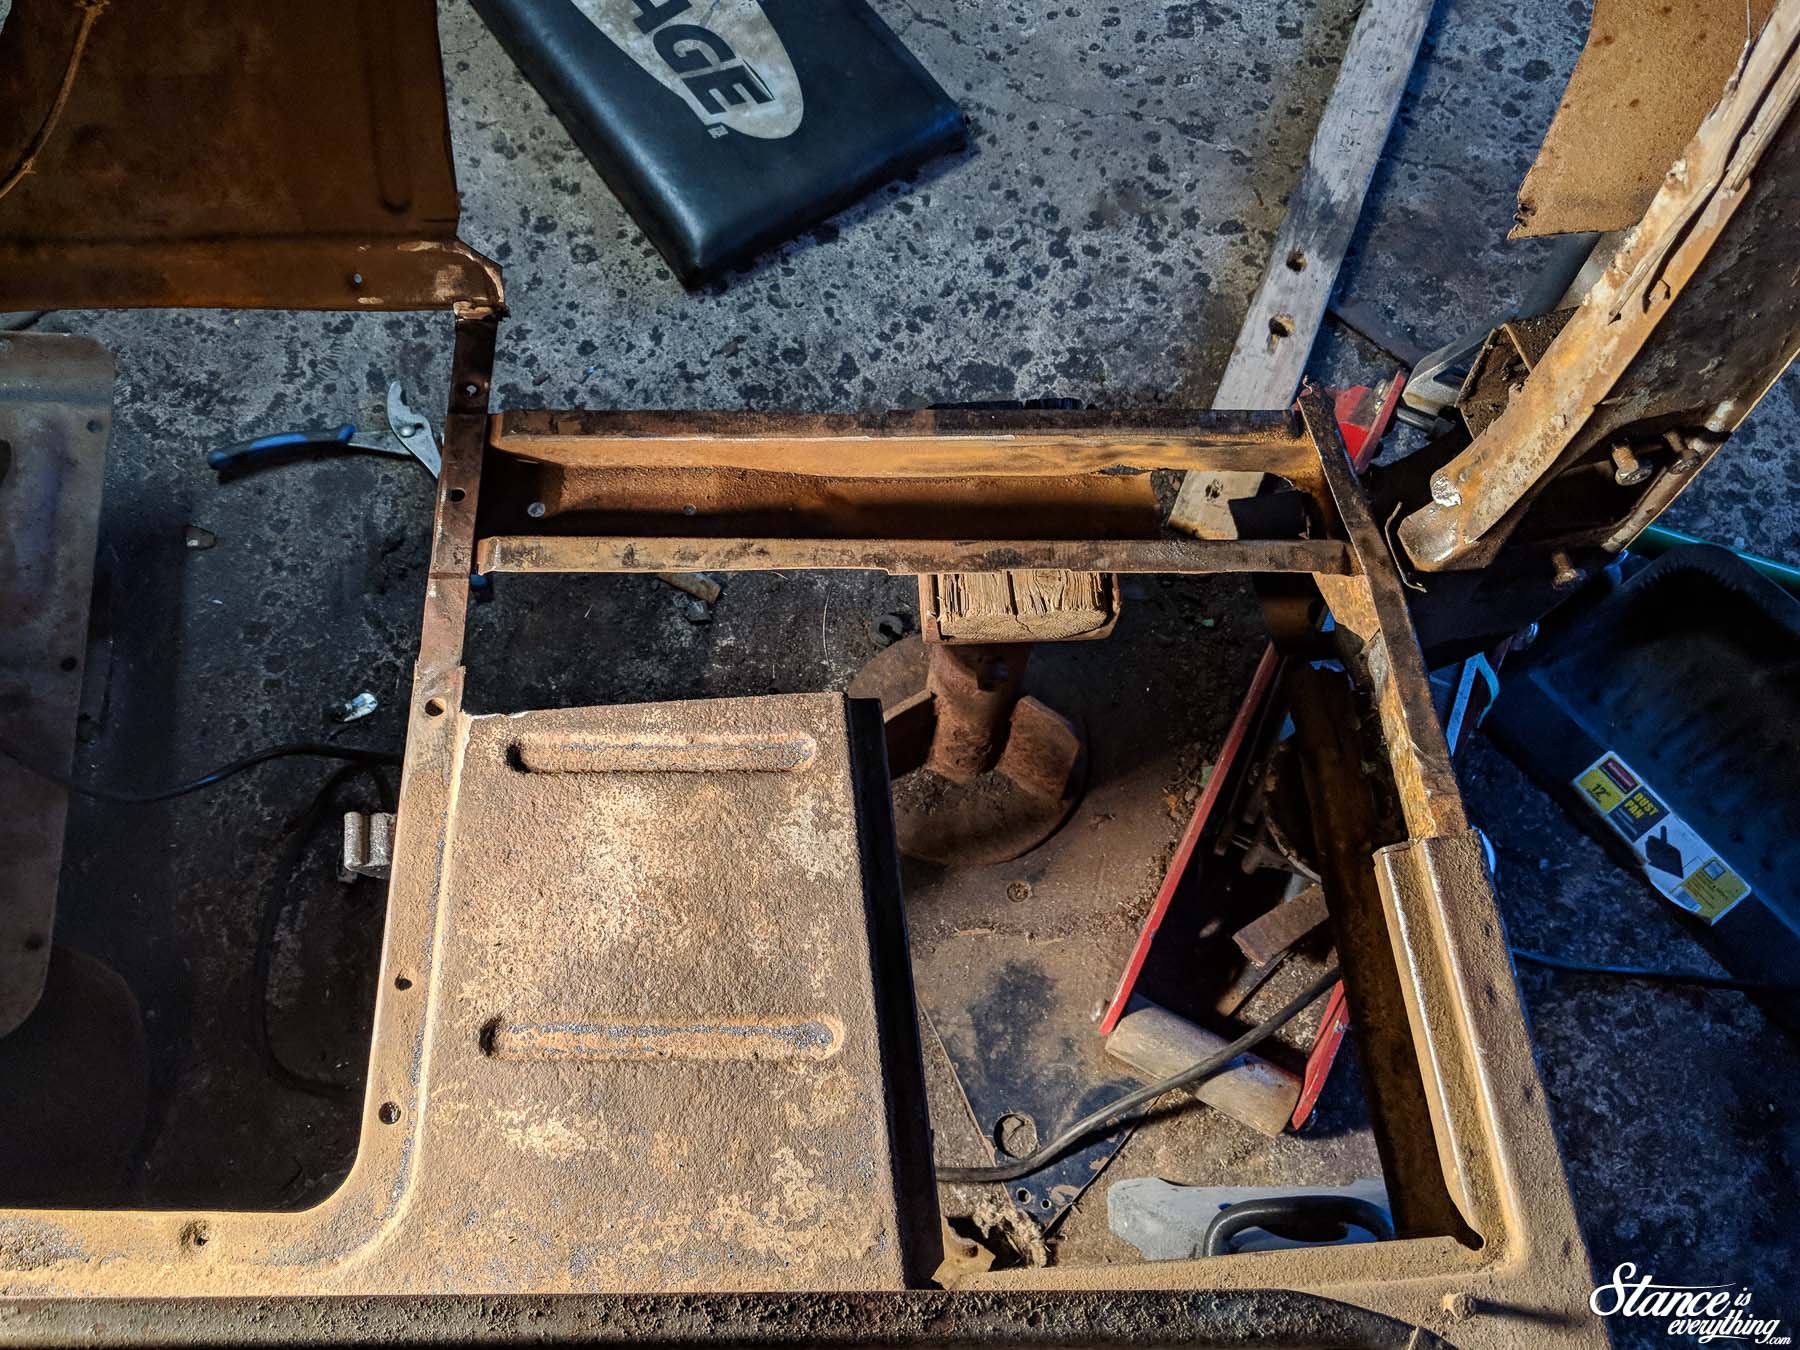
Cancer removed the rest of the floor looked good save for the fact I could see right through the cab support. Crap.
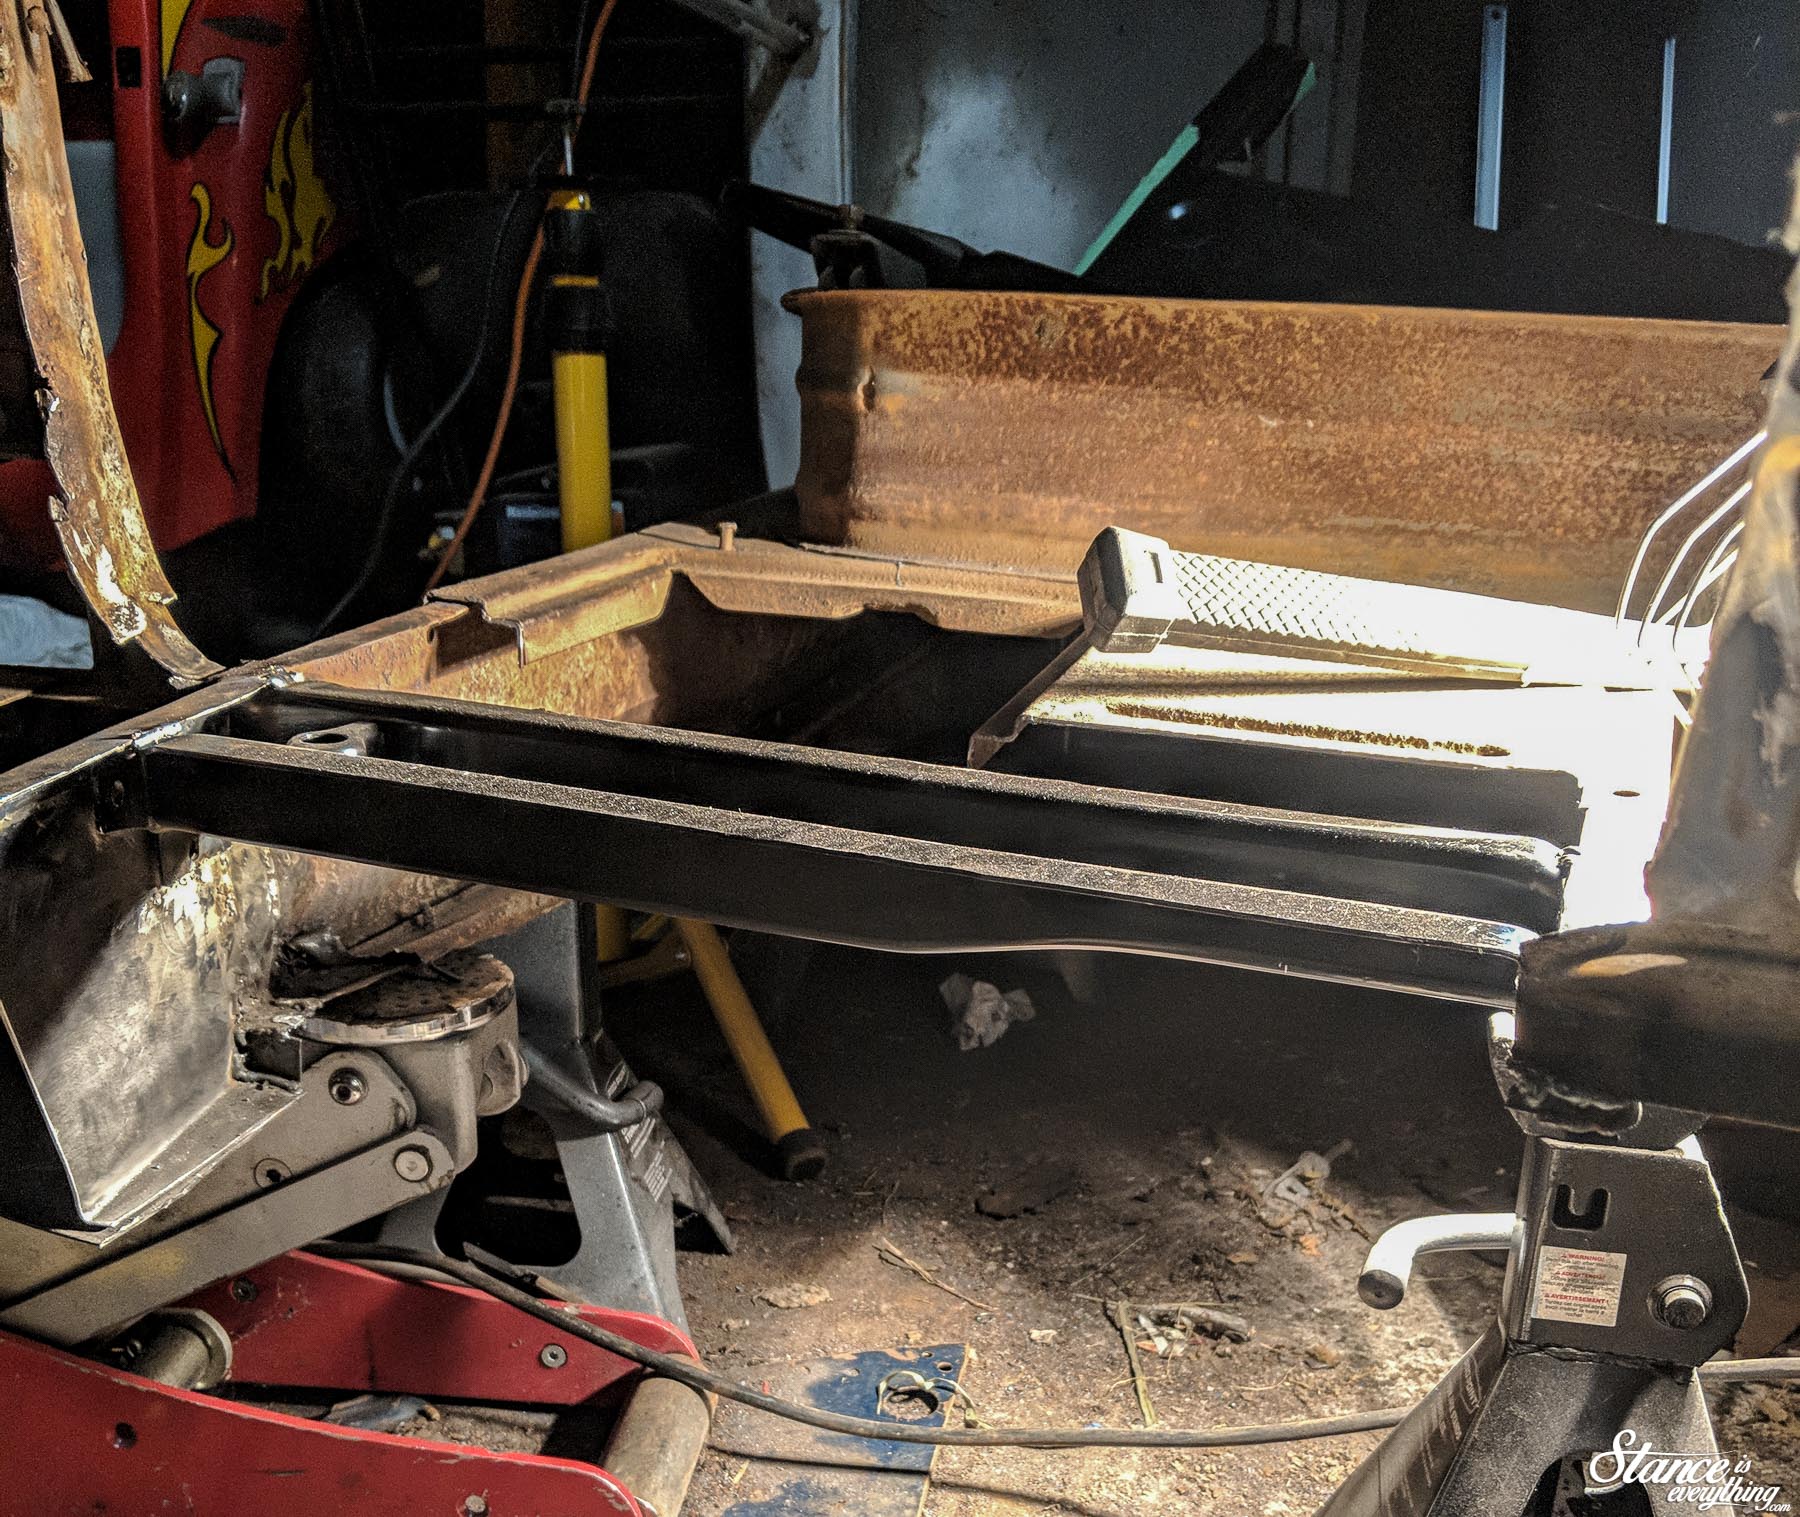
Another run to Bill’s later and I had a new cab support. I think took the OEM one out only to have some of the rocker come with it.
Bamboozled again.
This happened early in a garage session on a Saturday night before a fairly busy week.
Not wanting to give up I rummaged through my cut offs hoping to find something suitable for a patch.
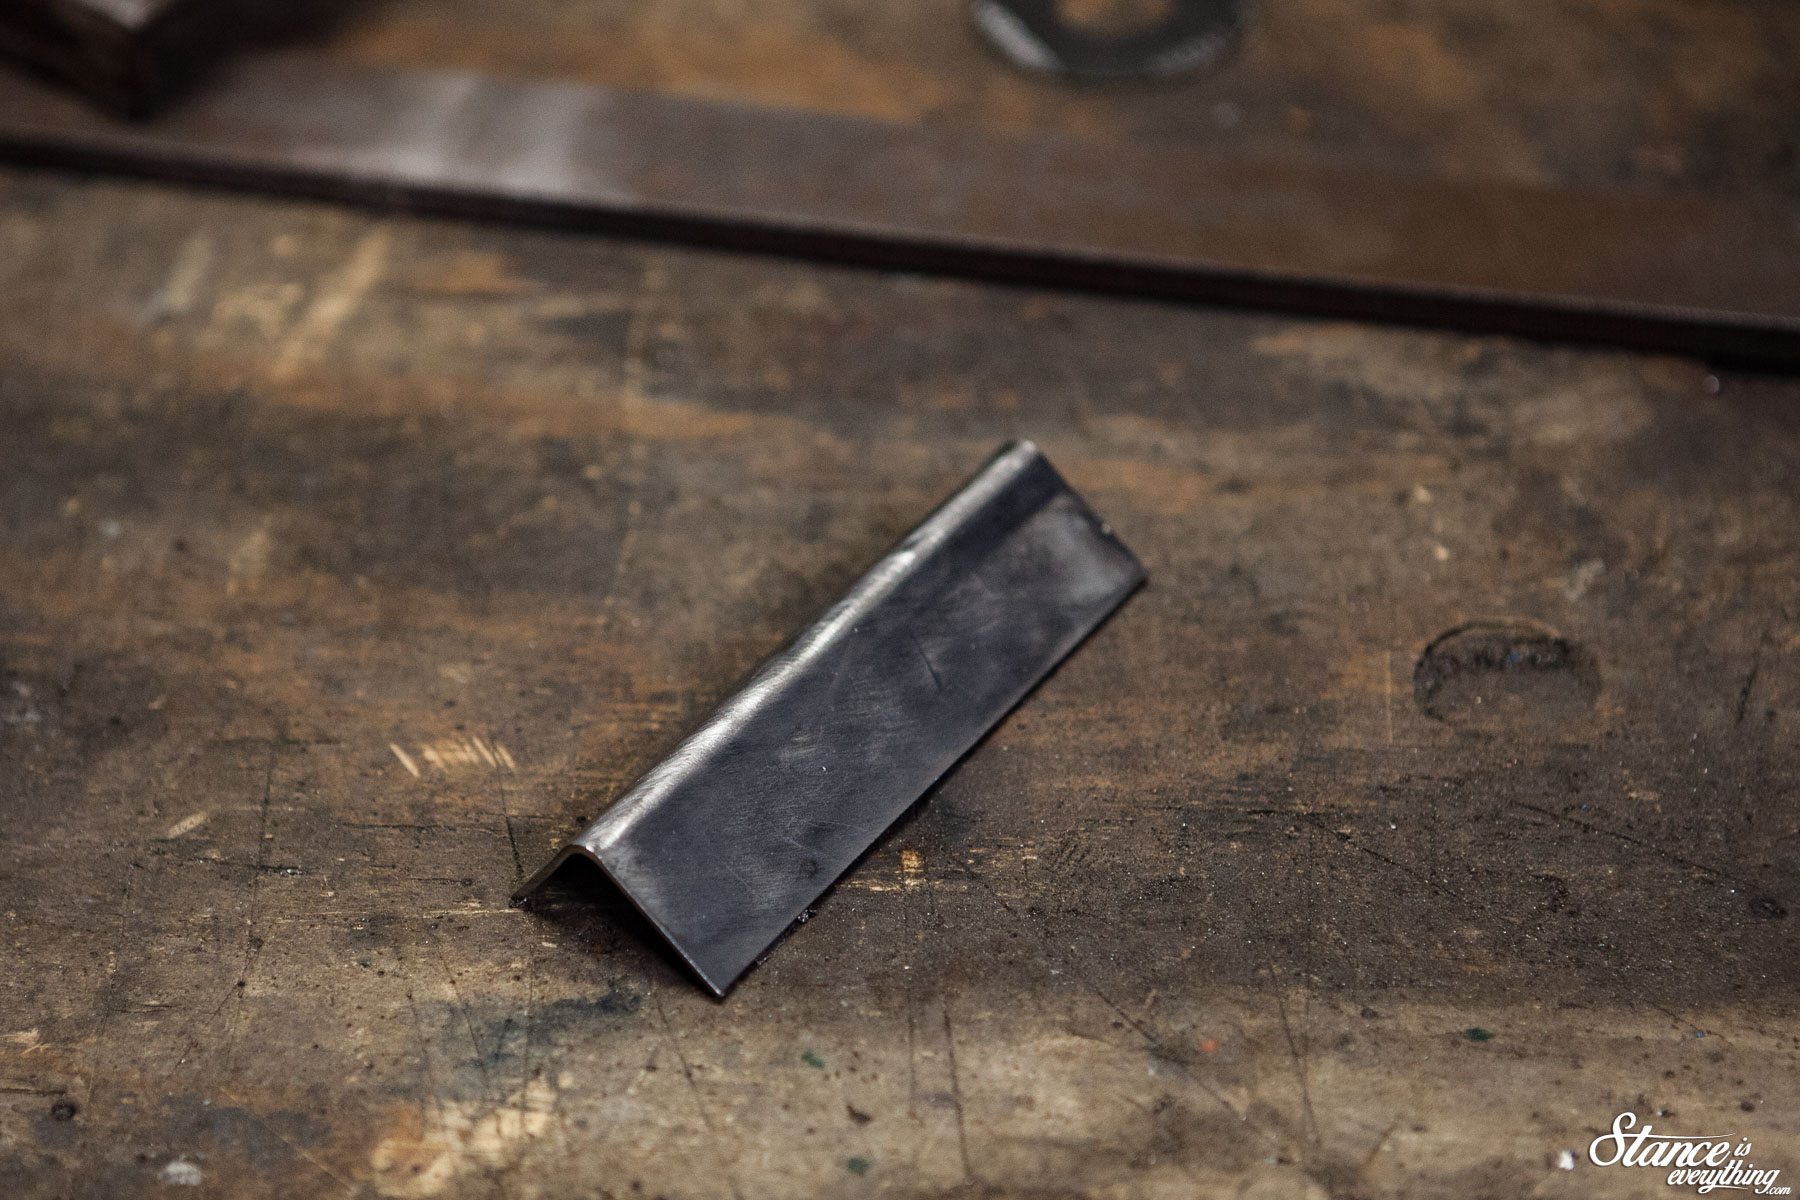
In a rare stroke of luck the previous floor patches were surprisingly thick gauge. Slightly overkill for the floor but perfect for a new rocker, and part of a floor support.
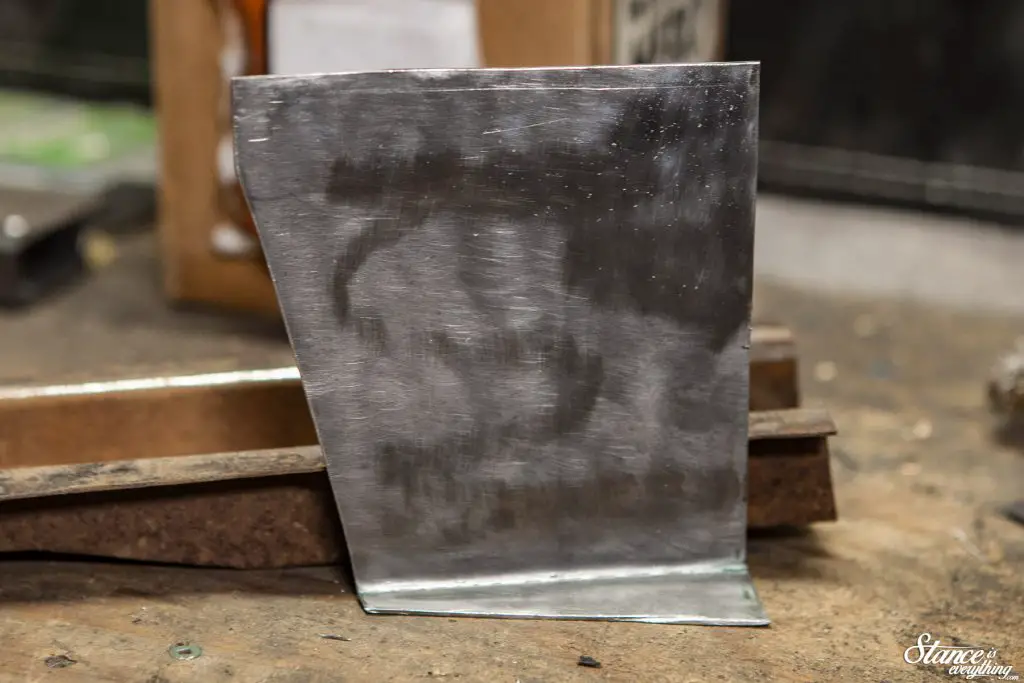 Grind, cut, hammer, smash and I was able to make the patch panels I needed. I finished them early into the next morning leaving just enough time to tack them into place before calling it quits for the night.
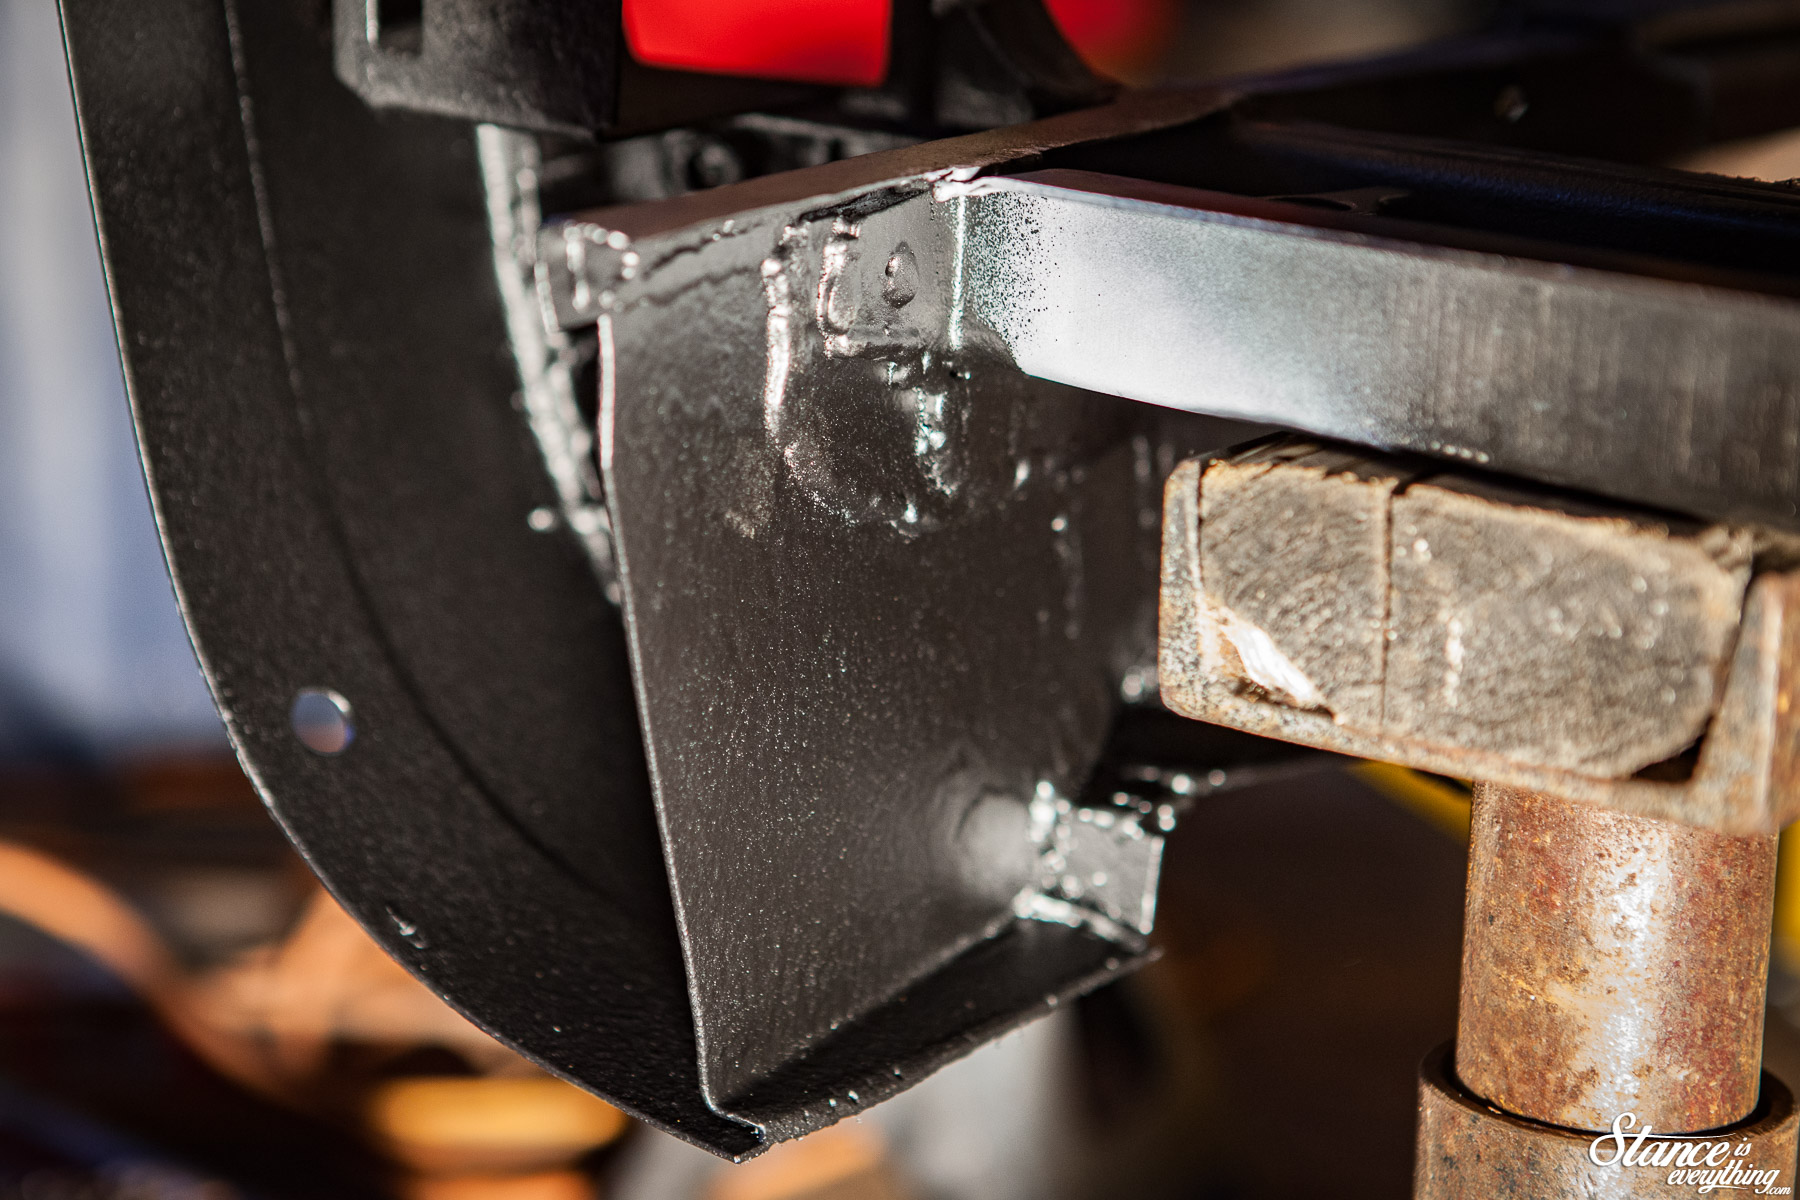
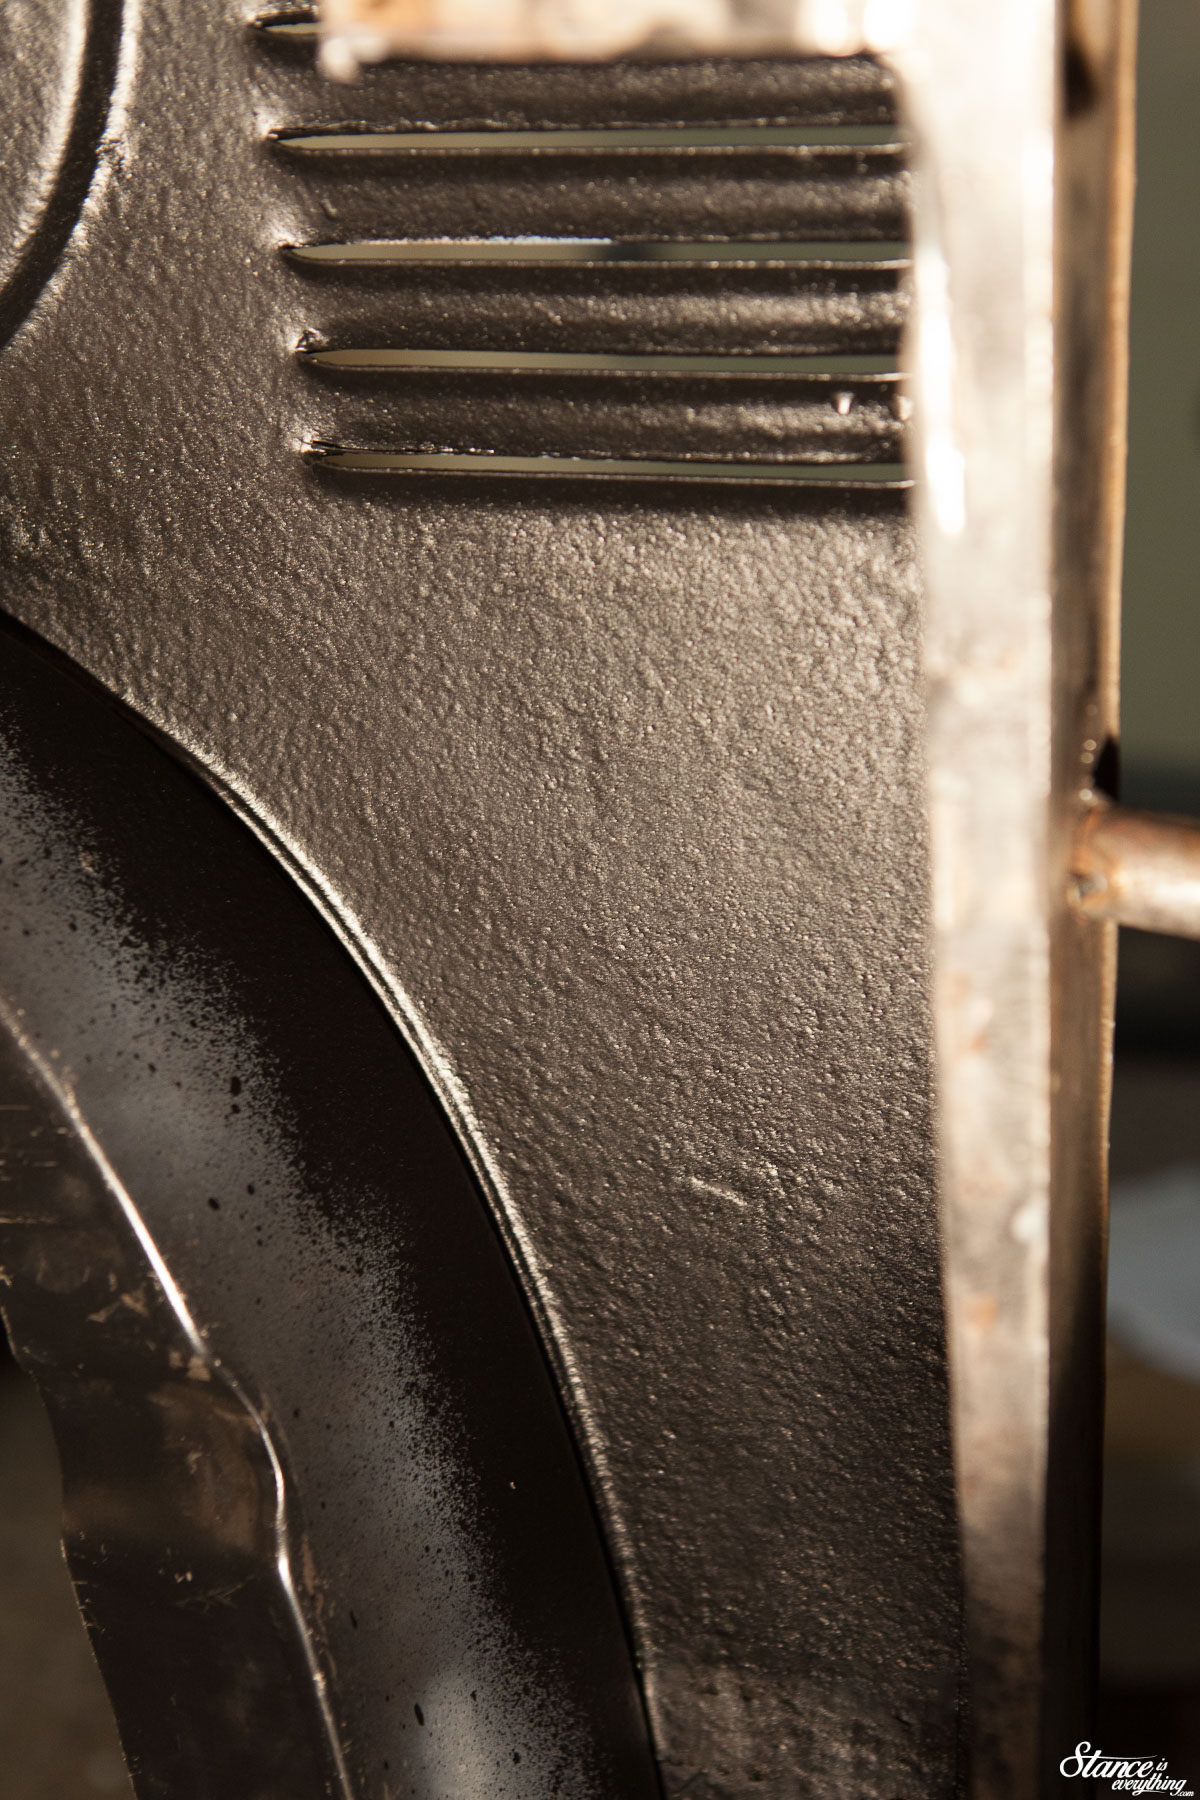
Satisfied with the way everything was fitting up, I saved final welding for later that same week, before hitting the new panels with some primer and the armatures best friend, Rocker Guard.
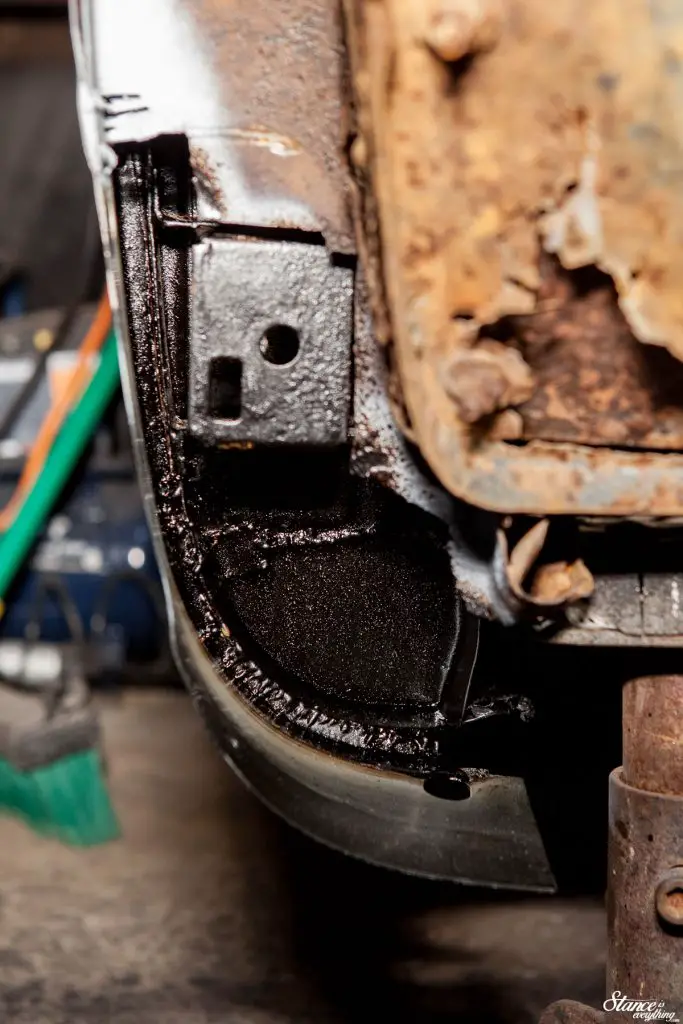 No lie (this is a safe space right?) I was really relieved that the cab support didn’t separate from the rocker the minute I let it down on my jack stands.
With not a lot of space to work on my back it was penetration before beauty got this work.
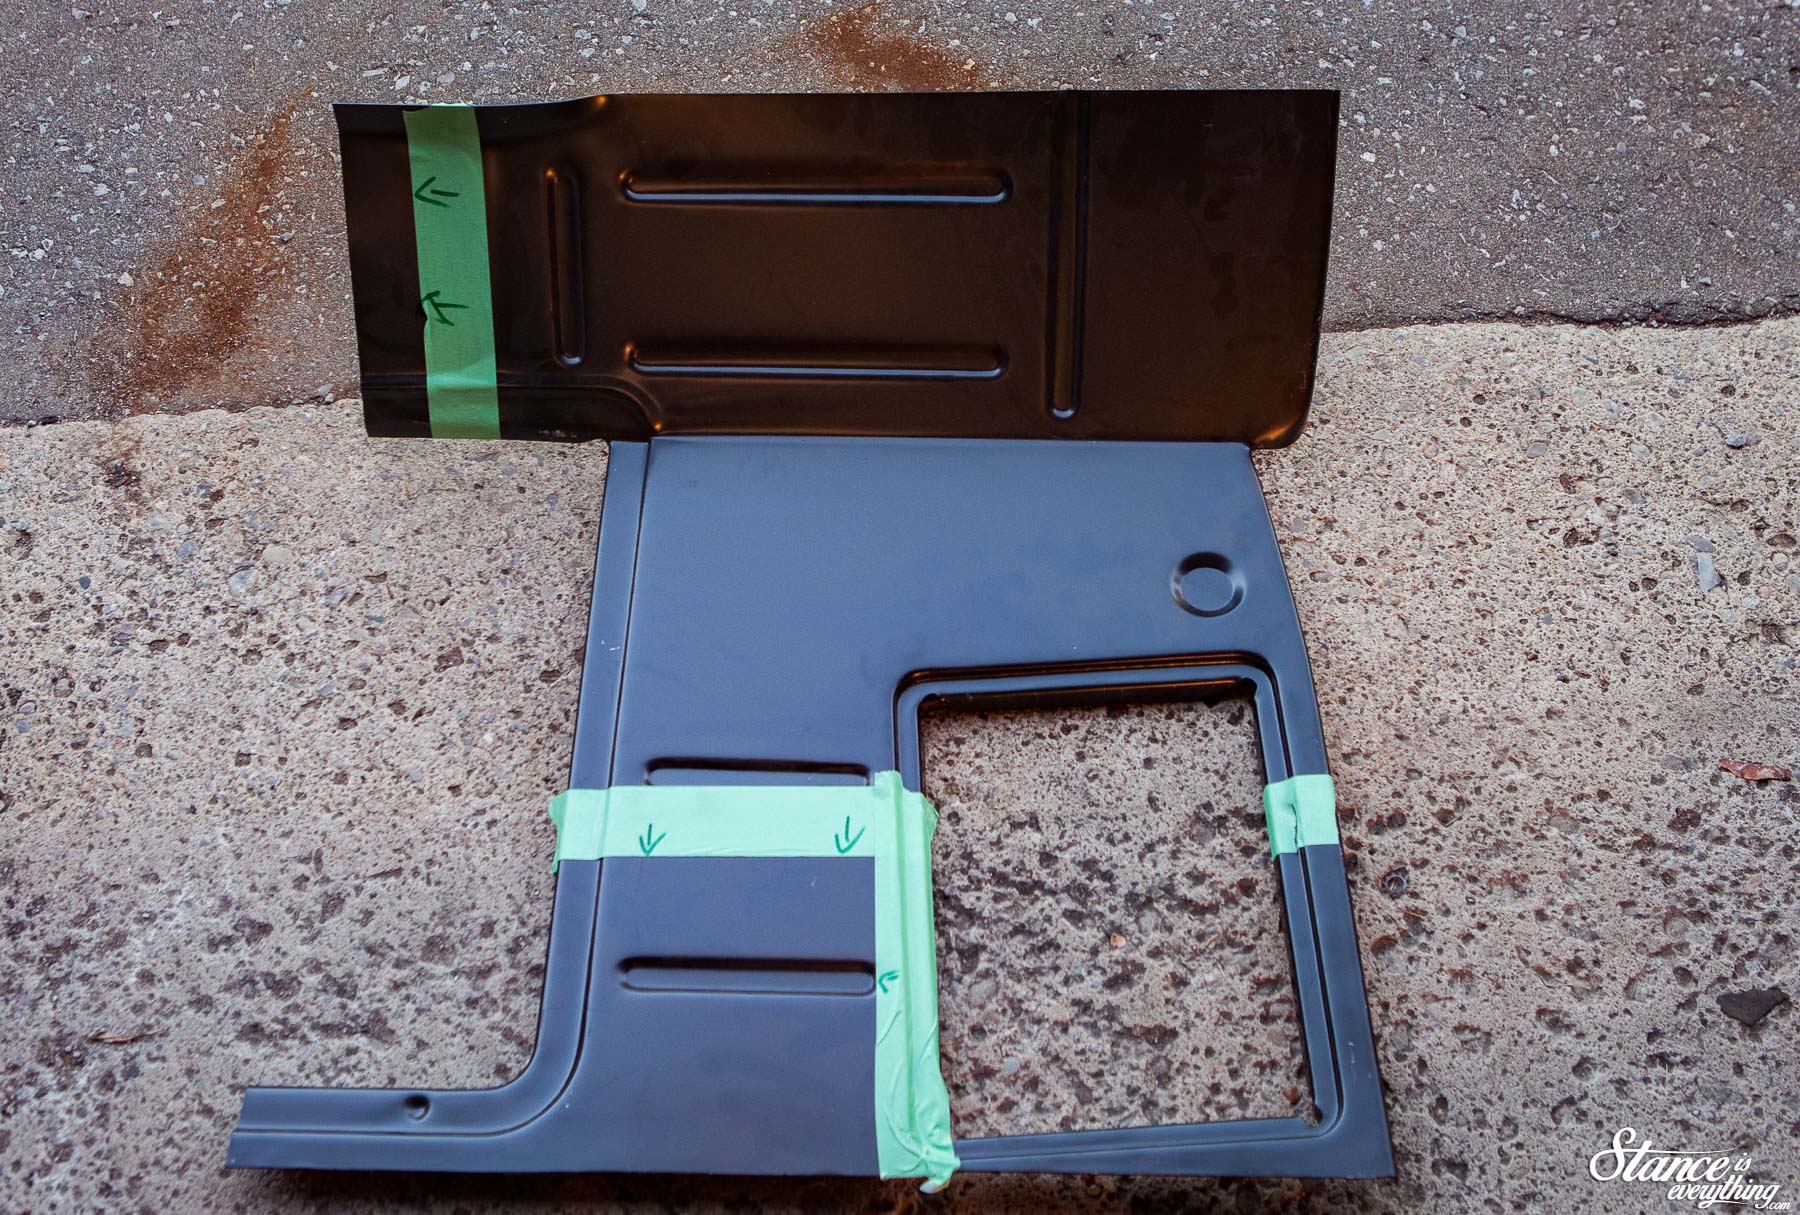
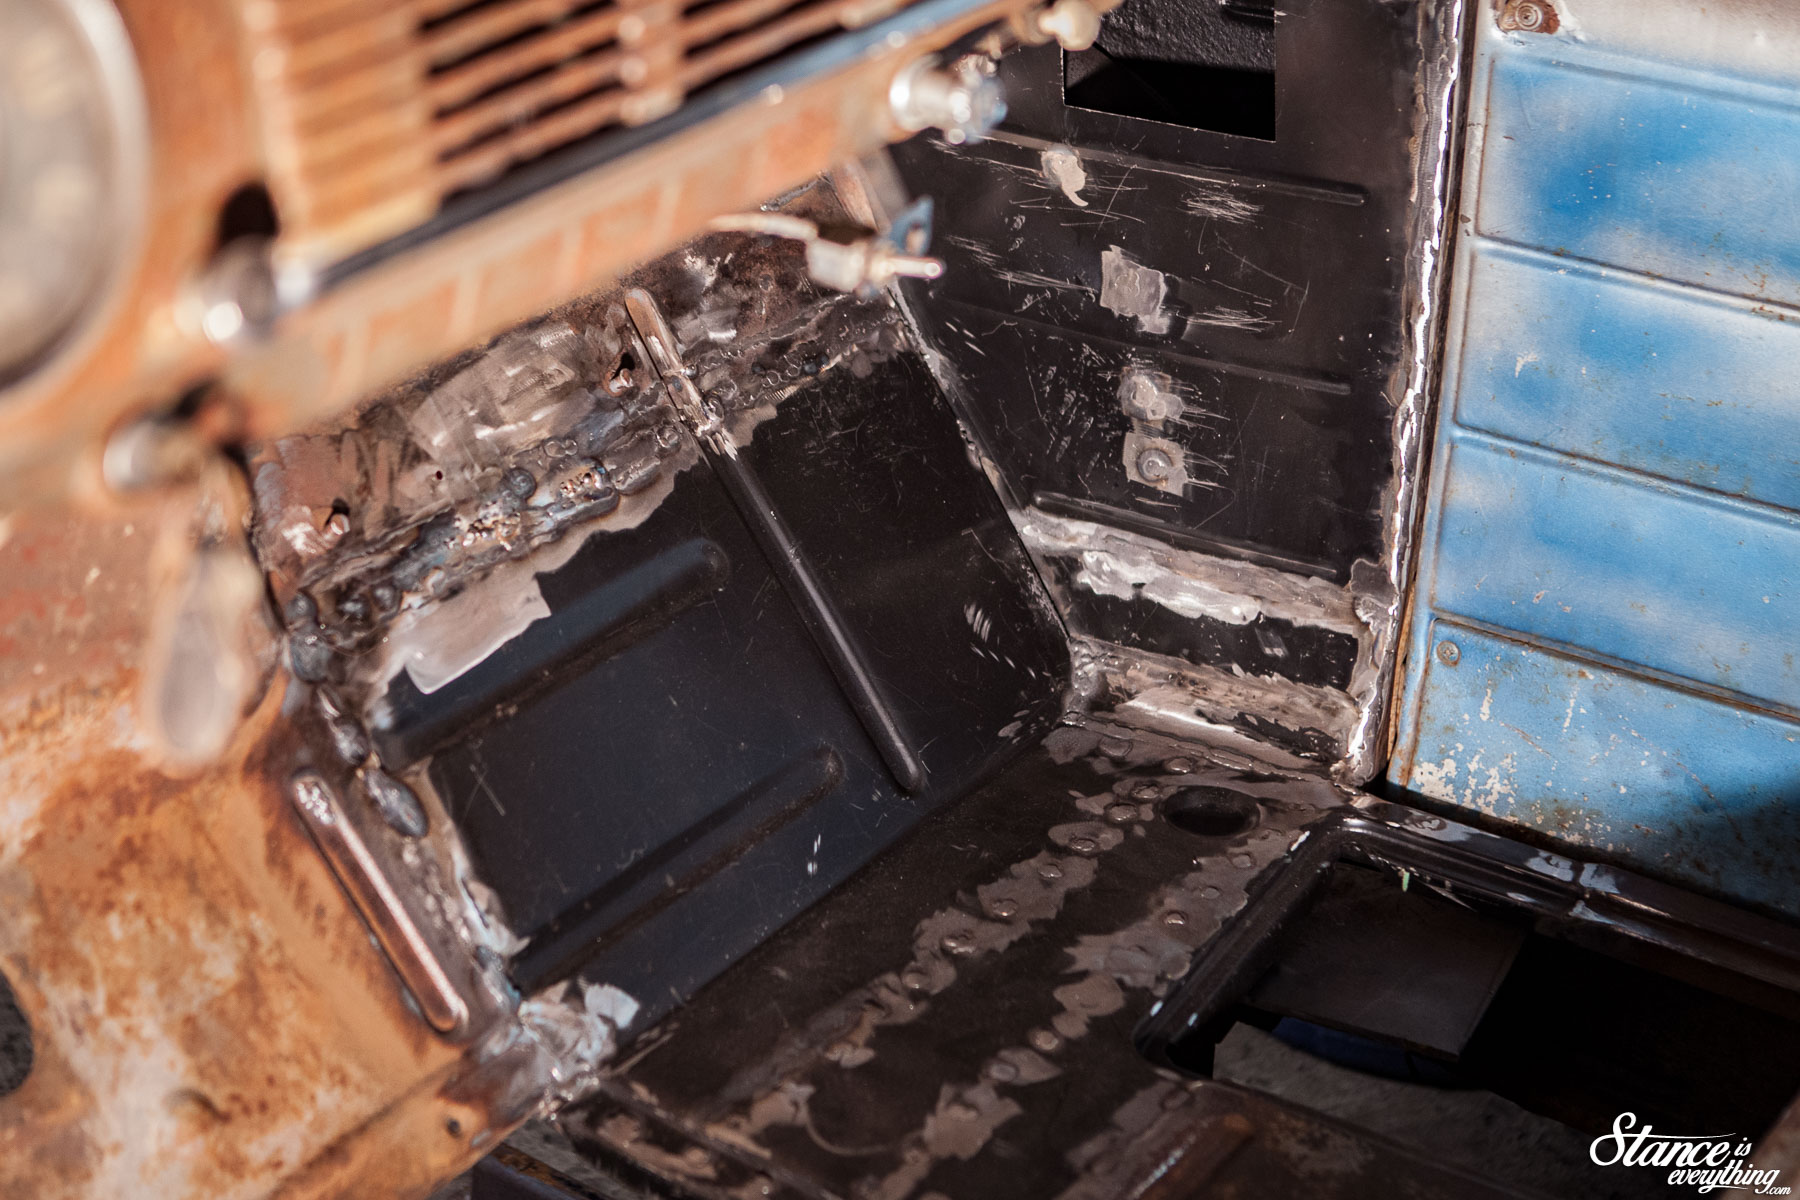
The next step was to mark the replacement floor panel. As mentioned I chose to retain as much factory metal as possible. Particularly I wanted to retain as many corners of the battery cover as possible as the oem cover didn’t fit the new floor.
As good as replacement panels might be, nothing fits quite like the factory metal. If it survived a hammer and punch test it stayed.
To line up where my spot welds needed to be I did a little artwork on underside of the replacement panel.
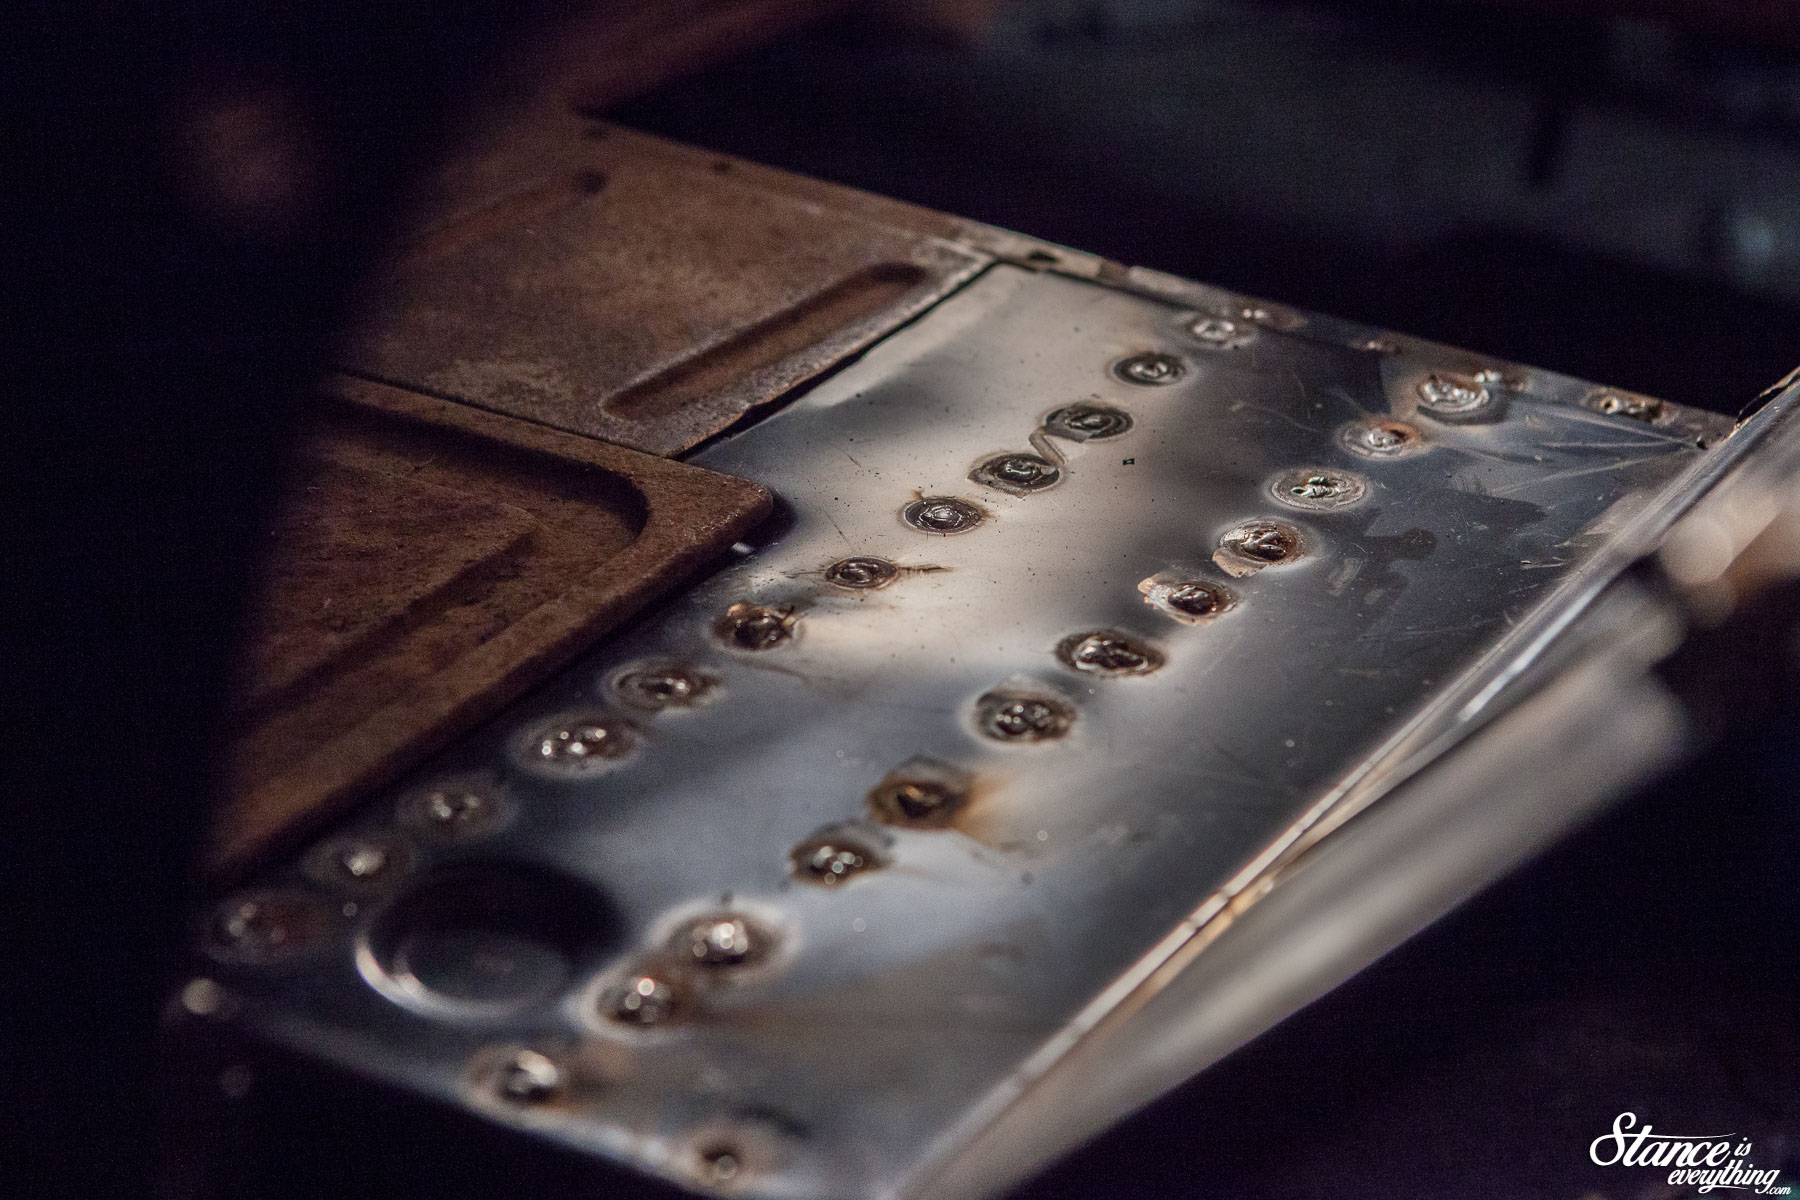
I tacked the floor to the cab support first to keep things from shifting while I did the rest.
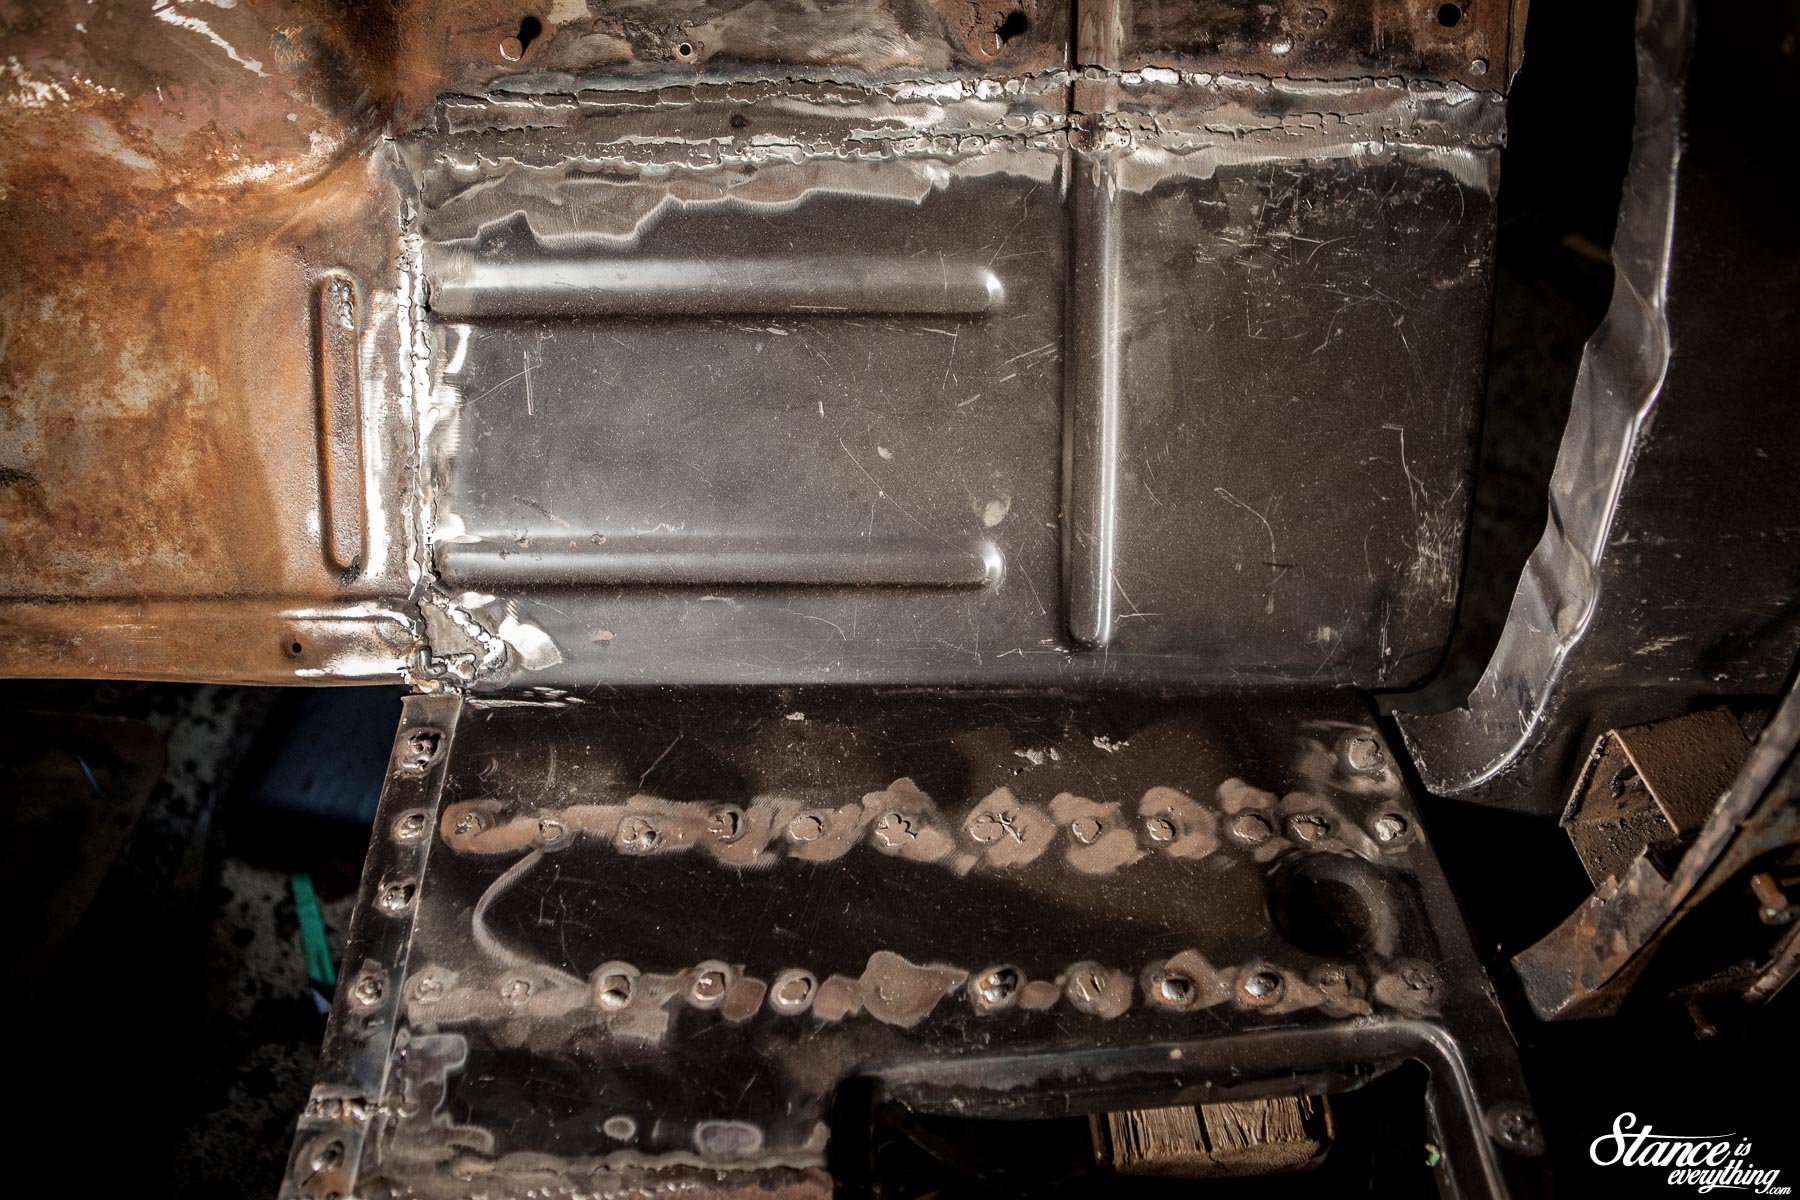
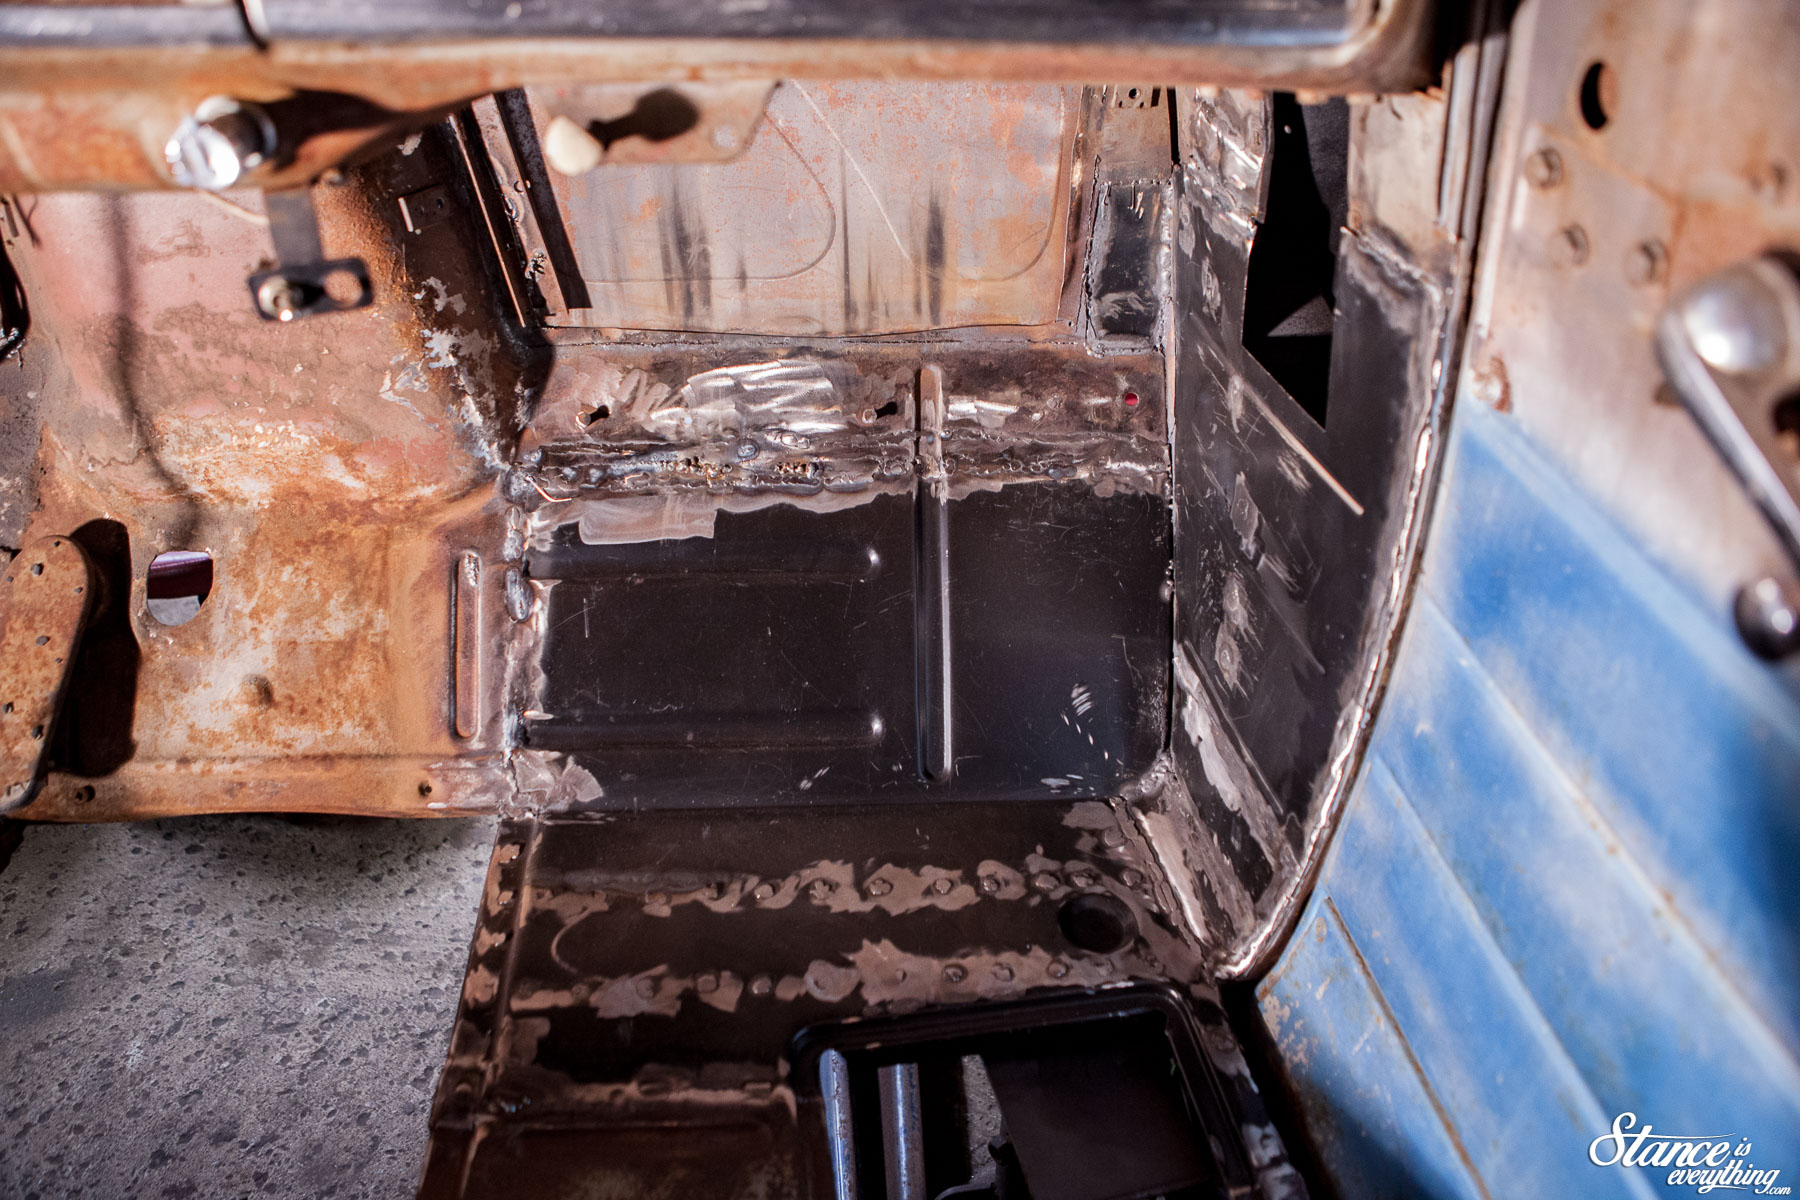
 Weld, grind, weld –you’ve seen me do this before–and the floor was in. Yep, the double weld line appears again. I got a little over zealous removing the factory floor. Luckily I kept what I cut out.
Rookie.
Before closing in the kick panel area for good, I gave all the original metal a coat of rust primer and more rocker guard. I couldn’t just leave it as it was, even though the bulk of the rust here was just surface.
I’ll also be spraying some rust proof in the panels once everything is complete.
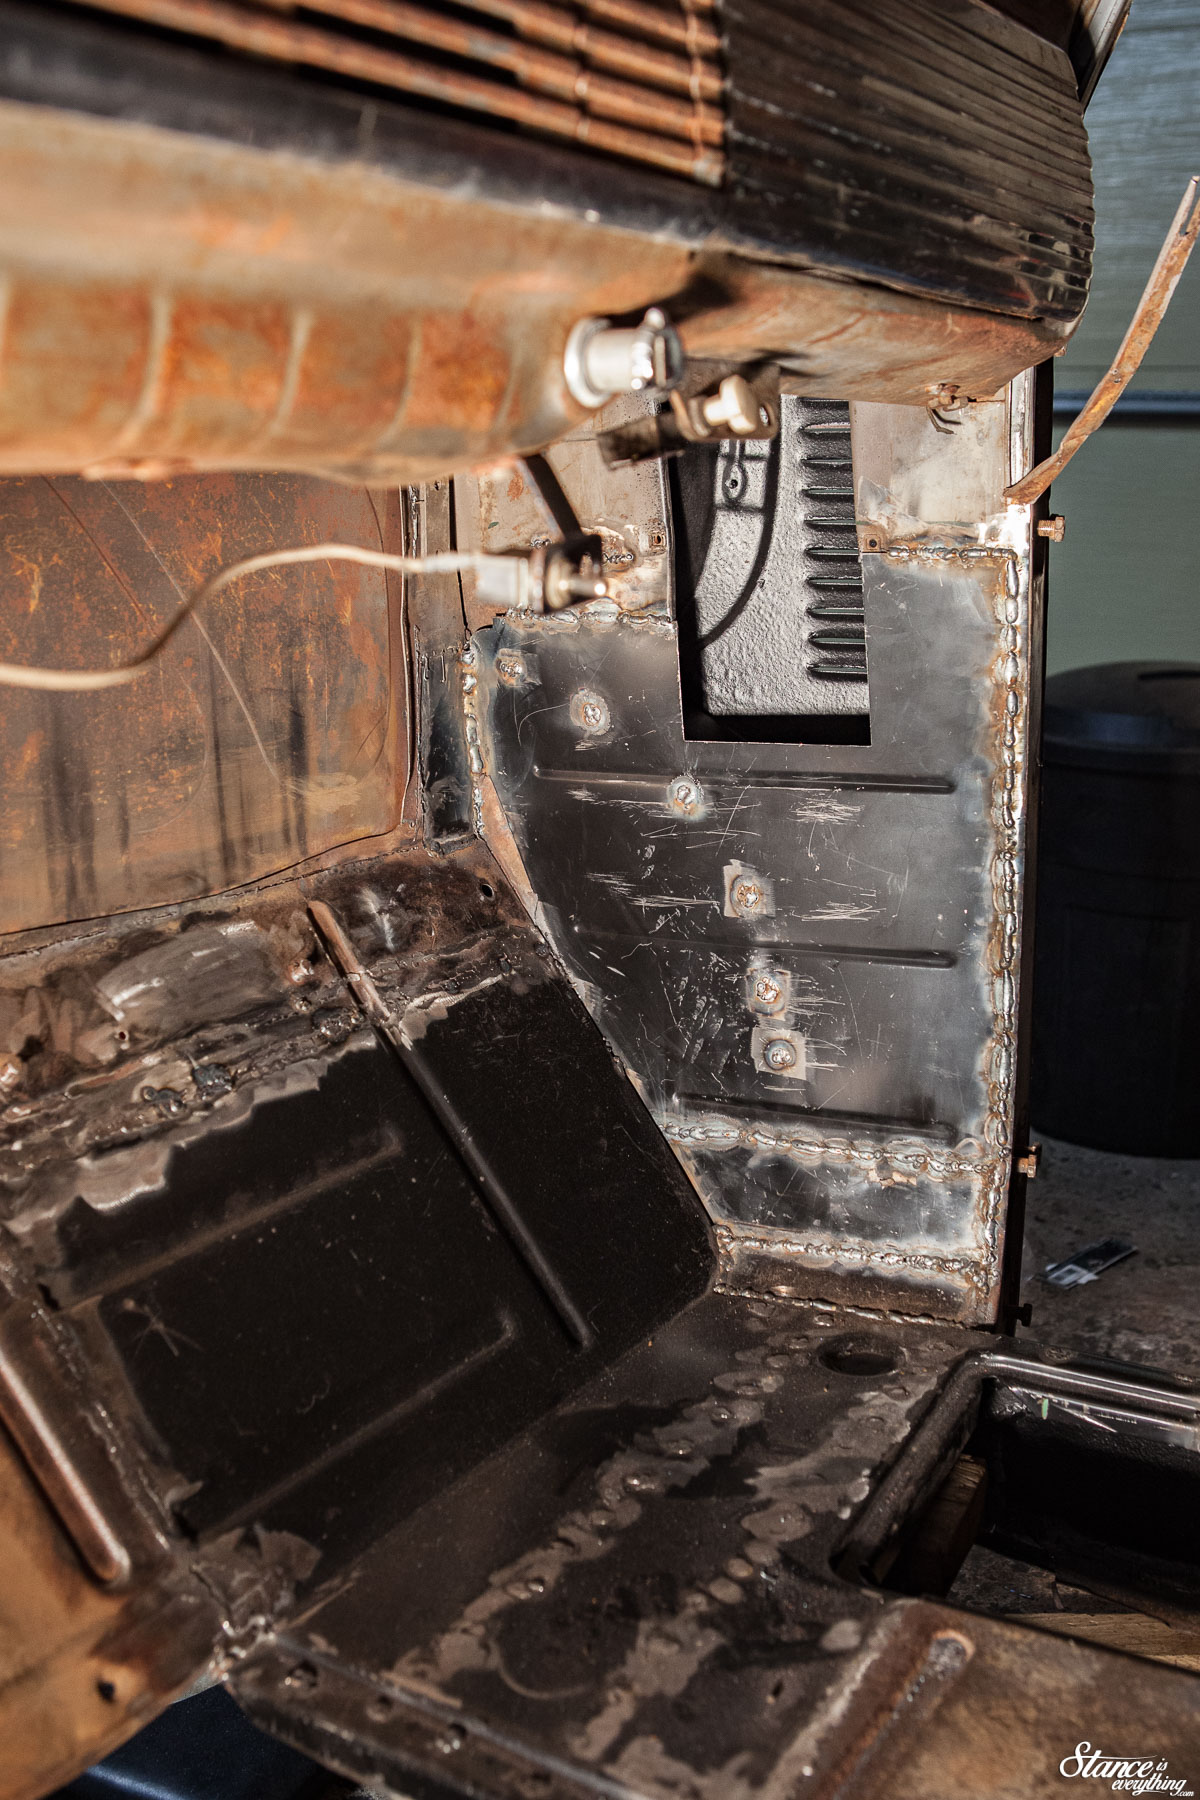
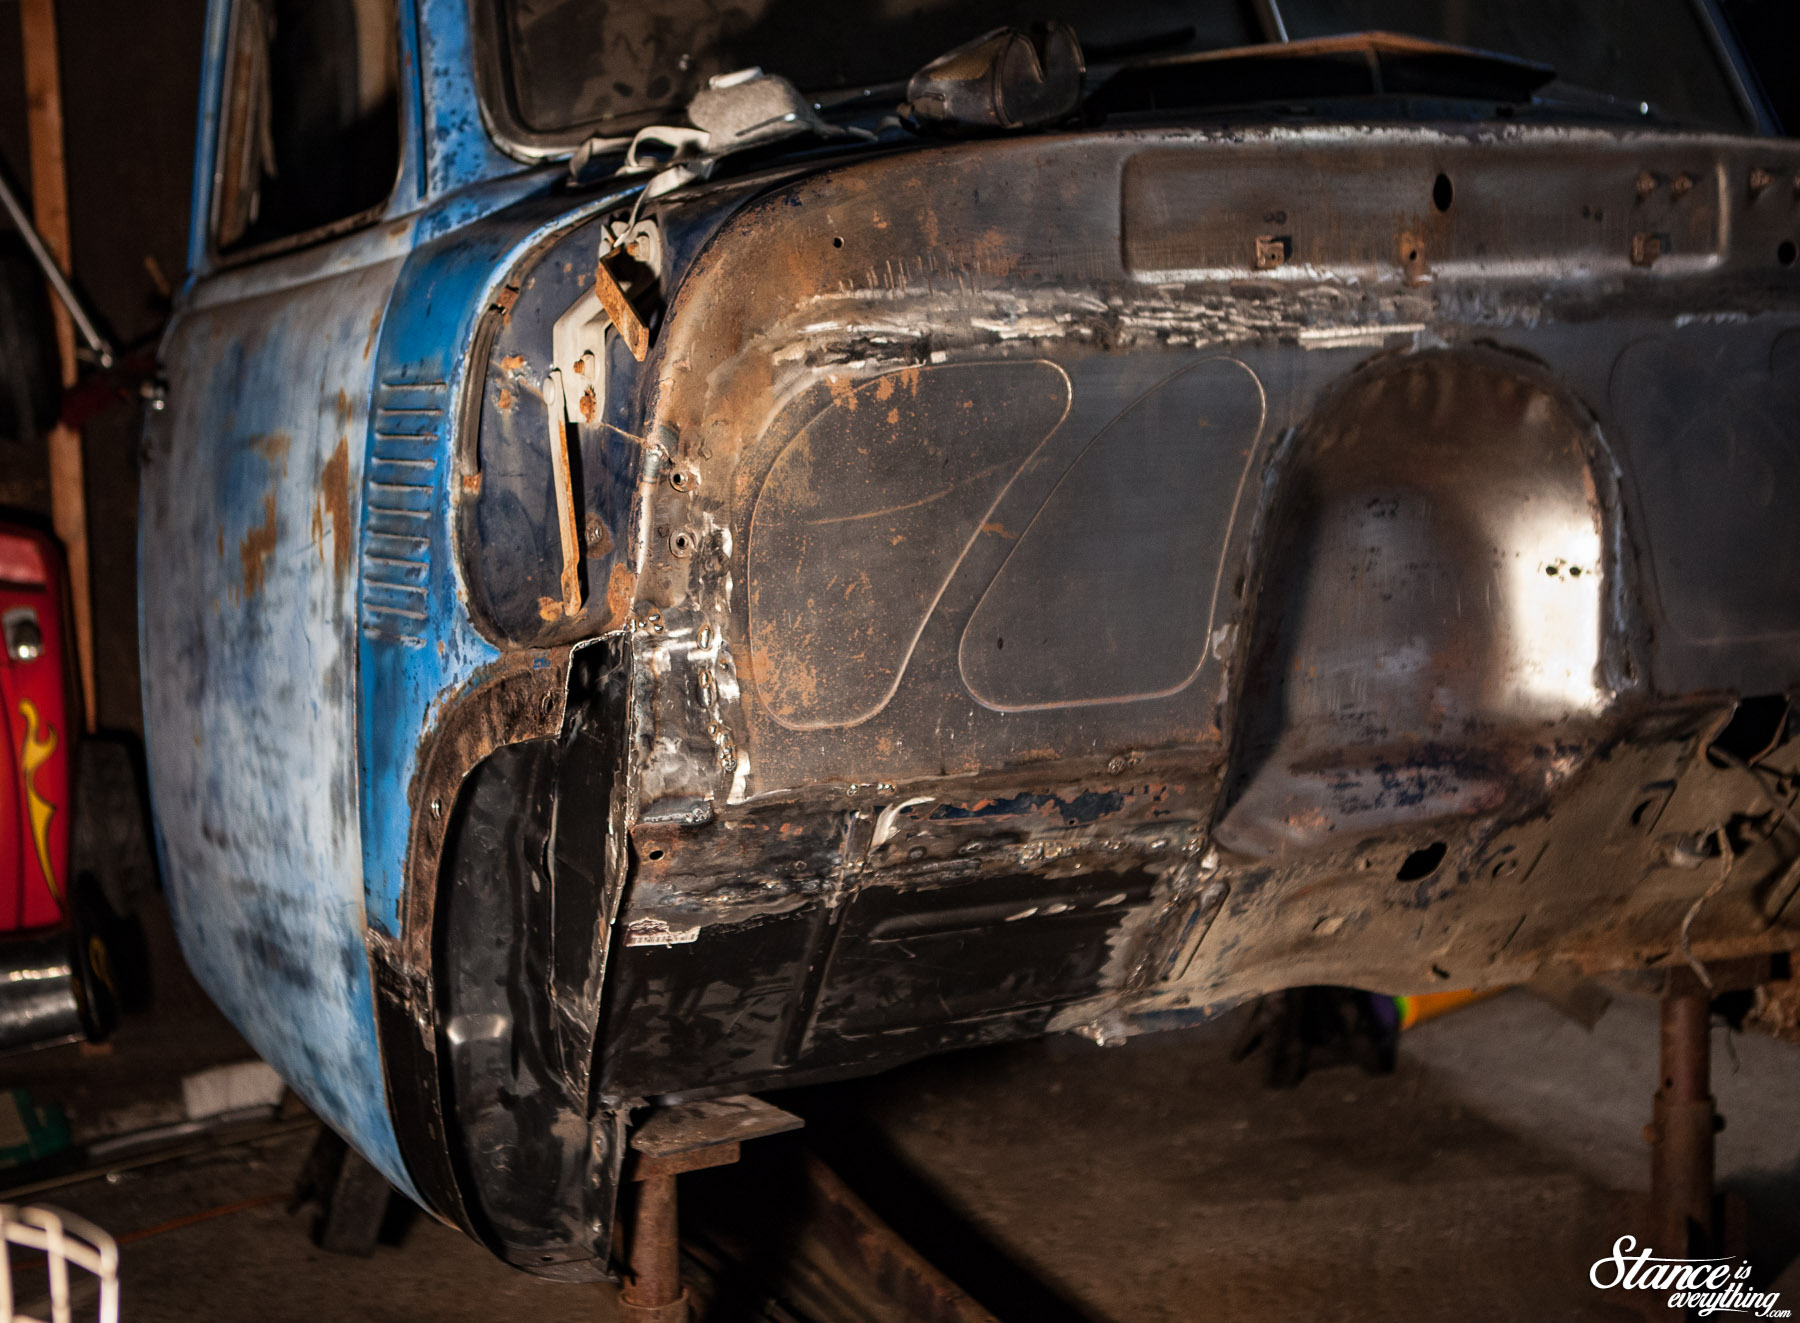
I ended up putting the inner fender in, before the kick panel, and it made fit up a little challenging.
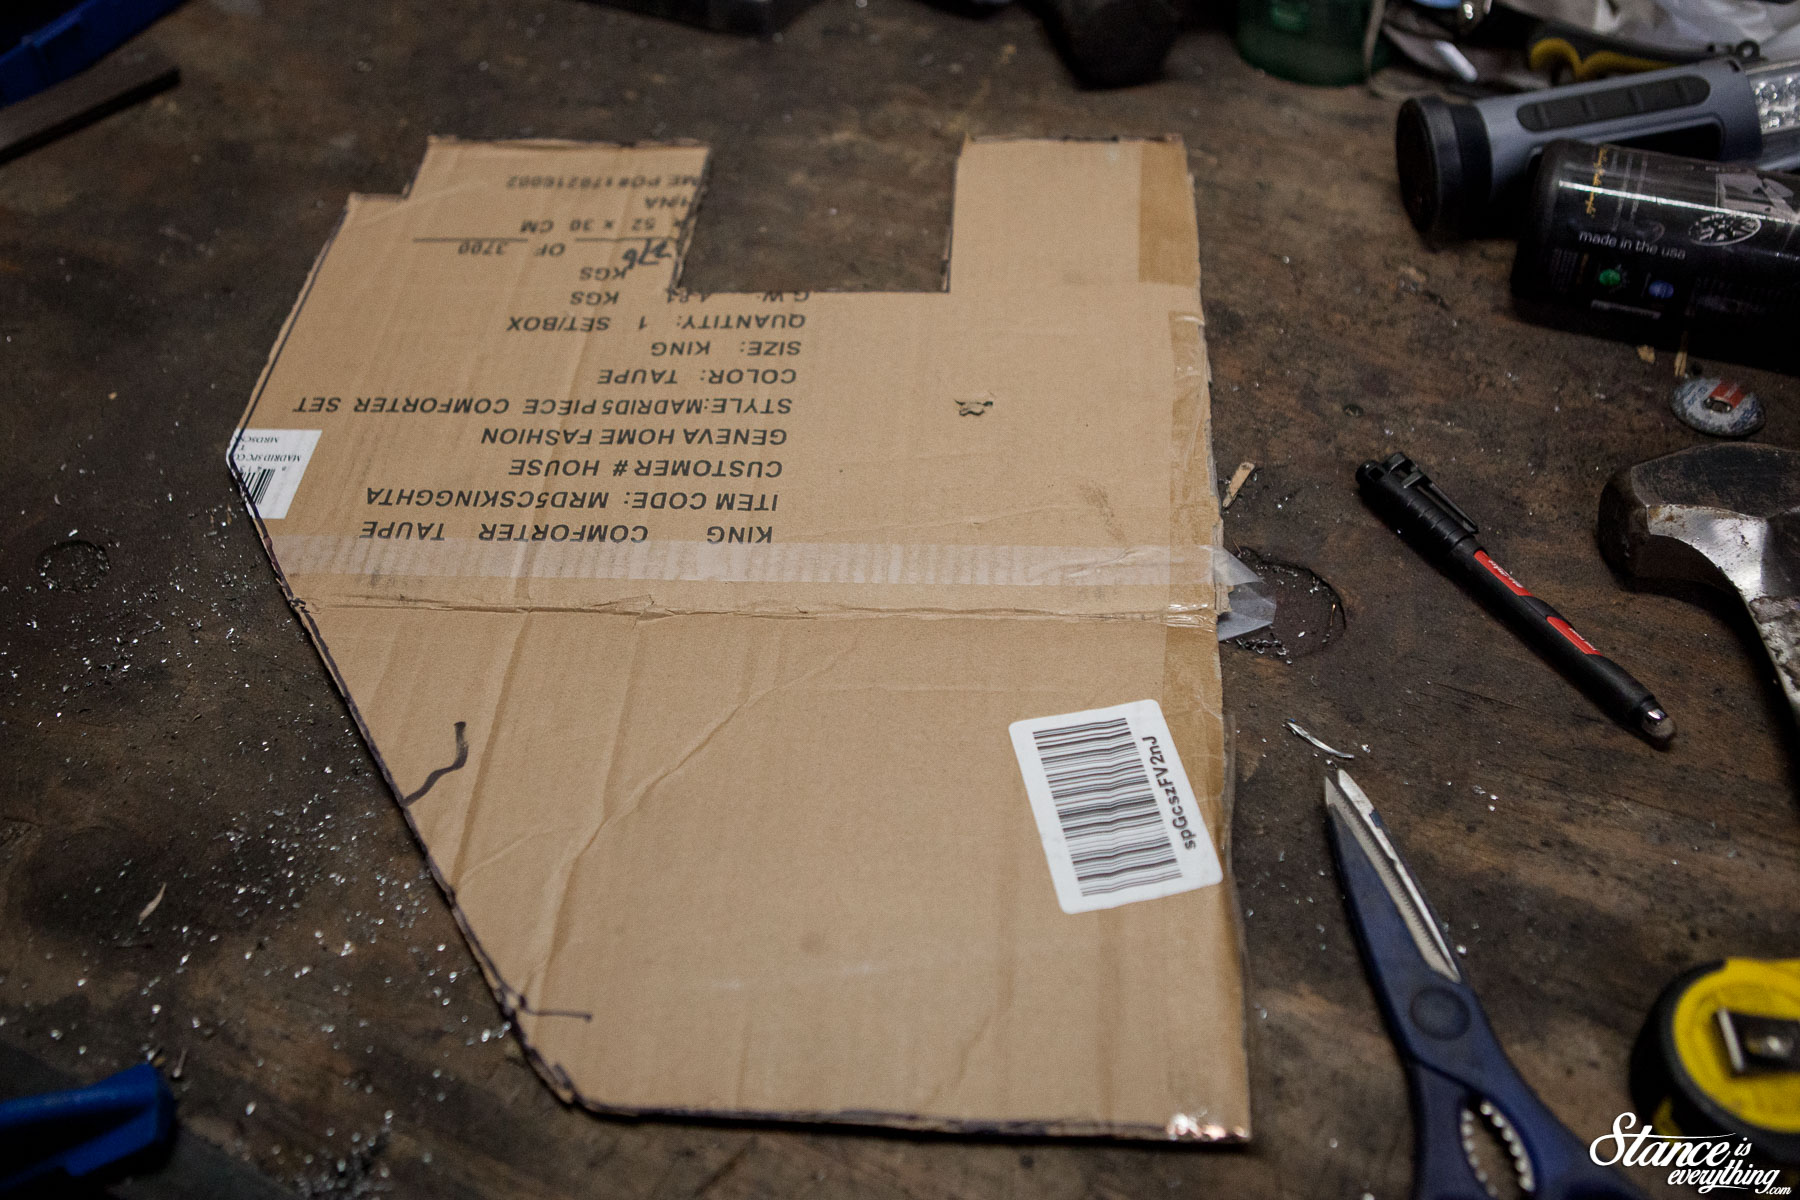
To make my life easier I made a cardboard template I could cut up and manipulate at will to figure out how to get the kick installed.
Eventually I ended up cutting it into three pieces so that it met up with the floor properly.
Not the end of the world, but, it did eat a few hours.
Out came the grinder once more and things were complete enough to remove my cab bracing and reposition then cab for side two.
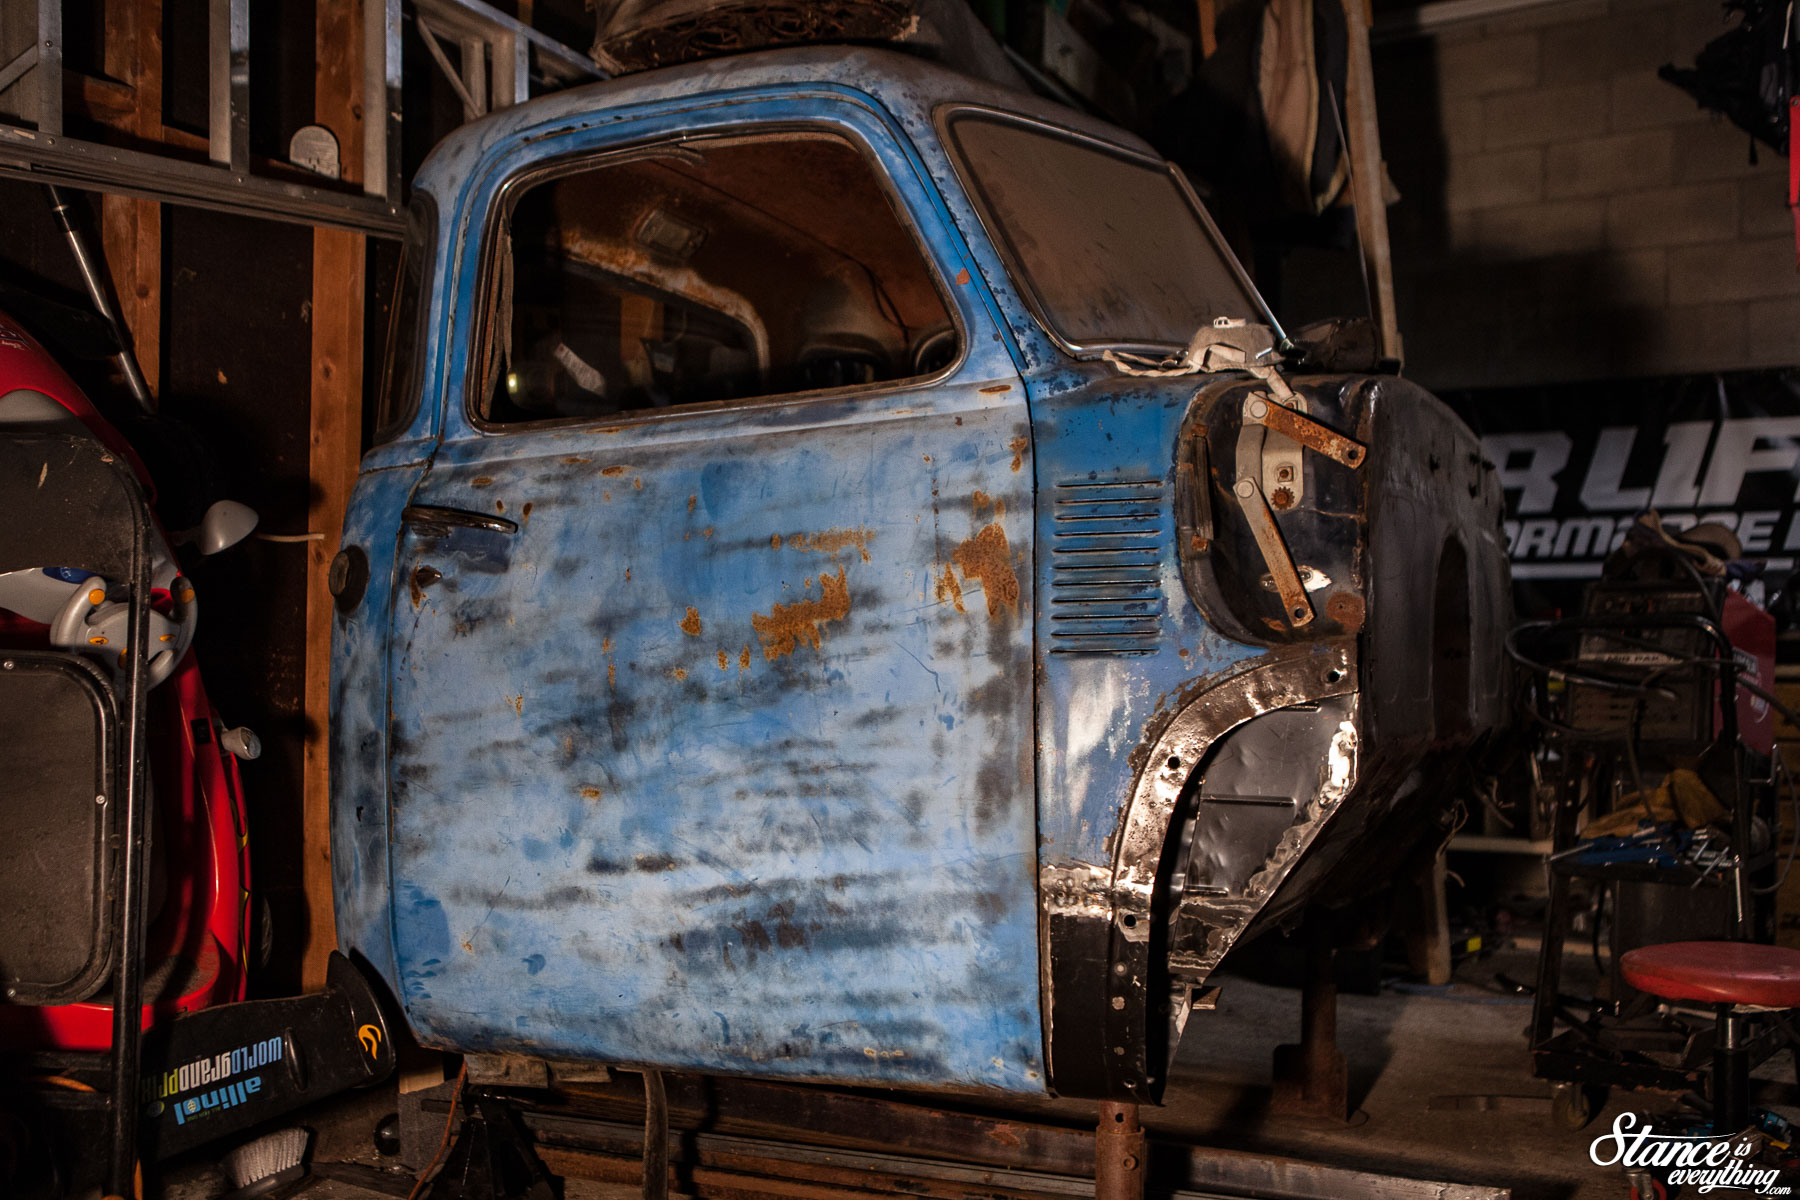
Putting the door back on and having it close was one hell of a relief. Even though I had braced the cab while doing my work a large part of the front corner of the truck was missing for months.
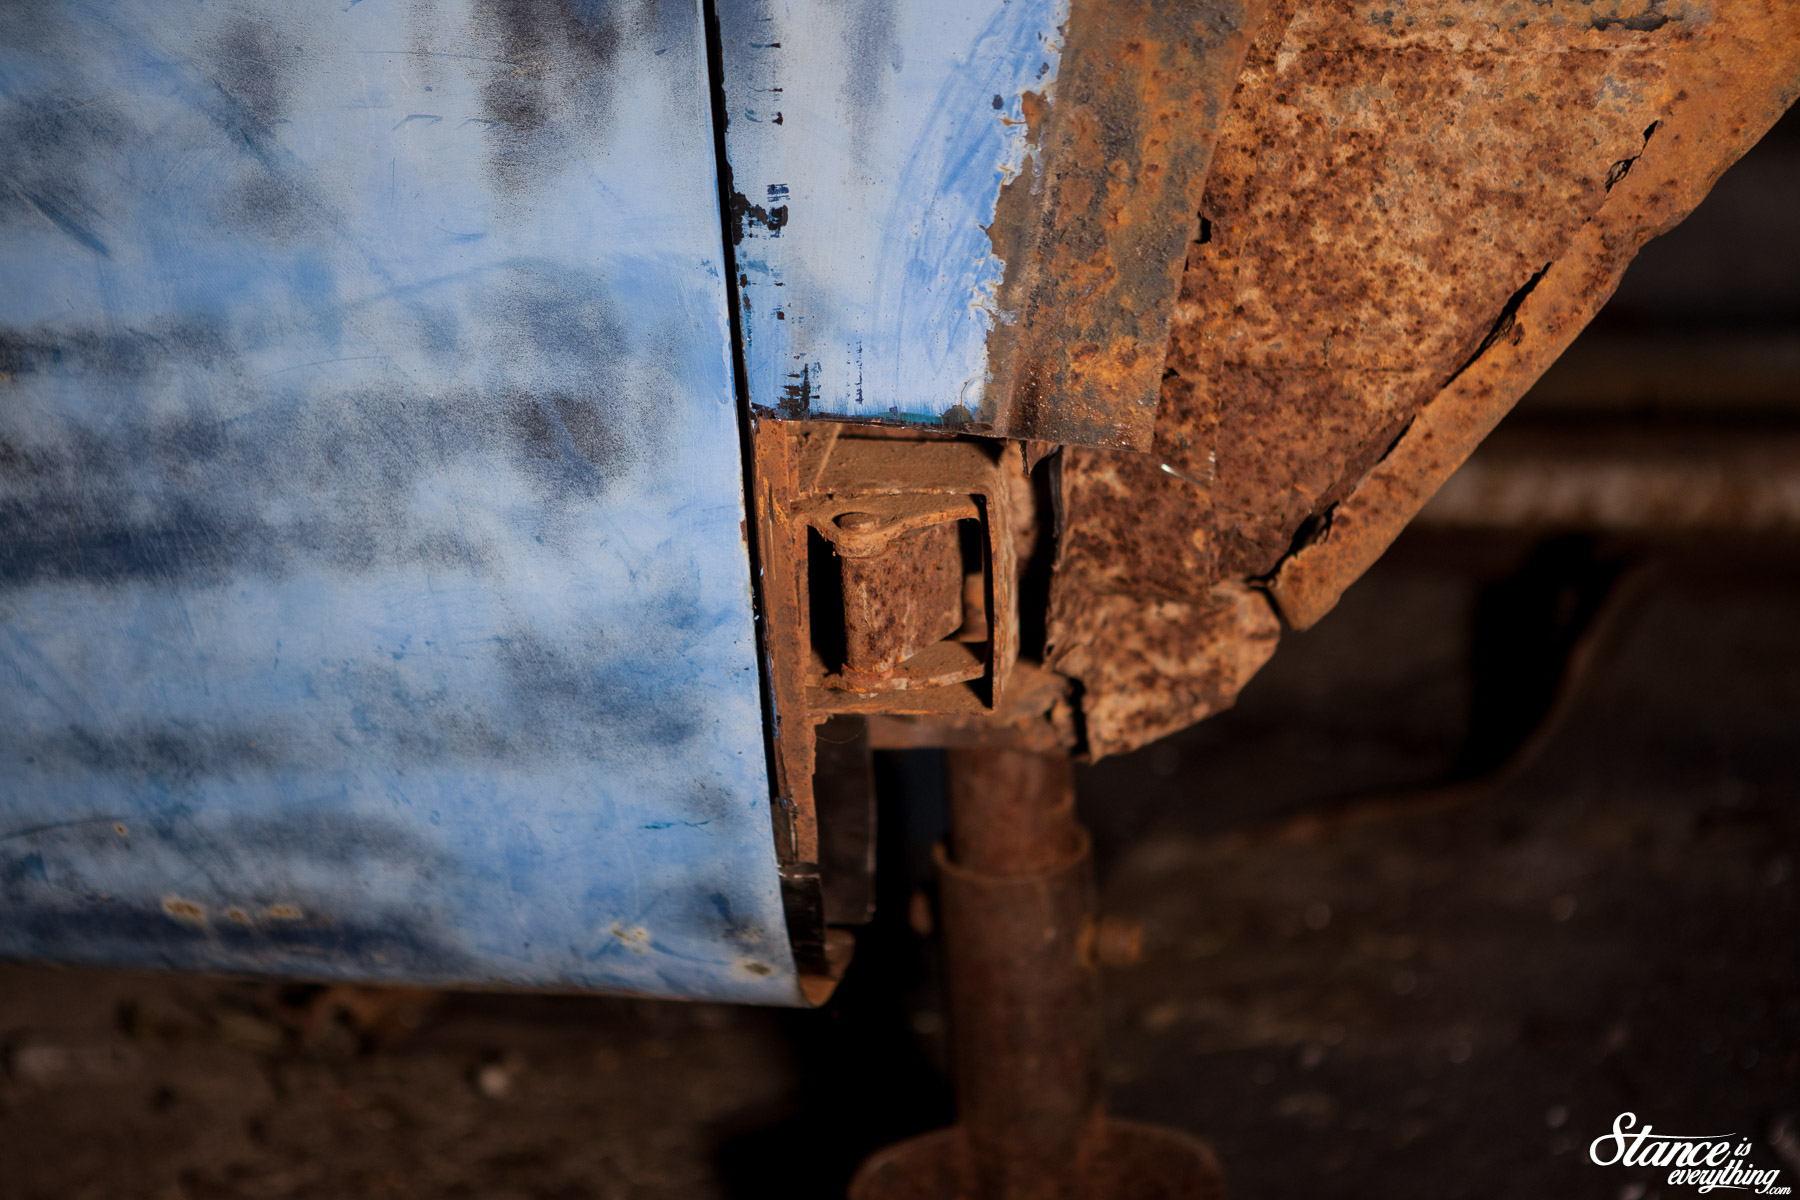
For my first time, the gaps turned out fairly reasonable, and should only get a bit better once I put a bit of filler on there and clean it all up.
However before I do that, I ought to complete the passenger side.
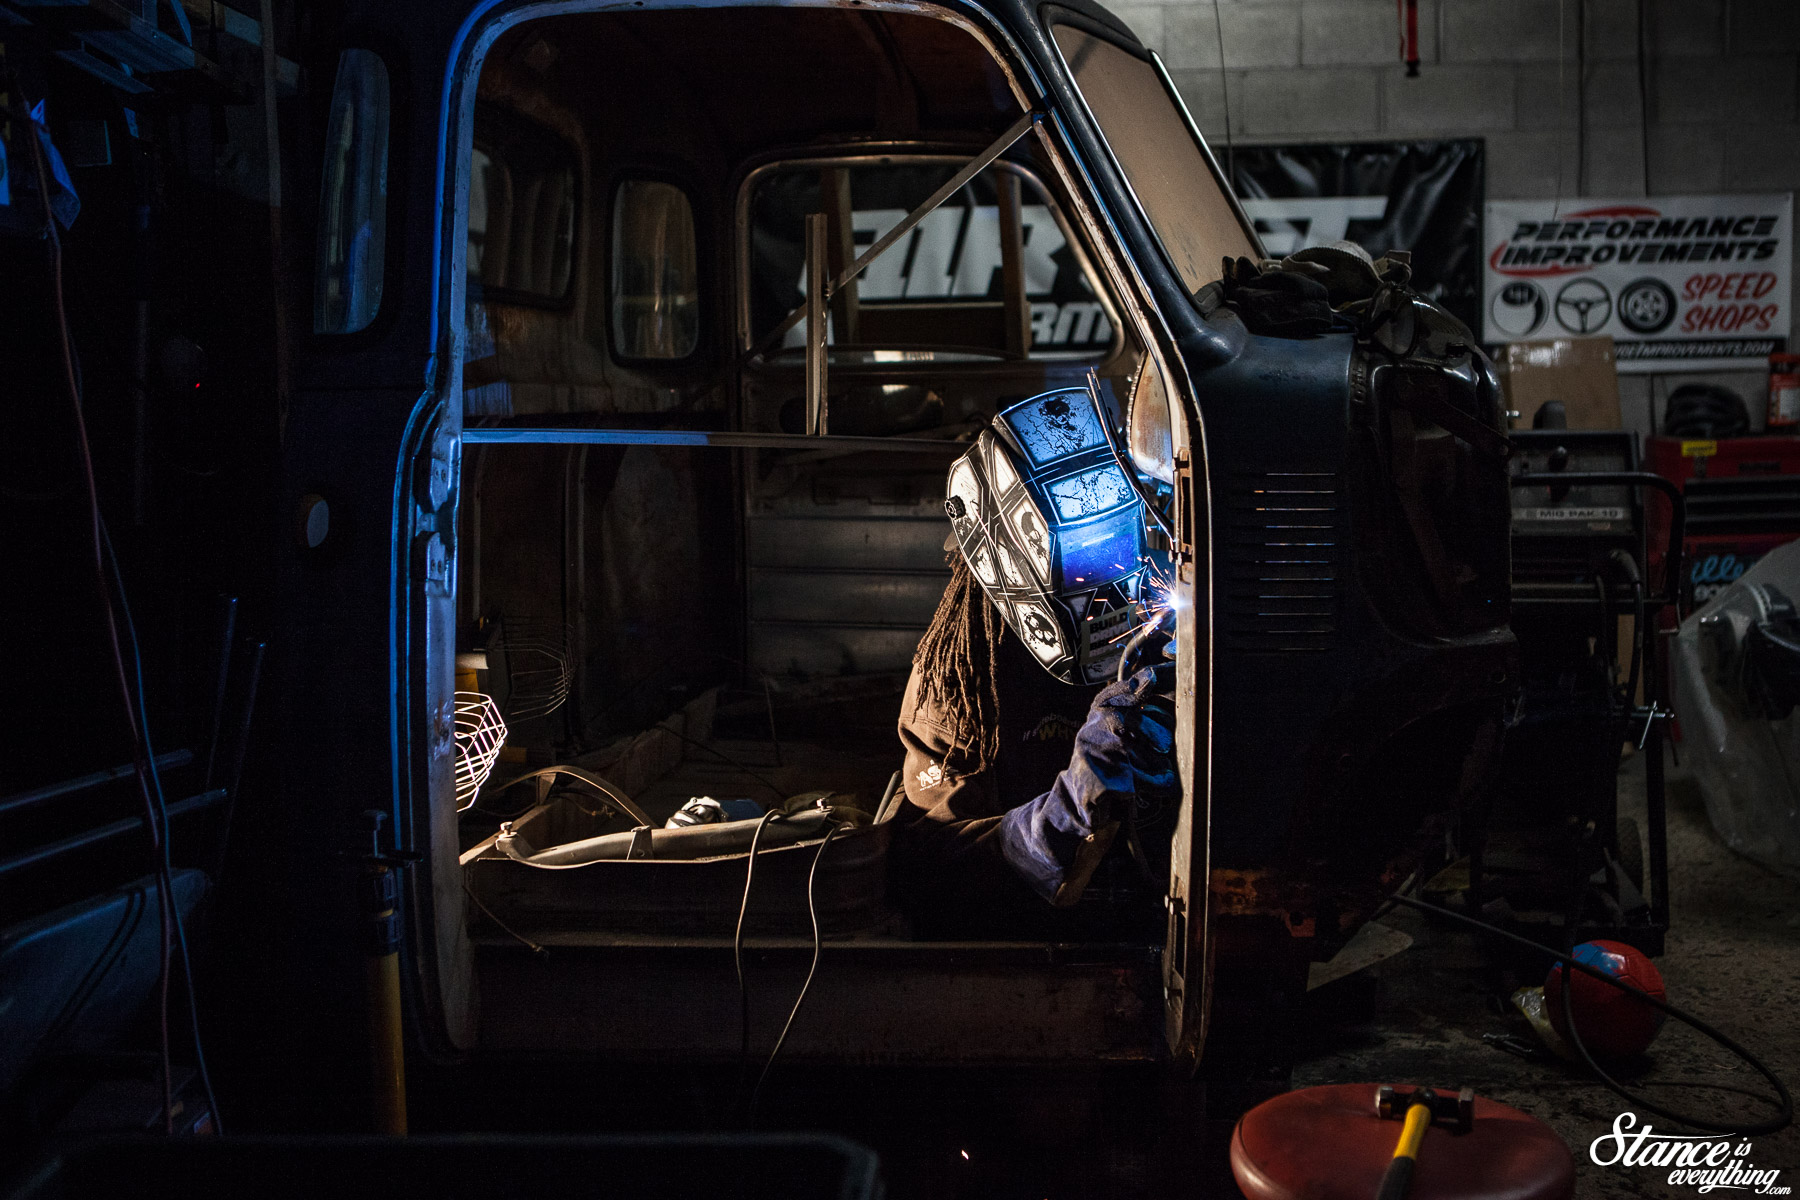
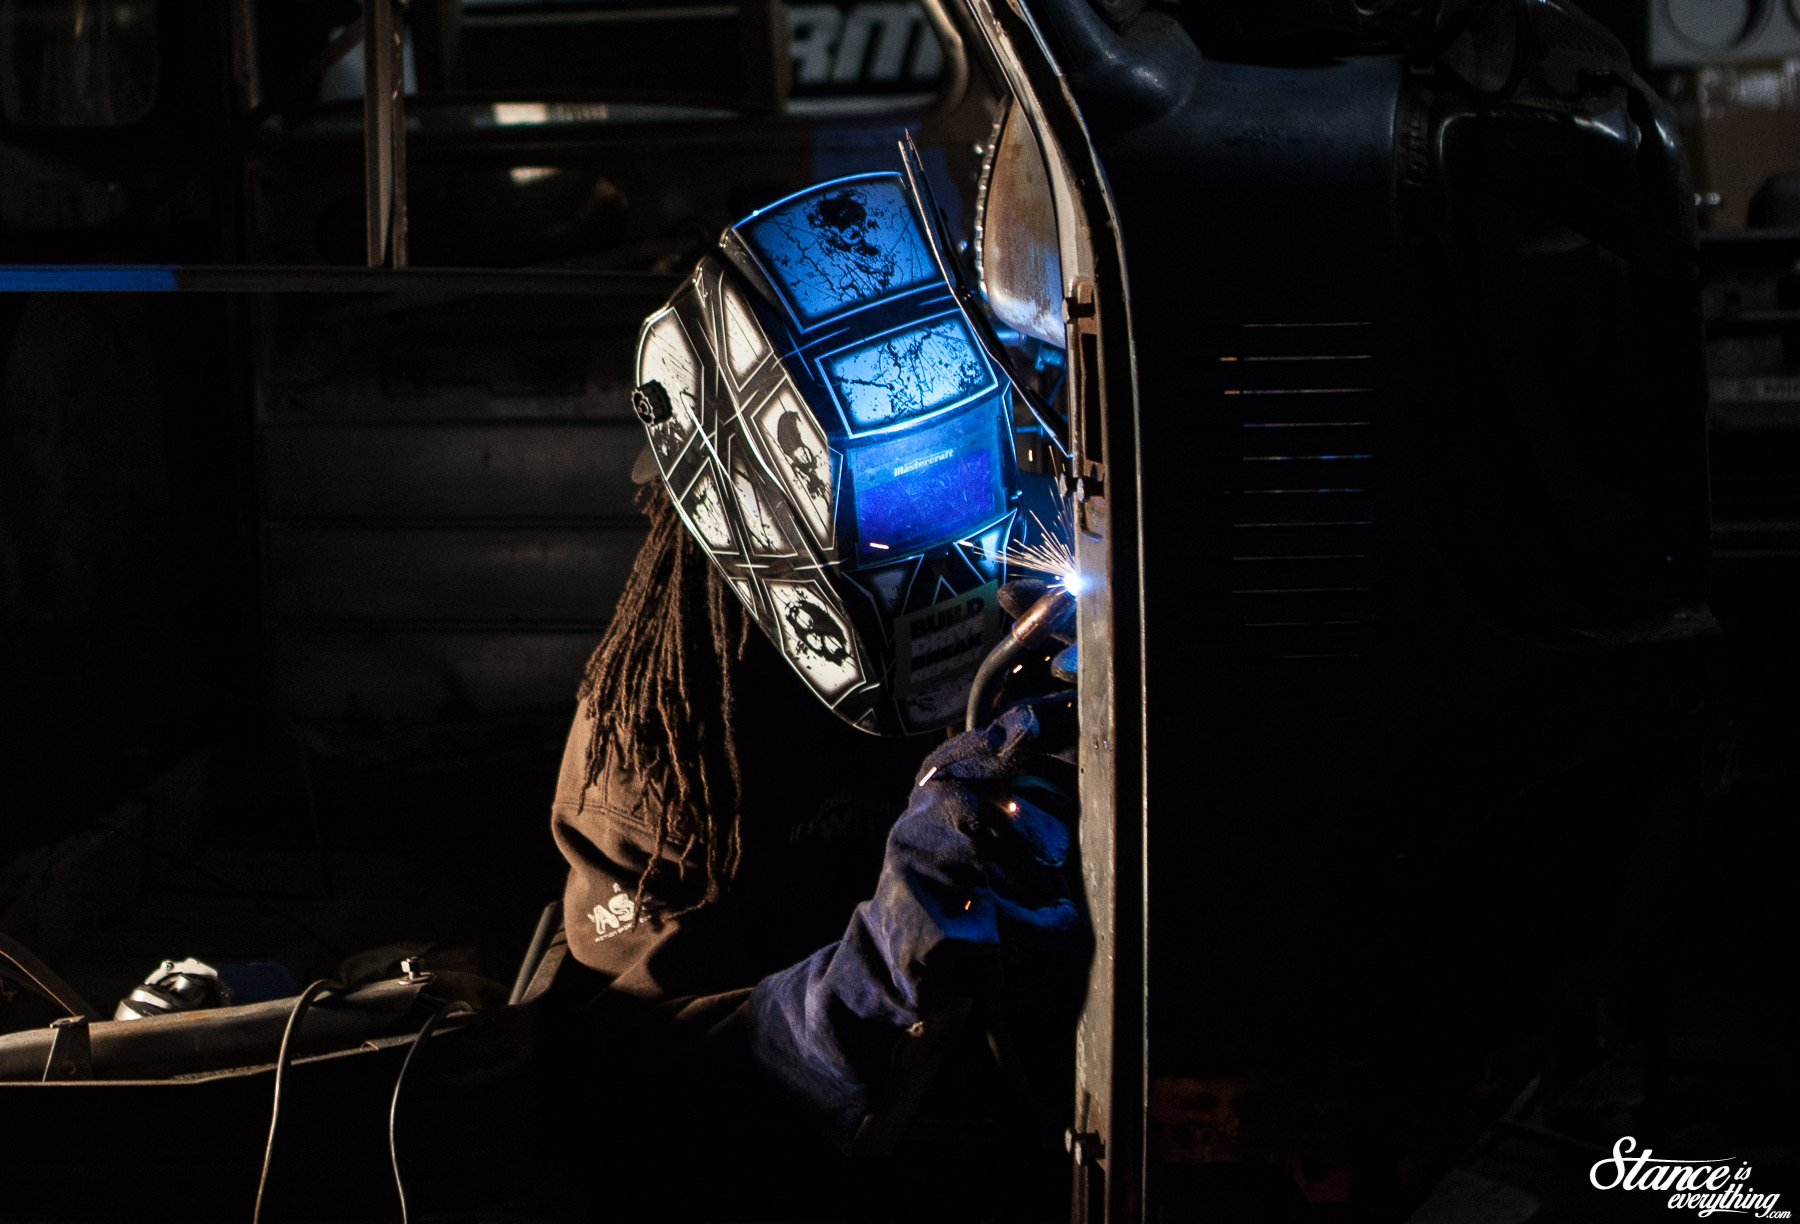
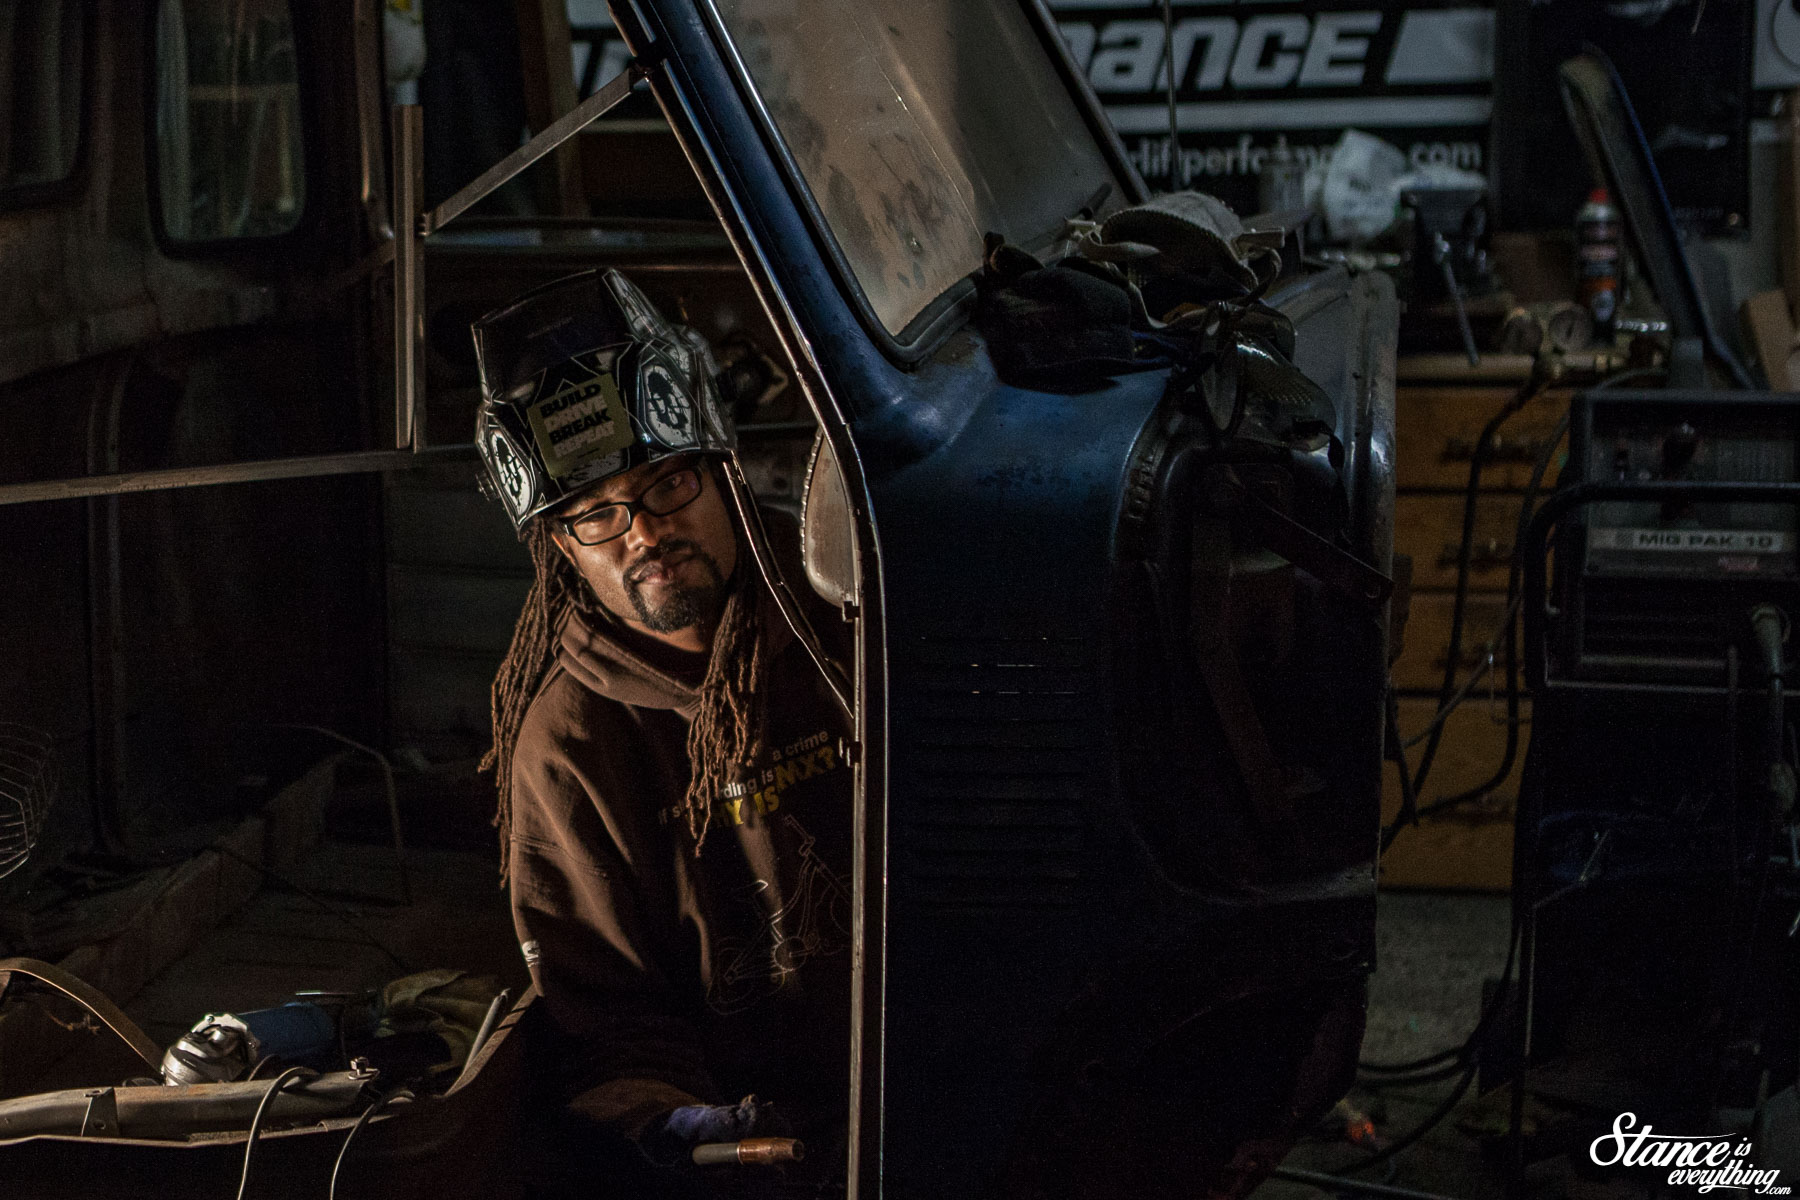
So if you’re looking for me all winter, chances are I will be right where you see me above. At least I won’t have to sweat through anymore 30+ days with the humidity!






Some good progress Dave, keep up the good work.
Thanks! She’s taking a bit but motivation is high.
Thanks for putting the time in and making such a great write up .Can’t wait to see it all done and rolling .
I am motivated seeing this progress! Well done!
Thanks for the kind words all. This was a slog, but I’ll keep things going!
You go Dave! Put in that work! I can’t wait to see the finished result.
Thanks, I’m trying!